-
Get It
$19.99
$19.99Civil 3D Essentials Book and Practice Files
Civil 3D Alignment Labels: A step by step tutorial guide
Introduction to Civil 3D Alignment Labels
Firstly, what is a Civil 3D Alignment Labels? Well, let's find out in this online training course. Certainly, this step by step tutorial is a part of the Civil 3D essentials book and how-to manuals.
Working with Civil 3D Alignment Labels?
Alignment labels allow us to display information about the alignment. That includes stations, offsets, geometry points, profile elevations, and more.
To create an alignment label:
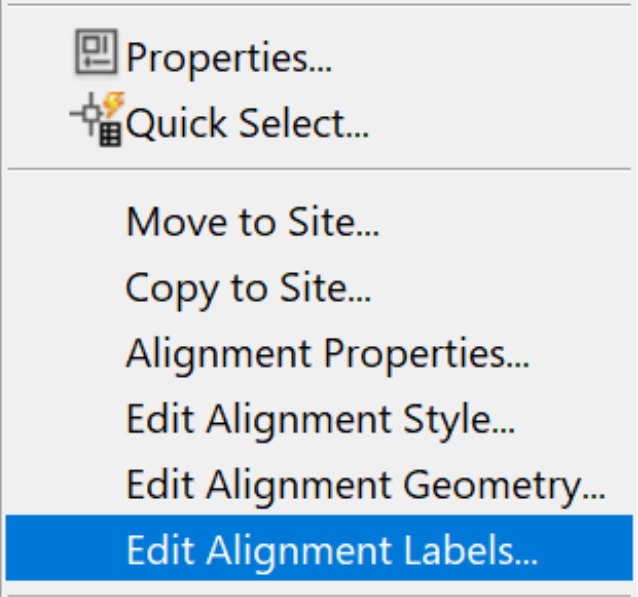
- First, select the alignment, let’s say Rose Drive;
- Then, right-click and select edit Alignment Labels.
-
In the Alignment Labels window, Add or Remove alignment labels. You can also change the station labeling frequency.

-
Among the types of labels you can add are:
- Major and Minor labels.
- Geometry points like the start of curves, end of curves, PIs, and the like.
- Station equations, for alignments that have them.
- Design speeds, if you are using a criteria base design.
- Profile geometry points labels, that allow you to reference and specifies profile information, including grade breaks, PVIs, vertical curves values, and much more.
- Finally, label superelevation critical points.

- If needed, you can also Import a label set or save one for later use.
- Finally, click OK to close the label creation window.