-
Get It
$19.99
$19.99Civil 3D Essentials Book and Practice Files
Civil 3D Alignment Tables: A step by step tutorial guide
Introduction to Civil 3D Alignment Tables
Firstly, what is a Civil 3D alignment tables? Well, let's find out in this online training course. Certainly, this step by step tutorial is a part of the Civil 3D essentials book and how-to manuals.
Creating Civil 3D Alignment Tables?
Let’s see how to create alignment label tables. They help us make construction plans more readable by not overloading the drawing with information. Instead of displaying every construction note, we can simply display smaller tags and reference them in a table for more details. Let’s practice that.
- First, let’s set up the table before we create the tags. We want to specify our label numbering scheme. Switch to the Settings tab of the Toolspace. Right-click on the name of the drawing and select Table Tag Numbering; this brings up the Table Tag Numbering window. Reset all the numbers to 1. So that all lines, curves, and spirals start with the number 1. We also want to increment them by 1.

- Click OK to close the window.
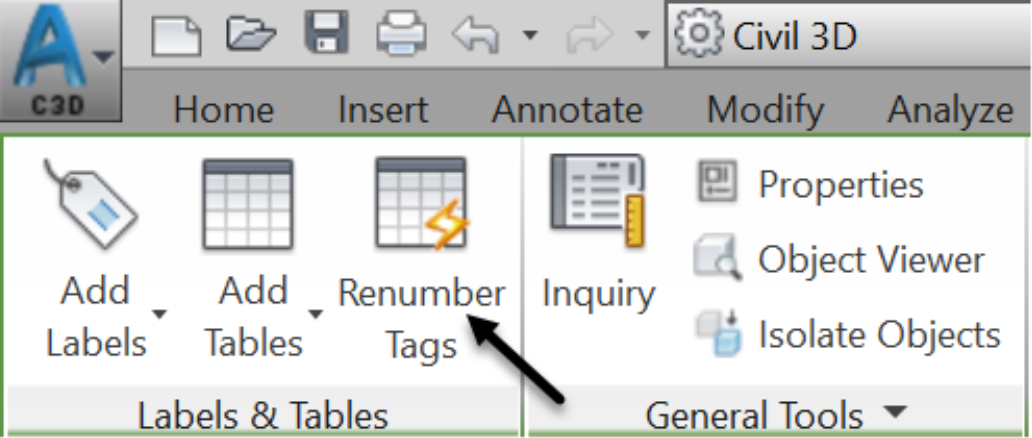
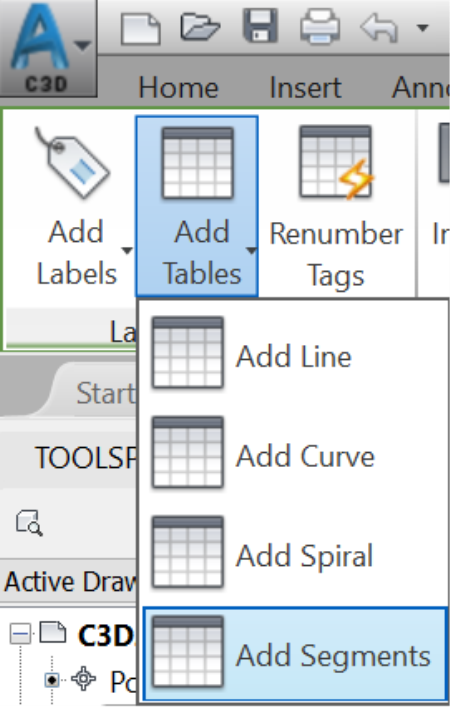
- Next, select the Rose Drive alignment and then run the Add Segments command in the Add Tables drop-down menu.
- In the Alignment Table Creation window, keep all default styles and layers. Then choose to create the table by alignment. Then select the Rose Drive alignment.
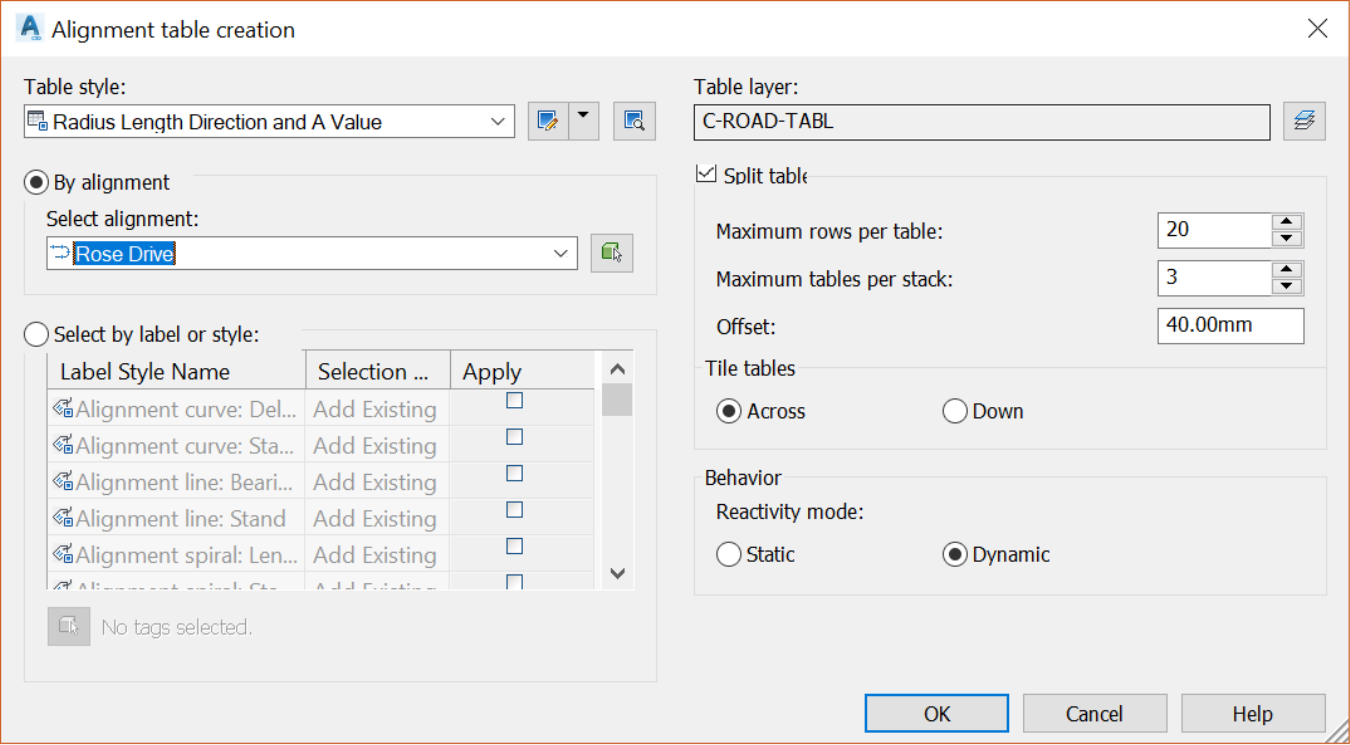
- Click OK and select an empty area in the drawing to insert the table.
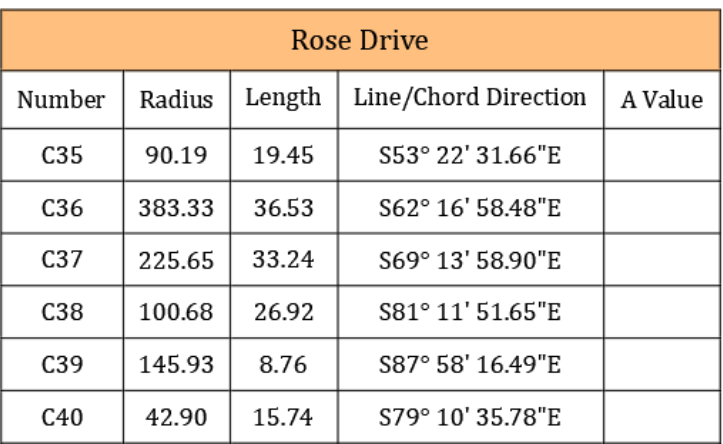
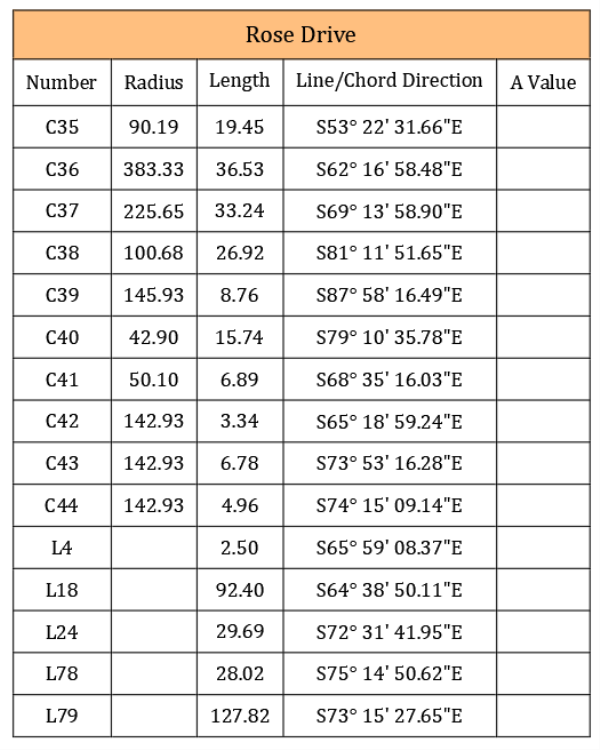
- You will notice that our table doesn’t necessarily start with label C1 for curves or L1 for line segments. That is simply because these labels were already used for the parcel segment labels, so the table uses the next available numbers.
- Next, to make the table easier to read, sort it in ascending tag numbers. Select the table, right-click and choose Edit Table Style.

- In the style editor window, on the Data Properties tab, check the Sort Data case and choose by Ascending order.
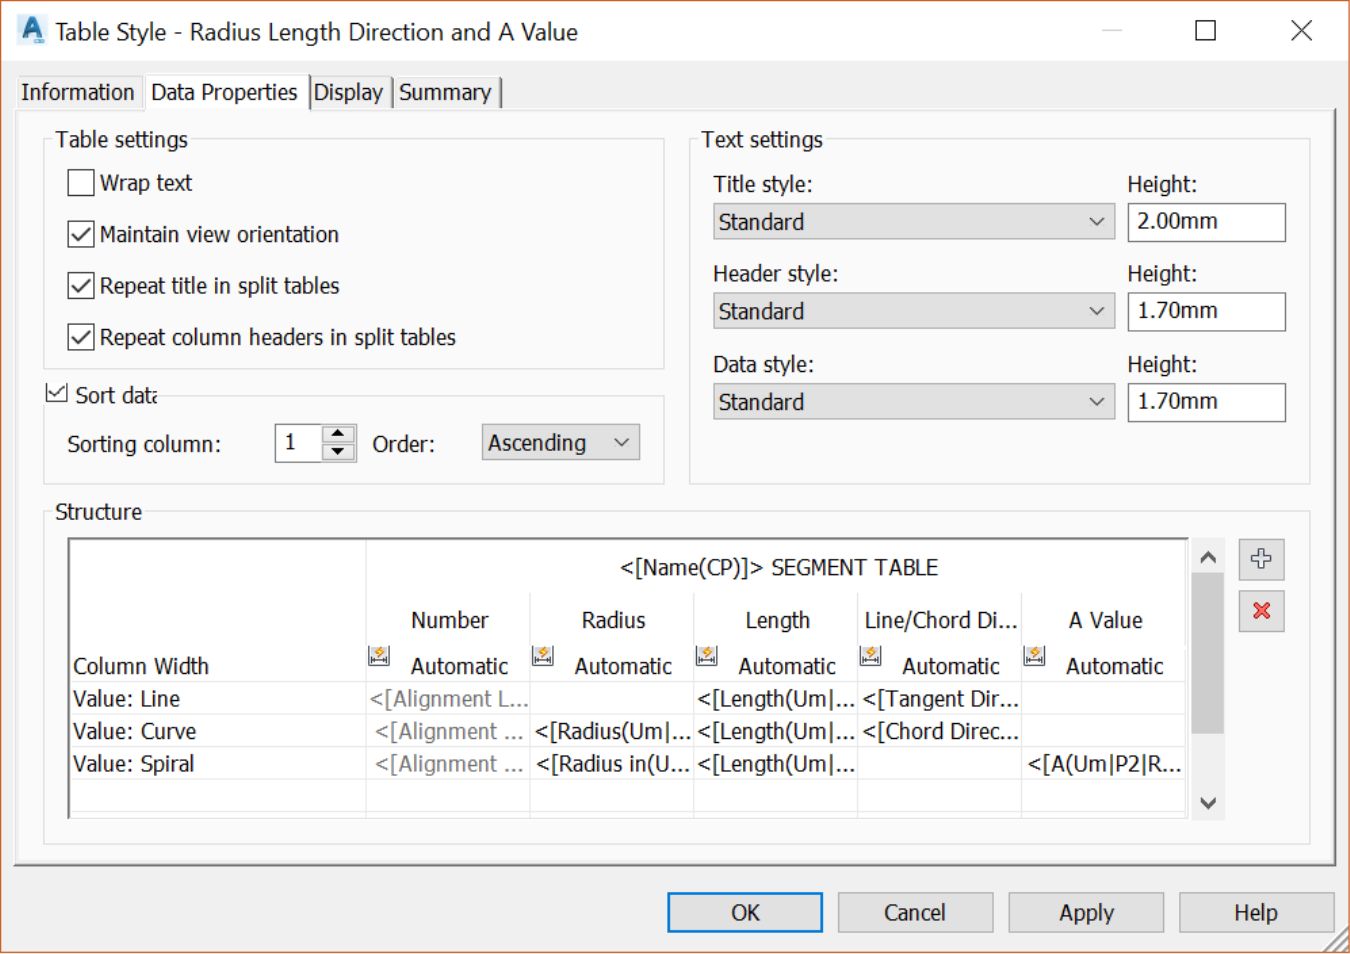
- Next, click OK to close the table style editing window. The curves and tangents are now sorted and displayed separately.
- If needed, the tags can be renumbered according to your preference. To renumber them, simply select the alignment in the drawing area.
- Then, on the ribbon, run the Renumber Tags command. Renumbering tags is typically done when all of the design is completed, and all tags in the drawings should be numbered in ascending order.