-
Get It
$19.99
$19.99Civil 3D Essentials Book and Practice Files
Civil 3D Parcel Adjustment: A step by step tutorial guide
Introduction to Civil 3D Parcel Adjustment
Firstly, what is a Civil 3D Parcel Adjustment? Well, let's find out in this online training course. Certainly, this step by step tutorial is a part of the Civil 3D essentials book and how-to manuals.
Working with Civil 3D Parcel Adjustment?
- We have subdivided the Violets Circle cul-de-sac. However, we need to adjust a couple of the parcels in the cul-de-sac, to make it a little wider to accommodate a bigger house.
- Click on the lot line for the smaller cul-de-sac lots.
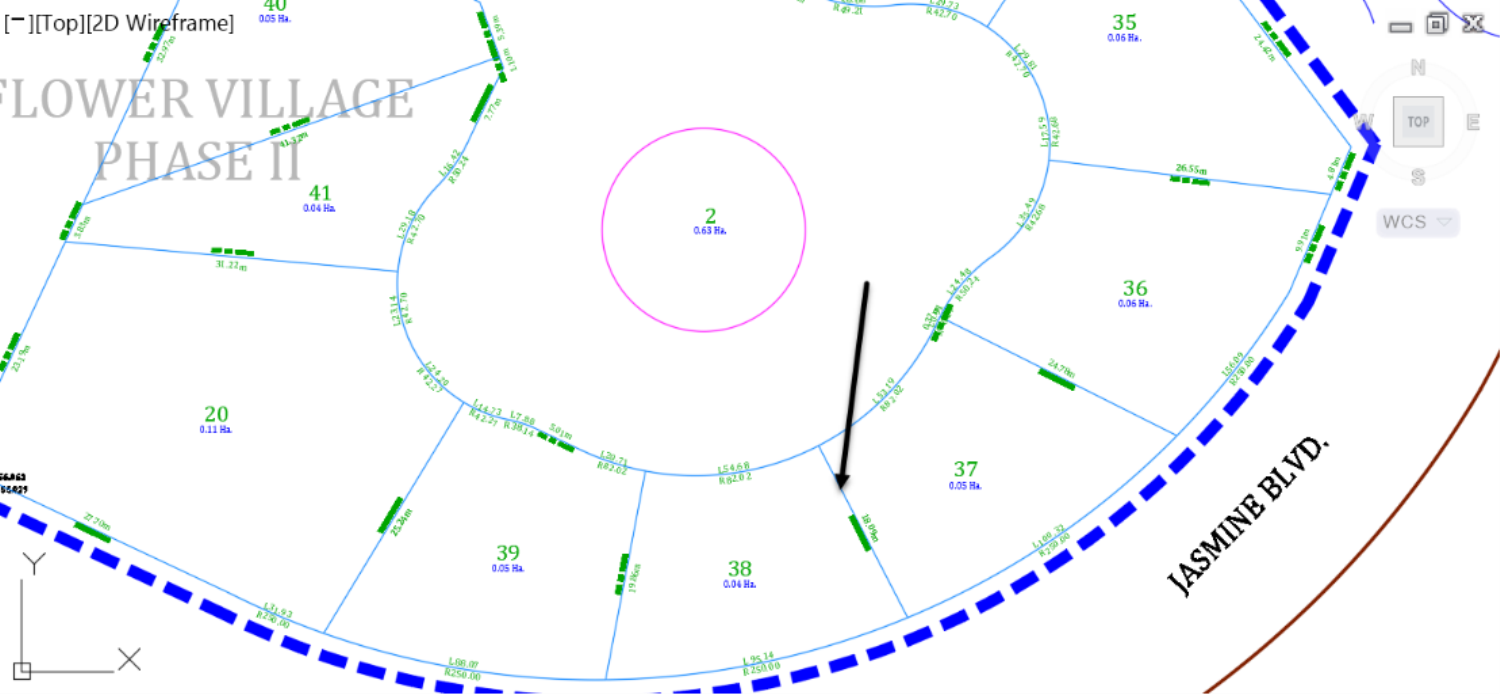
- A blue handle will appear at the start of the lot segment. What we need to do here is to click on the small blue grip and gently slide it in the direction we want to widen the lot in. Don't worry; the line will always stay perpendicular to the frontage.
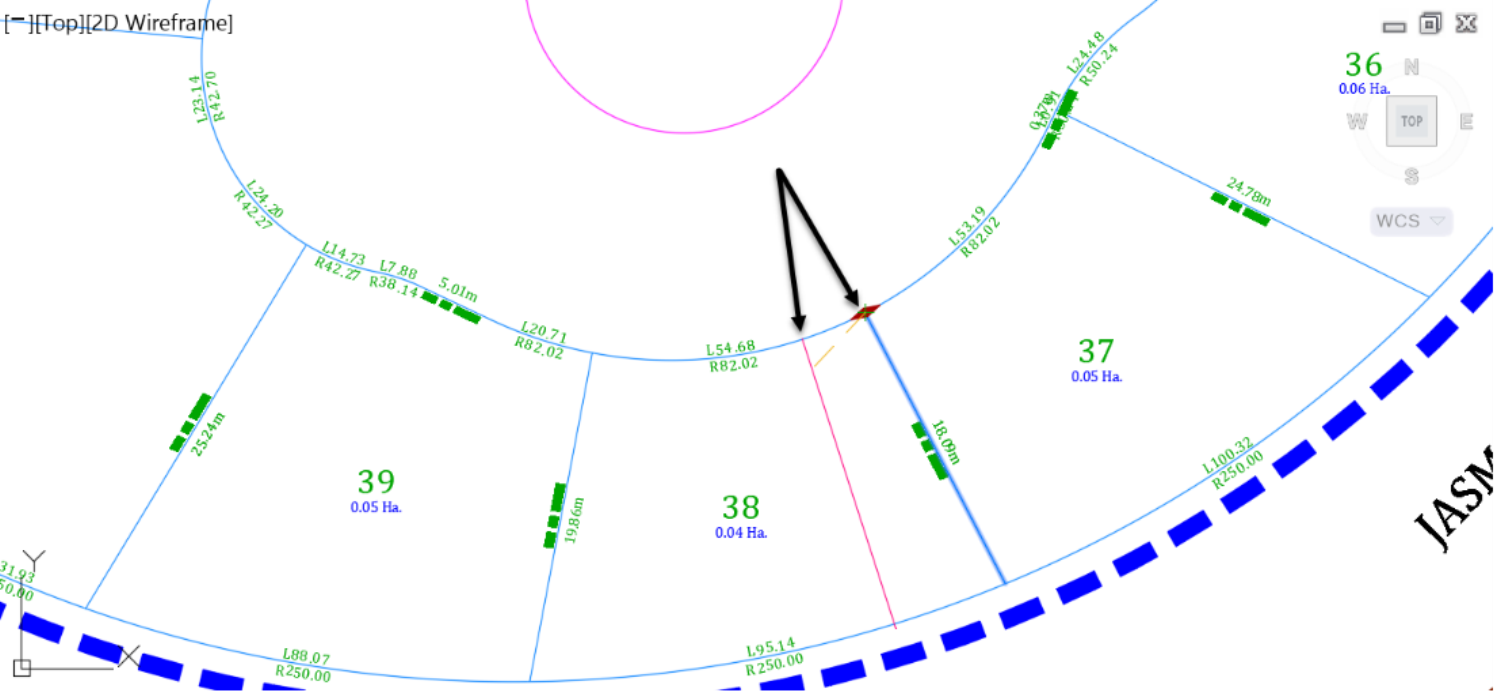
- Use this manual adjustment to adjust the lots in the cul-de-sac. A good hint is to move the lot segment until the lots are around 0.06 – 0.07 Hectares or 0.15-0.17 Acres. When it’s all said and done, we should have the single-family lots around the cul-de-sac, a little bigger than the townhouses on the streets. Note that you may need to delete the last parcel segment line in of the corner lot. The lot numbers are not currently in sequential order. However, don't worry about it, as we will see how to re-order the parcels and put everything in neat sequential order.

- Now let's start creating the parcels fronting Lavender Court. Launch the Parcel Creation Tools. Reset the minimum frontage to 8.5m or 30ft. Because of the cul-de-sac ahead, we will also set the minimum depth to 17.5m or 60ft instead of the typical 20m or 65ft.
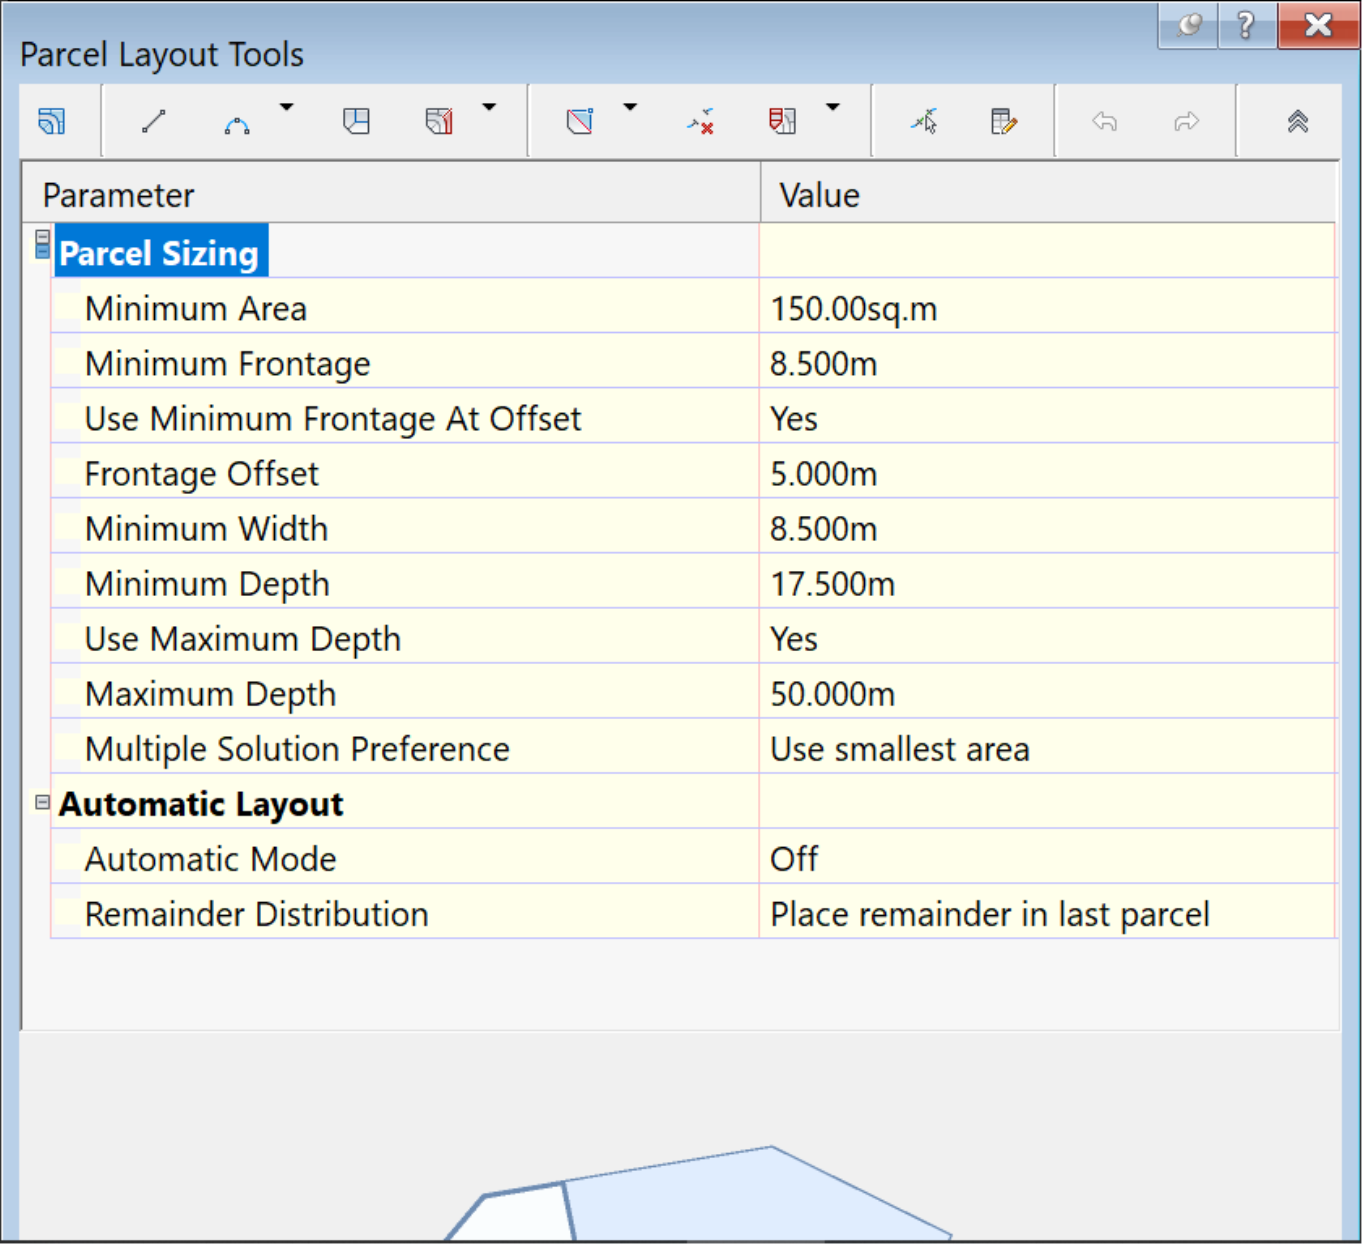
- Accept the default settings in the Create Parcel – Layout window and click OK
- When prompted to choose the parcel to be subdivided, click on the remaining big lot.
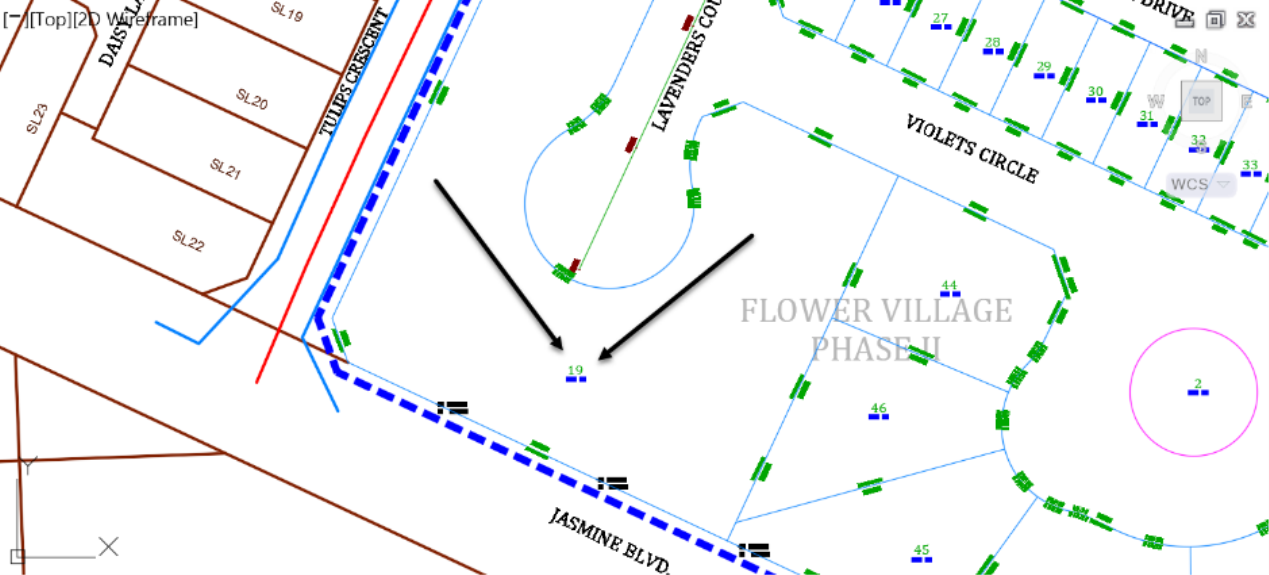
- For the start point of the frontage, click on the northwest start point, in the vicinity of the intersection with Rose Drive.
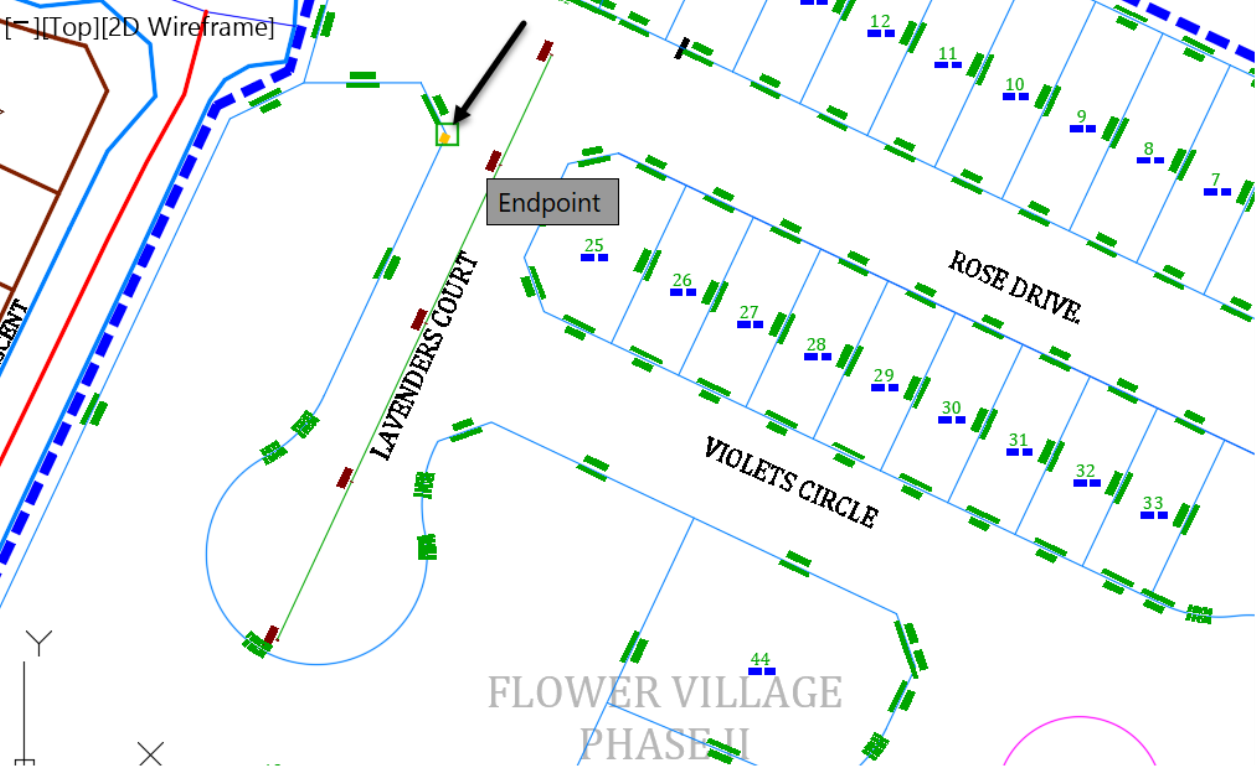
- Slowly slide the frontage line southward, then around the cul-de-sac, all the way to the last parcel created, on Violets Circle.
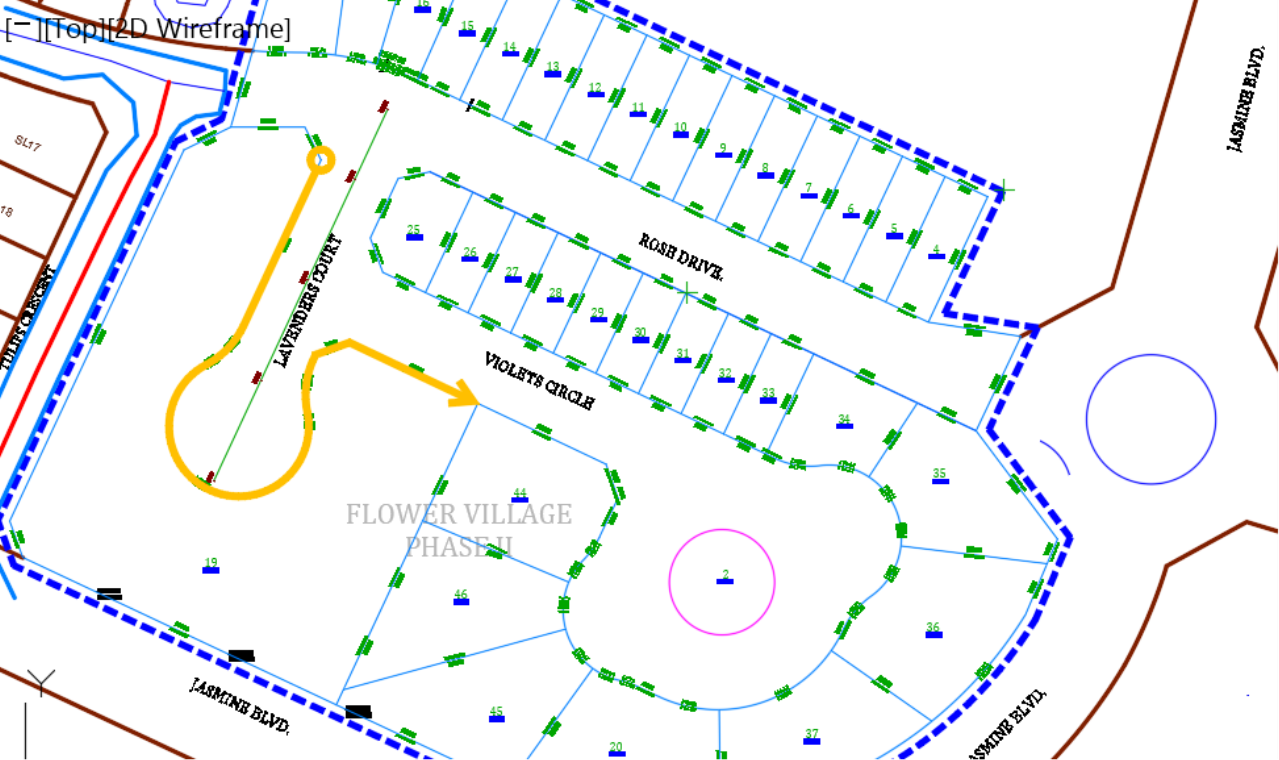
- When prompted to specify the angle, press Enter. The first lot, a corner lot, is created in the northwest corner. Keep pressing enter until you create the last parcel, or you get a notification that no more room is left to add another parcel.
- The newly created parcels are shown. Select to delete or adjust, by using the handles on any parcel that is too big, too small, irregularly shaped or located on the wrong side of the road frontage. In the end, you should be able to obtain ordinary shapes parcels with areas around 0.05-hectares or 0.12 acres.