-
Get It
$19.99
$19.99Civil 3D Essentials Book and Practice Files
Civil 3D Parcel Creation Tools: A step by step tutorial guide
Introduction to Civil 3D Parcel Creation Tools
Firstly, what are Civil 3D Parcel Creation Tools? Well, let's find out in this online training course. Certainly, this step by step tutorial is a part of the Civil 3D essentials book and how-to manuals.
Working with Civil 3D Parcel Creation Tools?
-
Had a plat already been done for the subdivision, we could convert individual AutoCAD parcel lines or polylines to Civil 3D parcels. The process would be the same as what we have done for the boundary and right-of-way lines. Simply,
- run the Parcel from Object command,
- set the parcel creation parameters,
- then, create parcels by selecting the objects (lines or polylines).
- But, then again, we are creating a layout for a vacant lot, so we are going to run another parcel creation command, the Parcel Creation Tool. Municipalities have design standards for residential developments lots of layouts. This includes lot frontage width, lot depths, and minimum areas. These standards must be met for a subdivision plat to be accepted. Civil 3D gives us the needed tools to meet these standards while optimizing the use of our land.
- Keep working on the same drawing or open the 02-Parcels-by-Layout dwg file in the same folder. On the Ribbon launch the command to create parcels by layout, the Parcel Creation Tool.

- Expand the toolbar if it is not already.

-
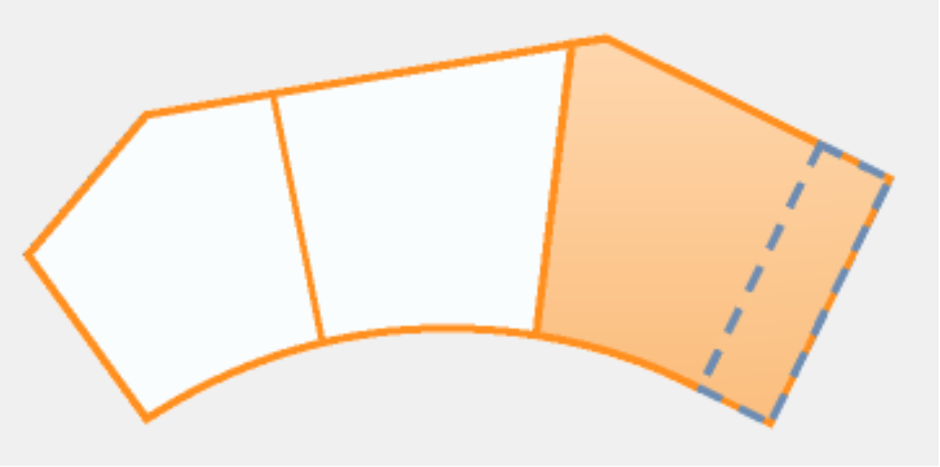
In the Parcel Layout Tools, Parcel Sizingarea, enter the following design parameters.
- A minimum parcel area of 150 square meters or 1,600 square feet depending on your units
- A minimum parcel area of 150 square meters or 1,600 square feet depending on your units
- A minimum frontage of 8.5m or 30ft
- Yes, for minimum frontage at offset.
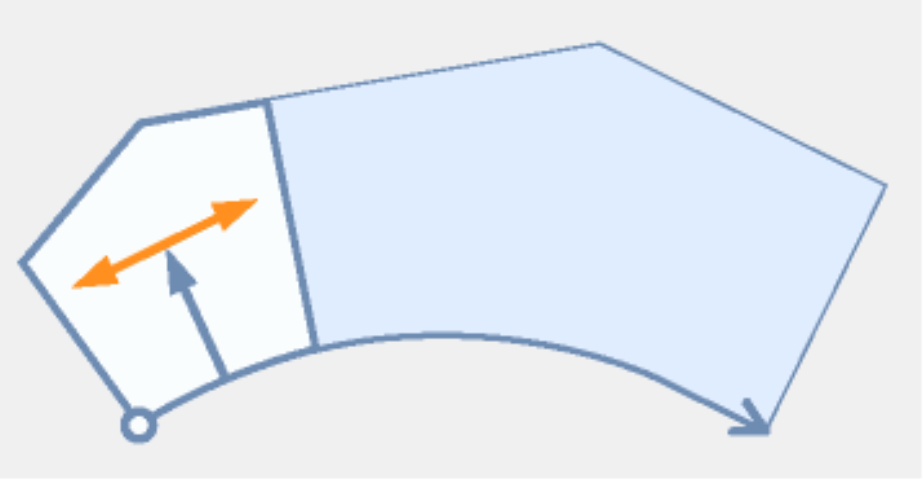
- A minimum width of 8.5m or 30ft. This is the minimum width of the lot at any location along the parcel.
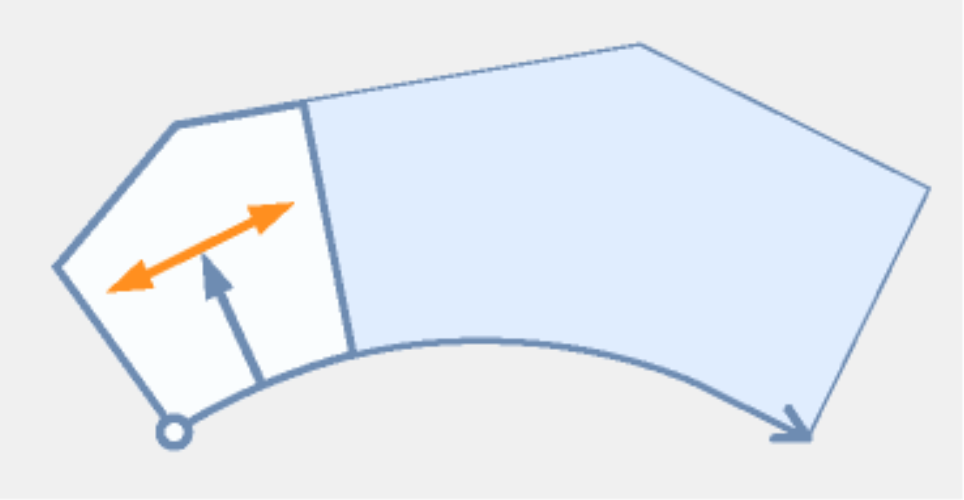
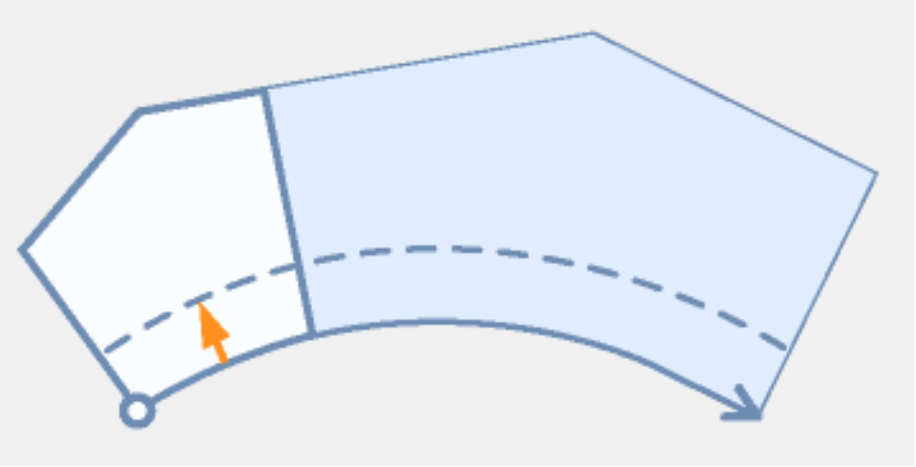 A frontage offset of 5m or 15ft
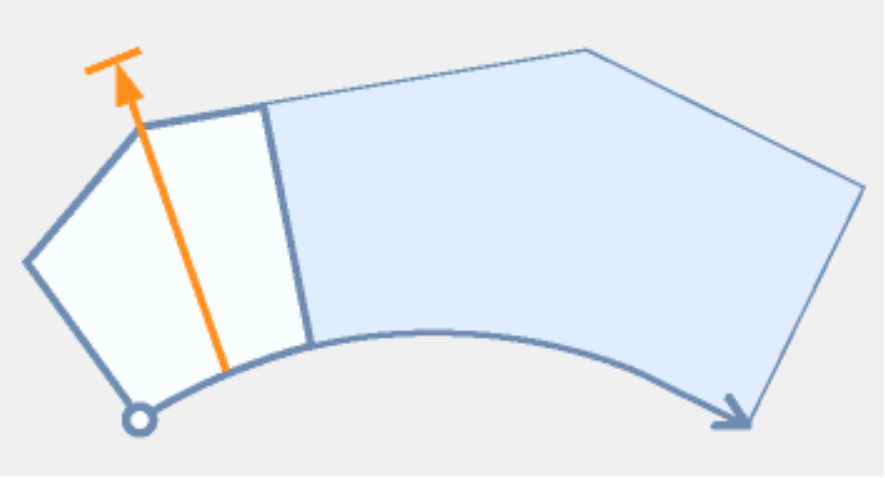
- A minimum depth of 15m or 20ft.
- A maximum depth of 40m of 150ft.
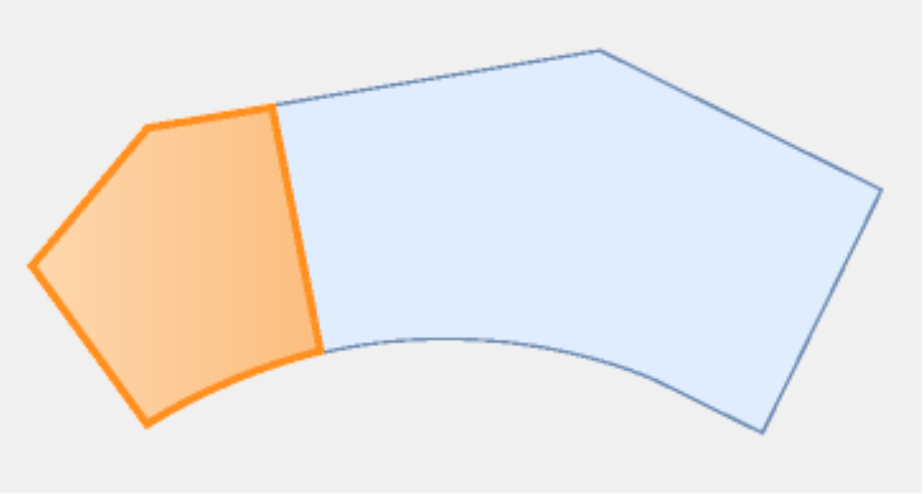
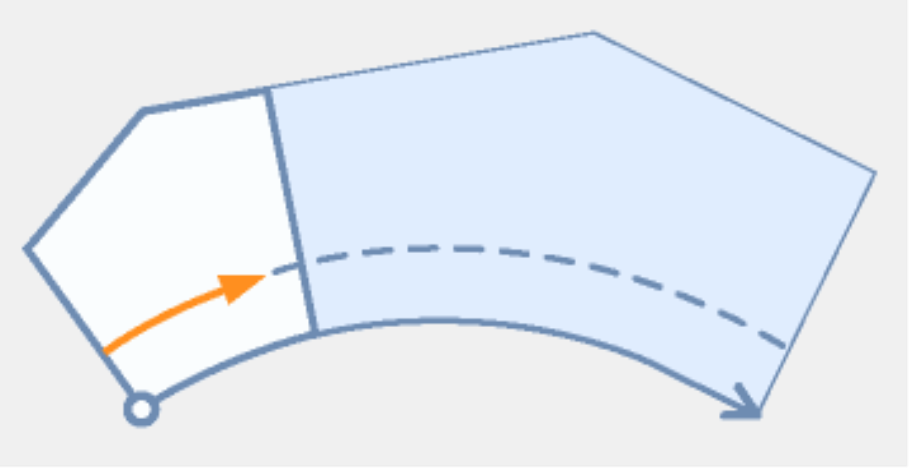
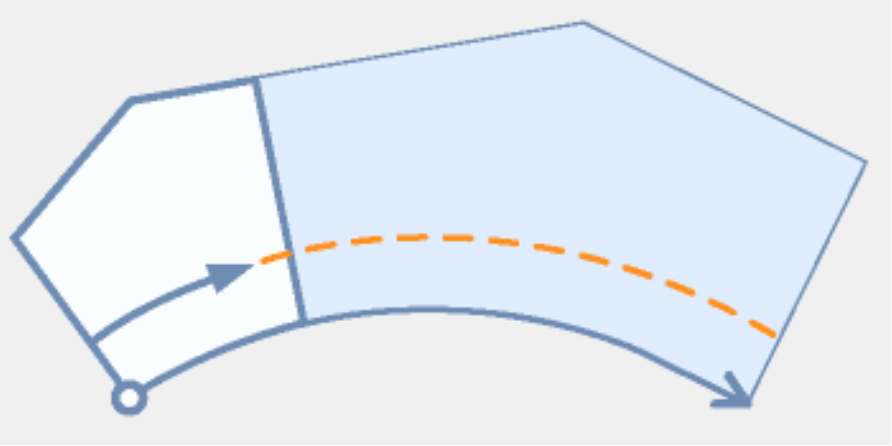
- When multiple solutions are possible, let's go with Smallest Area to maximize the land use.
- Let's turn off the Automatic Mode so that we can follow individual lots when they are being created.

- And finally, let's redistribute any remaining area that is too small to meet our lot creation criteria into the last created parcel. Typically, that would be a corner lot.