-
Get It
$19.99
$19.99Civil 3D Essentials Book and Practice Files
Civil 3D Parcel Slide Line – Create: A step by step tutorial guide
Introduction to Civil 3D Parcel Slide Line – Create
Firstly, what is a Civil 3D Civil 3D Parcel Slide Line – Create? Well, let's find out in this online training course. Certainly, this step by step tutorial is a part of the Civil 3D essentials book and how-to manuals.
Working with Civil 3D Parcel Slide Line – Create?
- We now have our parameters set, and we are ready to start laying out our parcels. We are going to run the Slide Line – Create to have lot lines, or Parcel Segments, created by sliding along the frontage.

- In the Create Parcels – Layout dialog box:
- Set the Site to Flower Village II,
- With a Townhouse Parcel style
- Leave the Parcel Layers to the default settings in our template
- Assign the Label Style for the area, the line segments and curve segments to your preferences, or as required by the reviewing agency.
- Check the Automatically add segments labels check box.
- And finally, click OK.
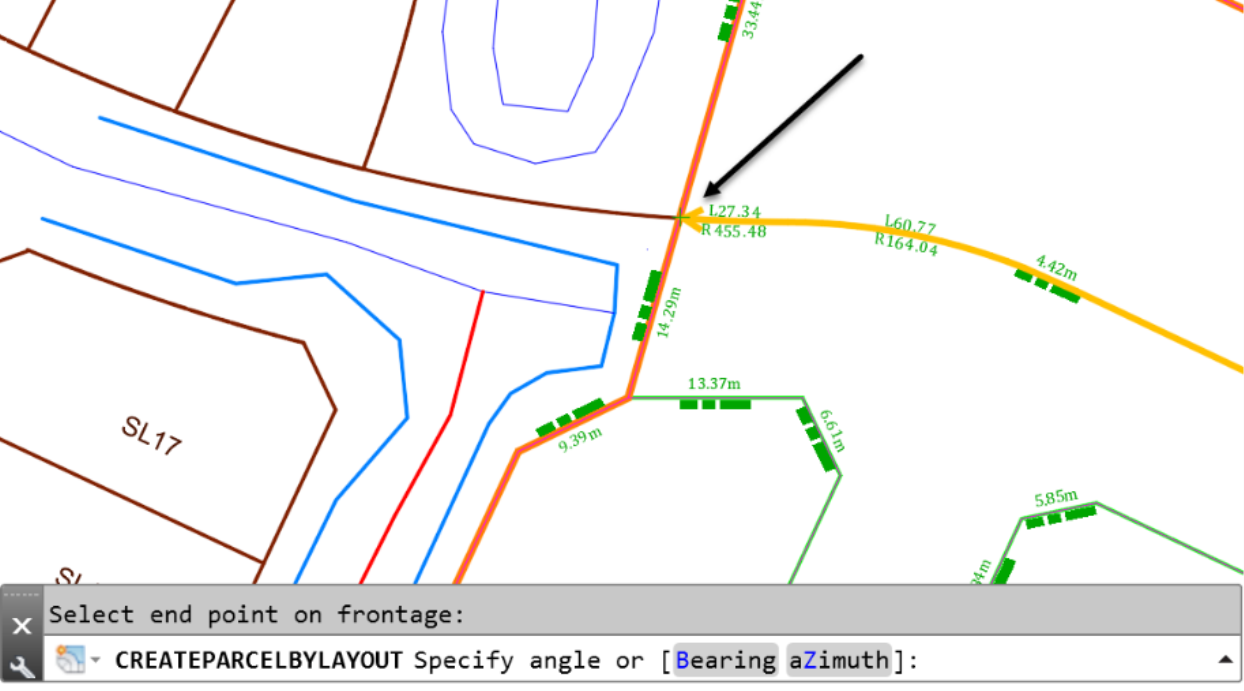
- At the command line, you are prompted to specify the parcel to be subdivided.

- Click on Parcel 3, the one to the north of the main street, Rose Drive.
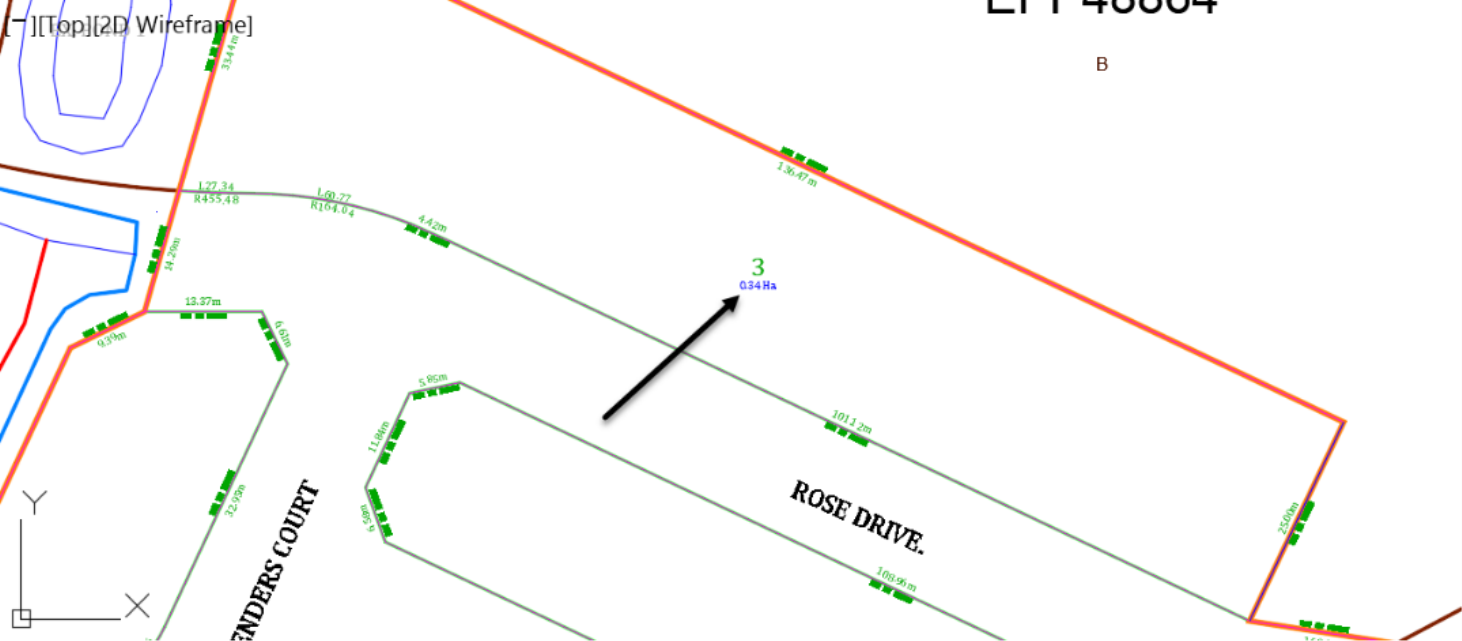
- You are then requested to specify the Start Point of frontage.

- To specify that, we want to click on the southeast corner of the parcel.
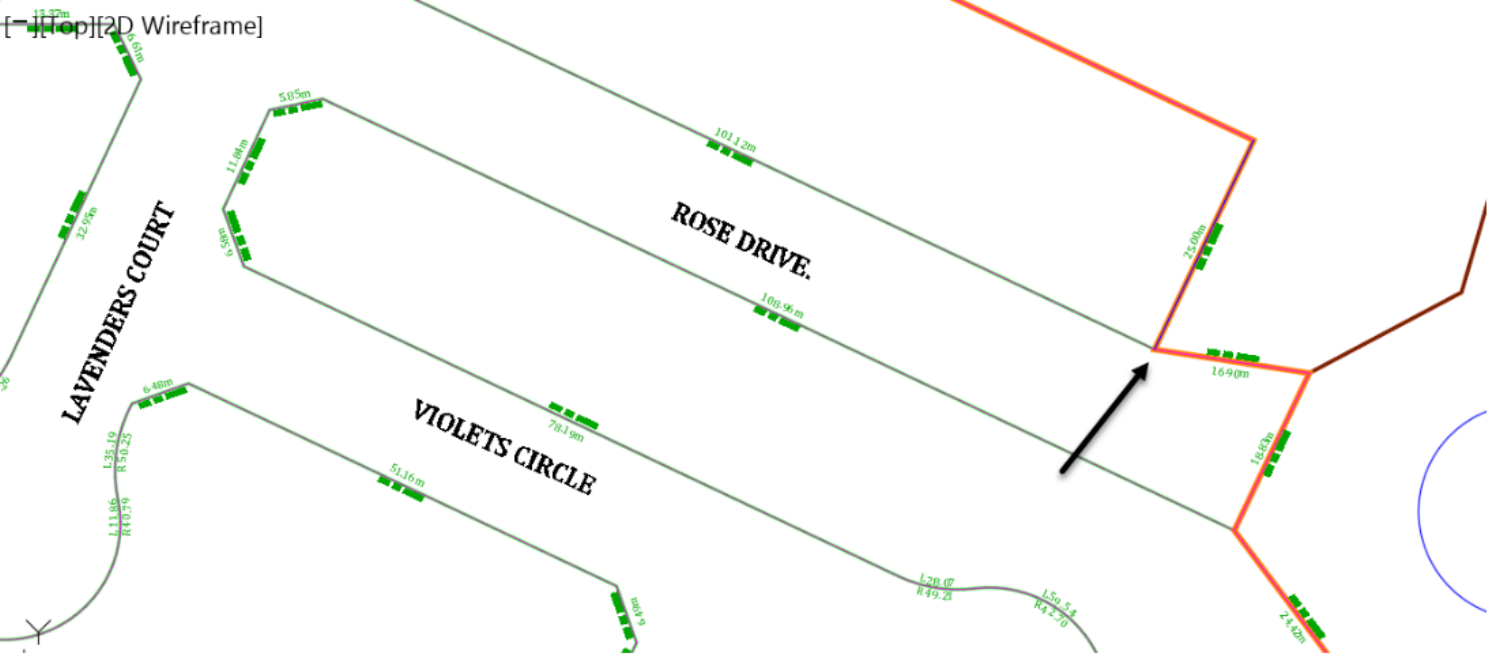
- Next, we must specify the endpoint of the frontage.

- What you need to do is slowly slide westward along the south frontage of lot 3. Notice how the orange frontage line slides with you.
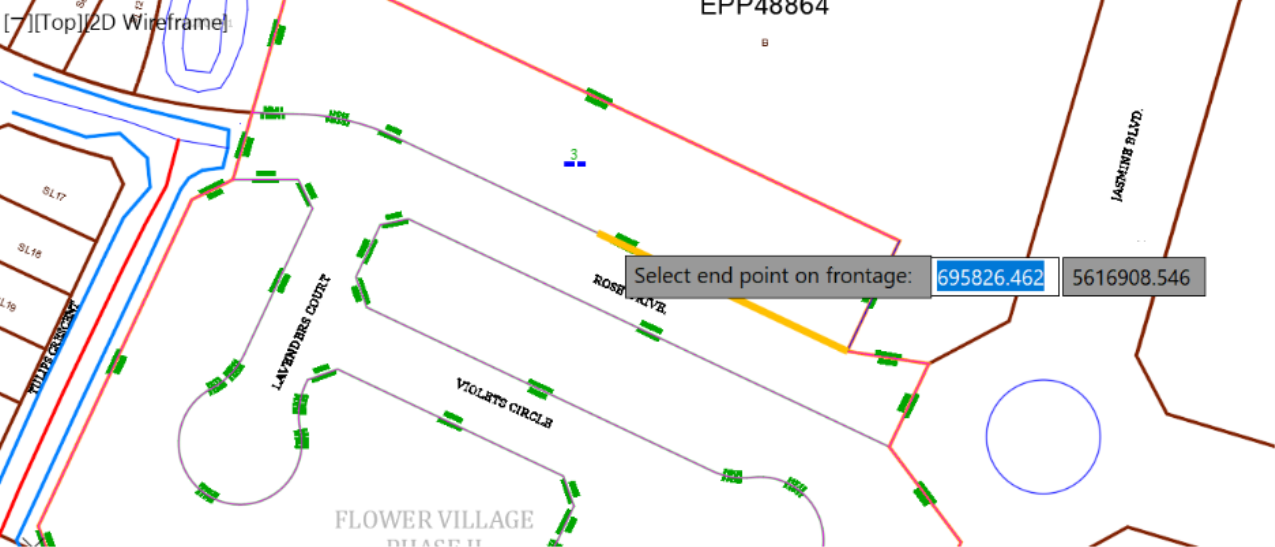
- When you get to the western end of the frontage, click to tell Civil 3D that you are done specifying the frontage.
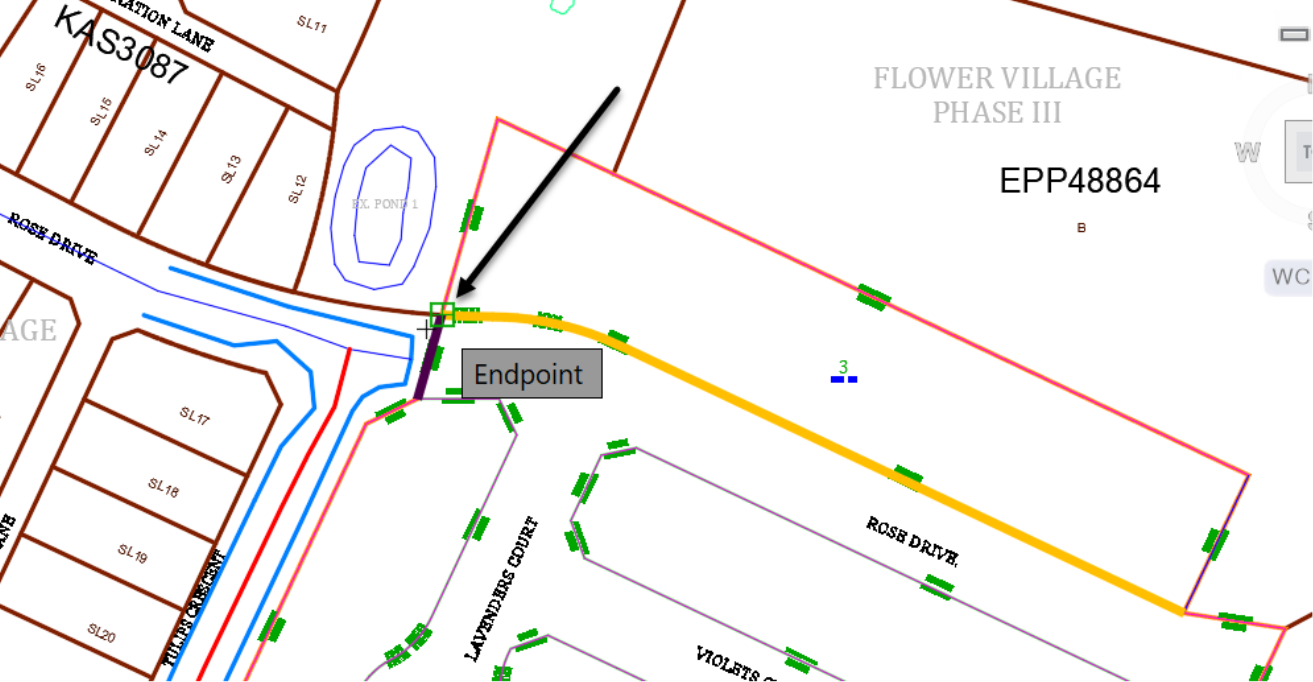
- An arrow is, then, added to the frontage line to indicate the direction in which lots will be created. You are then prompted to specify the angle of parcel segments, compared to the frontage.
-
Enter at the command line to accept the default 90-degree angle. The first parcel is now created; you are prompted to Accept or reject the result.

- Let's keep pressing Enter to accept, while the lots are being created. In any case, we have already set our design criteria, so there little that we should worry about for now.
- Notice how new lots are being created, numbered and parcel and segment labels are added automatically?
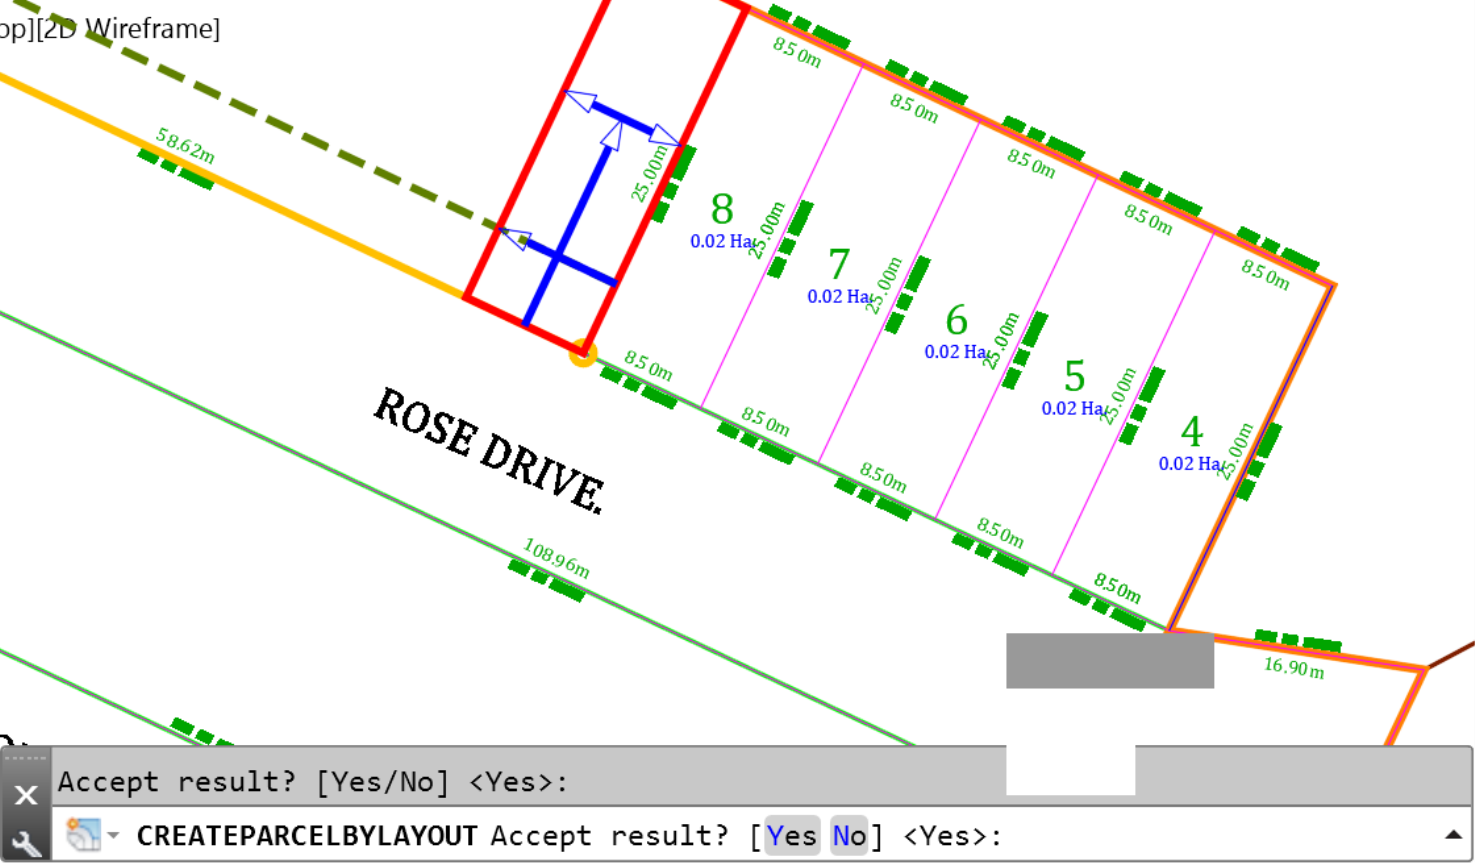
- Keep pressing Enter until you get to the final lot
- Press Escape to end the command
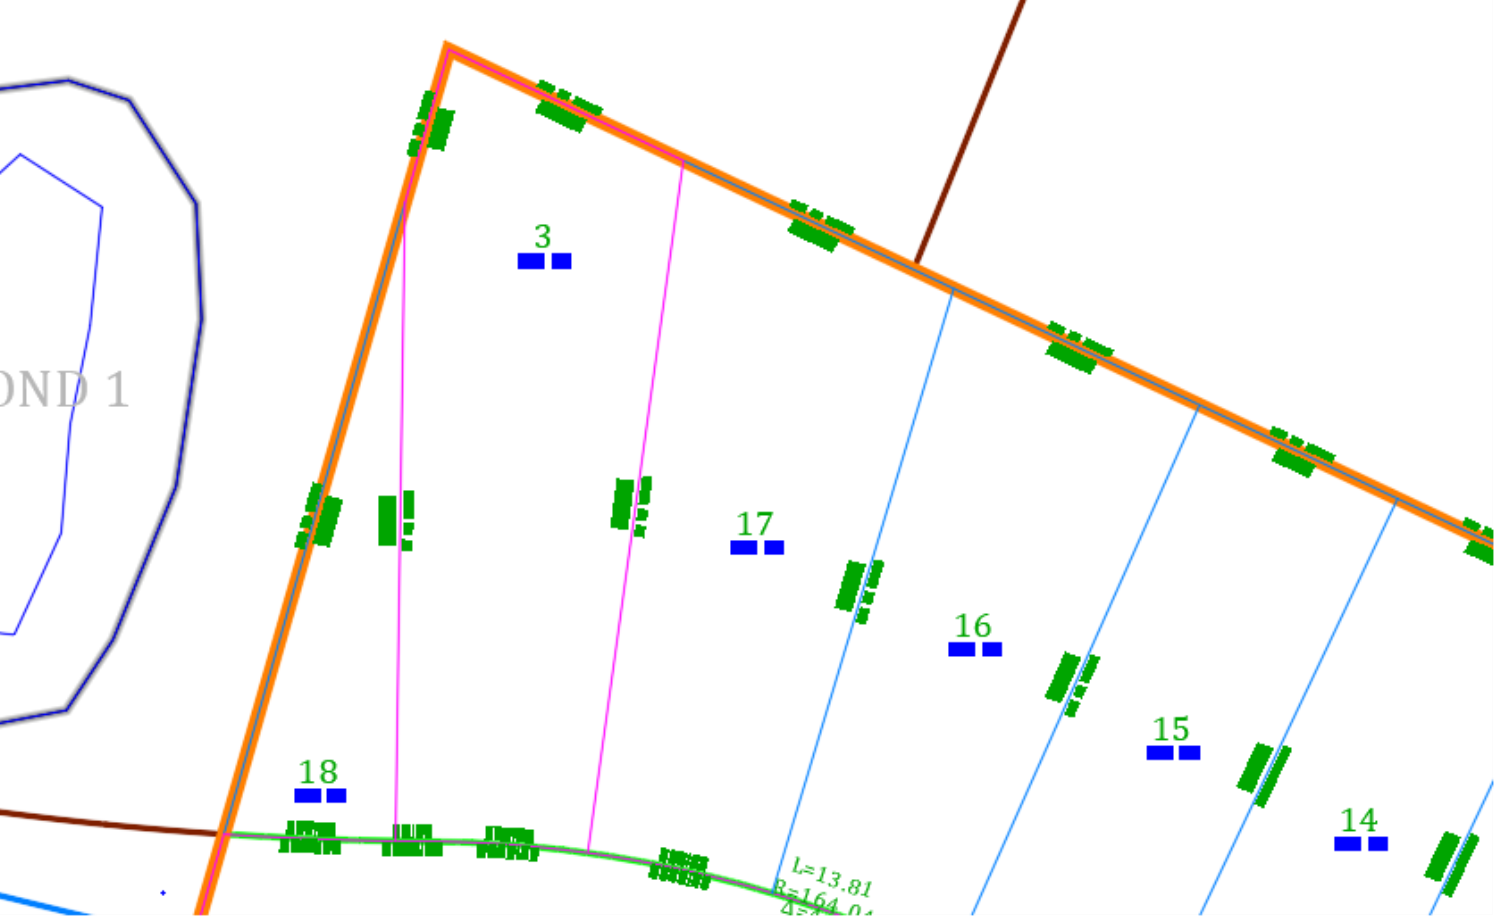
- Because we have turned off the automatic mode, the last small parcel (Lot #18) is not redistributed and merged with Lot #3. Let's do a manual redistribution by selecting and deleting the shared parcel segment between the two lots.
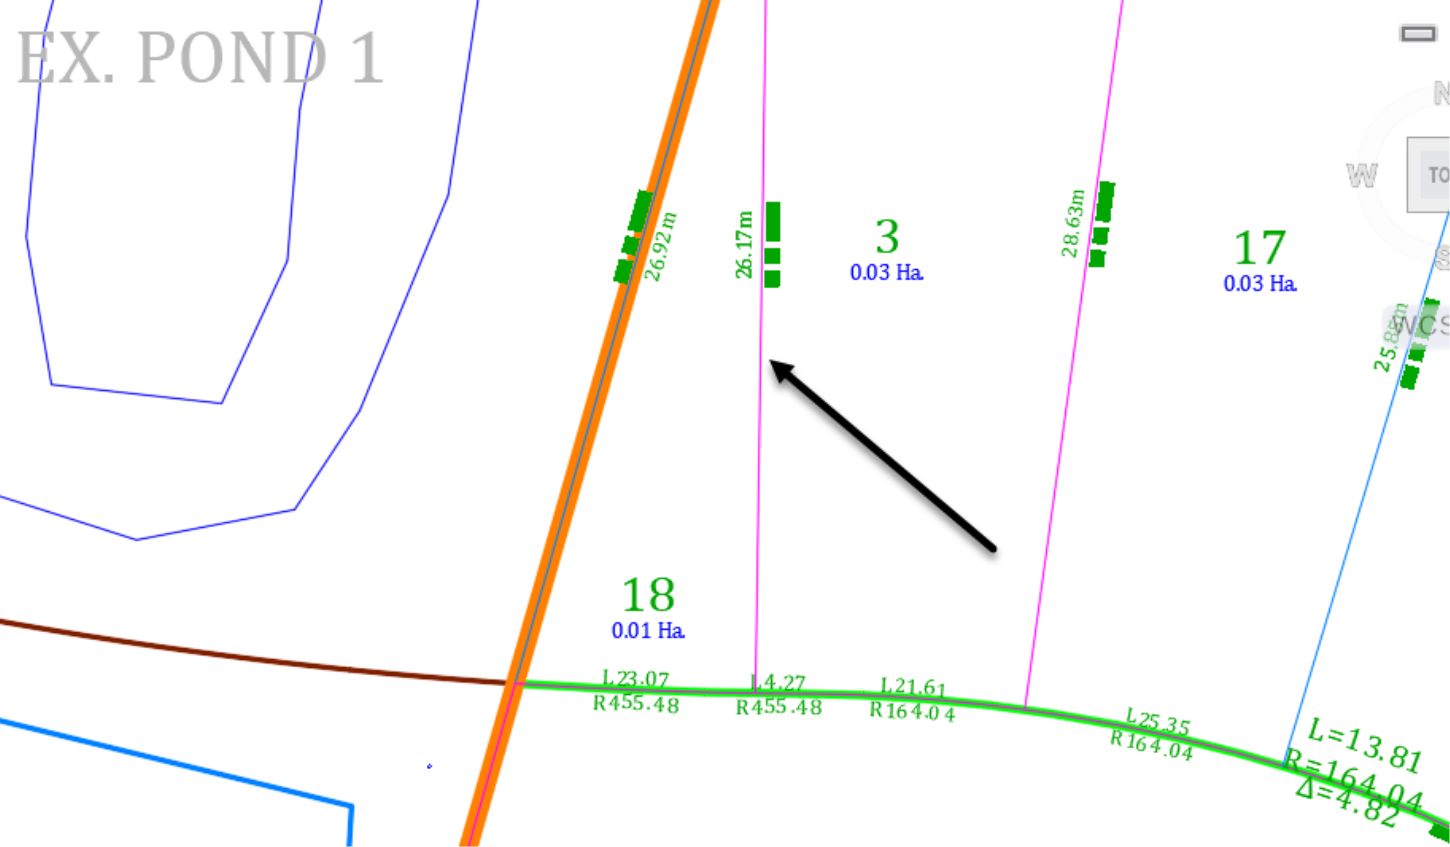
- The two lots are now merged to create a bigger Lot #18.
