-
Get It
$19.99
$19.99Civil 3D Essentials Book and Practice Files
Civil 3D Surface Properties: a step by step tutorial
Introduction to Civil 3D Surface Properties
Firstly, what are the Civil 3D Surface Properties? Well, let's find out in this online training course. Certainly, this step by step tutorial is a part of the Civil 3D essentials book and how-to manuals.
Working with Civil 3D Surface Properties?
Once created, the surface properties can be viewed or edited. To access the properties of the surface,
- Select it in the drawing or from the prospector

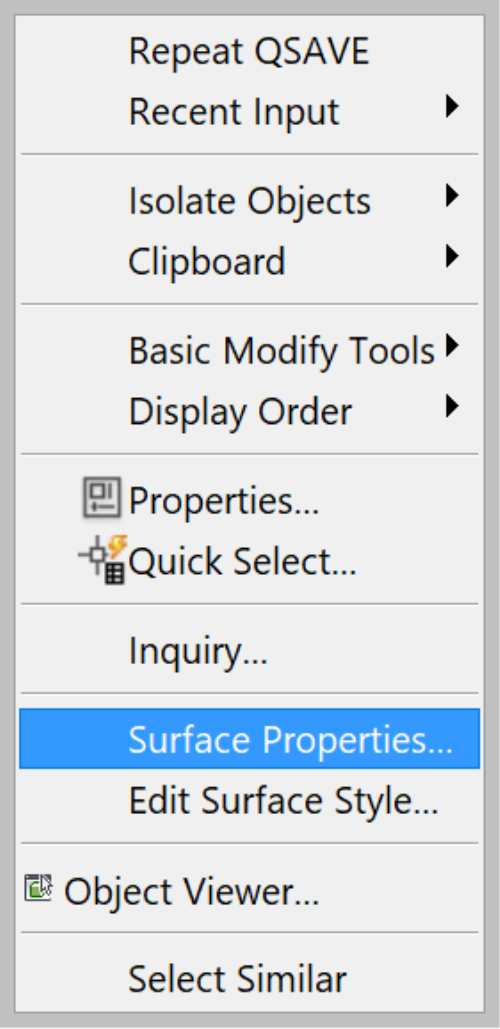
- Right-click in an empty area and select Surface Properties.
- The Surface Properties window opens and displays four tabs.
- The Information tab is where we set the name, description, and default styles, meaning Surface Style and the Render Material. On this tab, we can also lock the surface to prevent any further editing and, show or hide the display of tooltips.
- The second tab of the surface properties is Definition: it allows you to specify the definition parameters of the surface. For instance, it is possible to determine a minimum or maximum altitude allowed for the construction of the surface. For example, you can predefine a maximum allowed elevation of 400m or 1300ft and a minimum elevation of 300m or 1000ft. We know that the elevations for the current site are around 350m (or 1200ft). Thus, we immediately eliminate certain types of errors in the survey data. With a minimum and maximum elevation set, we don't have to worry when the surveyor makes a typo and enters 3500m or 11500ft instead of 350m or 1150ft. We can also set more definition options, such as the maximum triangle lengths, crossing breaklines, and much more.
The Operation Type section of this surface properties window gives you a complete list of actions performed to define the surface. You can change their order by selecting an operation. For example, adding a Point Group, and clicking the Ascending and Descending arrows on the left. The chronological order is from top to bottom. It is also important to note that in Civil 3D surface definition, the most recent operation, Raise/Lower in this case, takes precedence. Let's see what that means.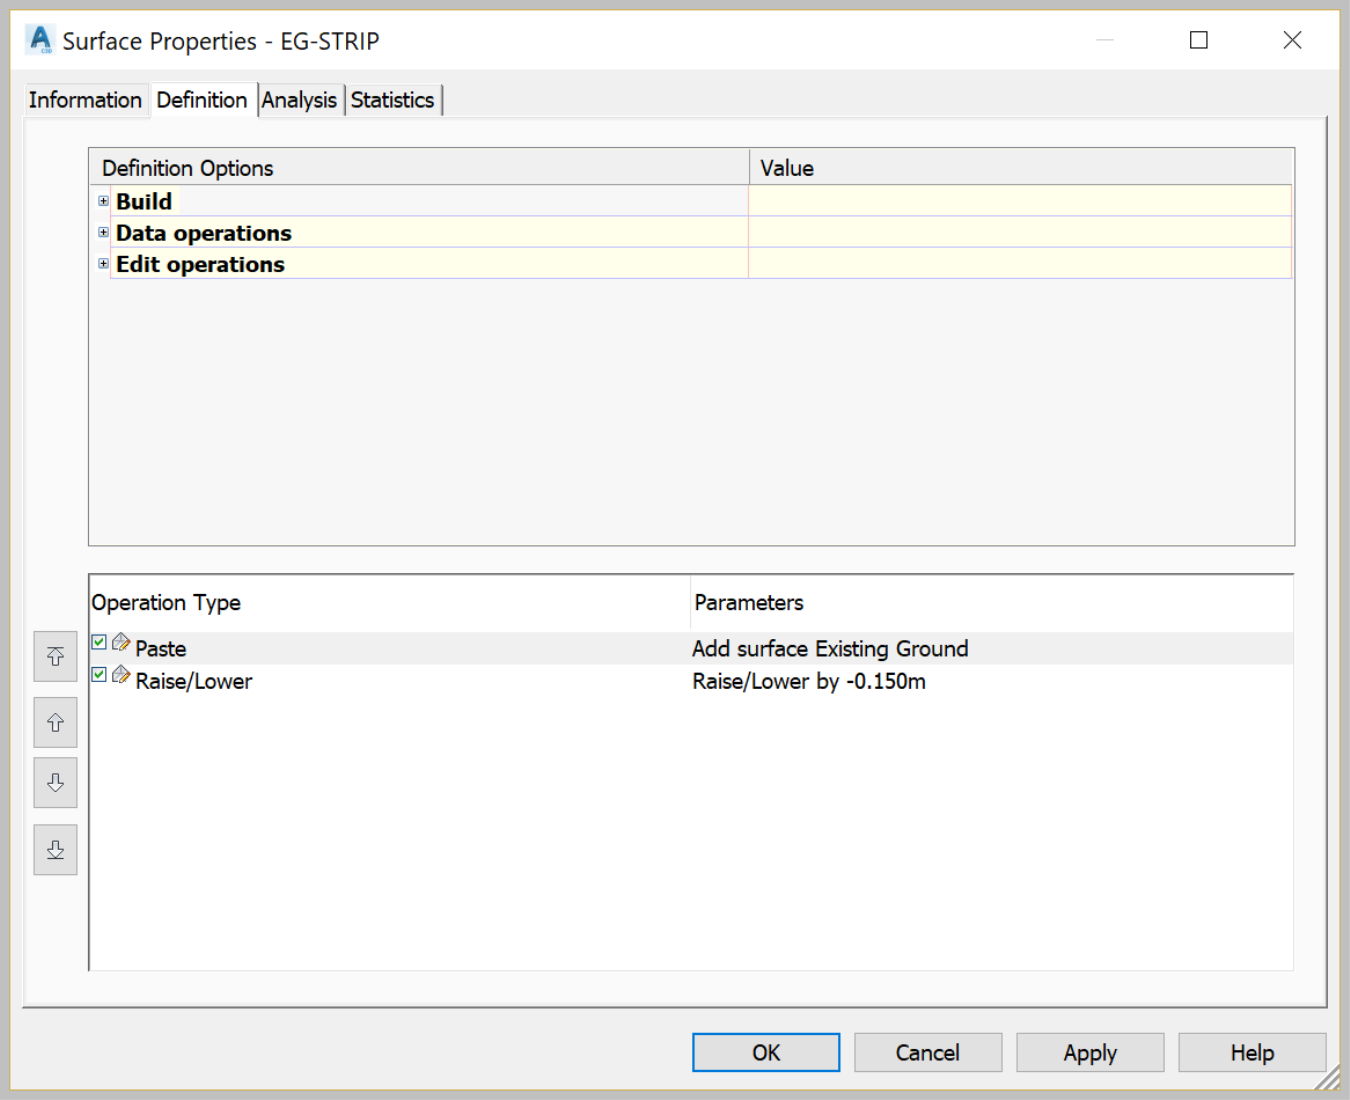
- Click on the Statistics tab of the surface properties window, last to the right, and take note of the current surface information. Let's write down the value of the Mean Elevation.
- Now, go back to the Definition tab of the surface properties window, second from the left.
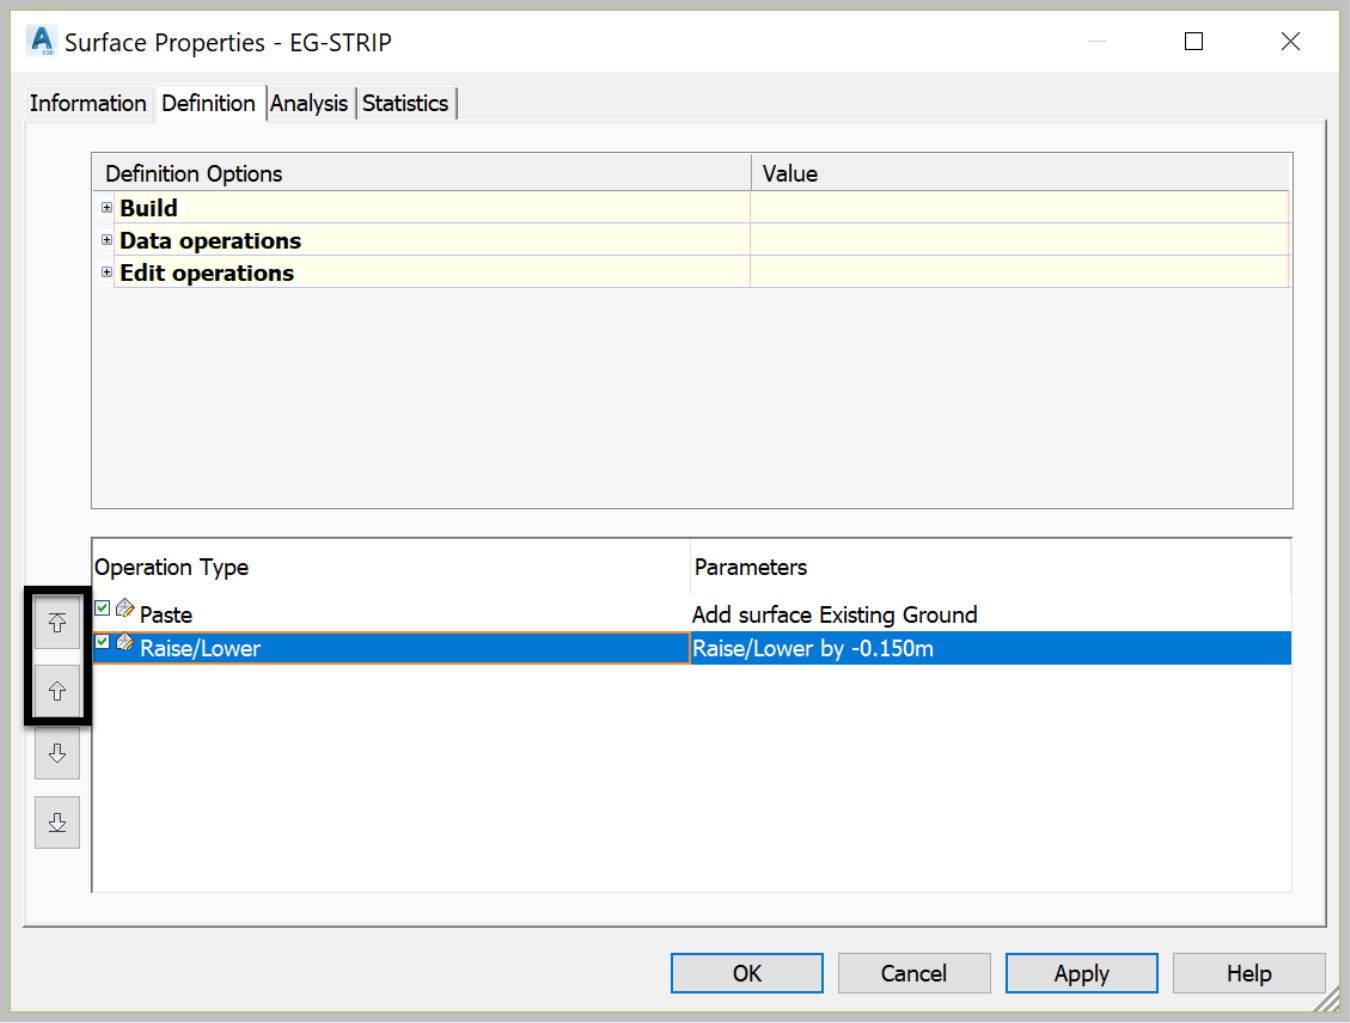
- Select the last operation, Raise/Lower, and move it up using any of the Up arrows to the left.
- The raise/lower operation is now at the top. You get a notification, the two yellow exclamation marks, warning you of changes to the surface. That's exactly what we are trying to do, change the surface.
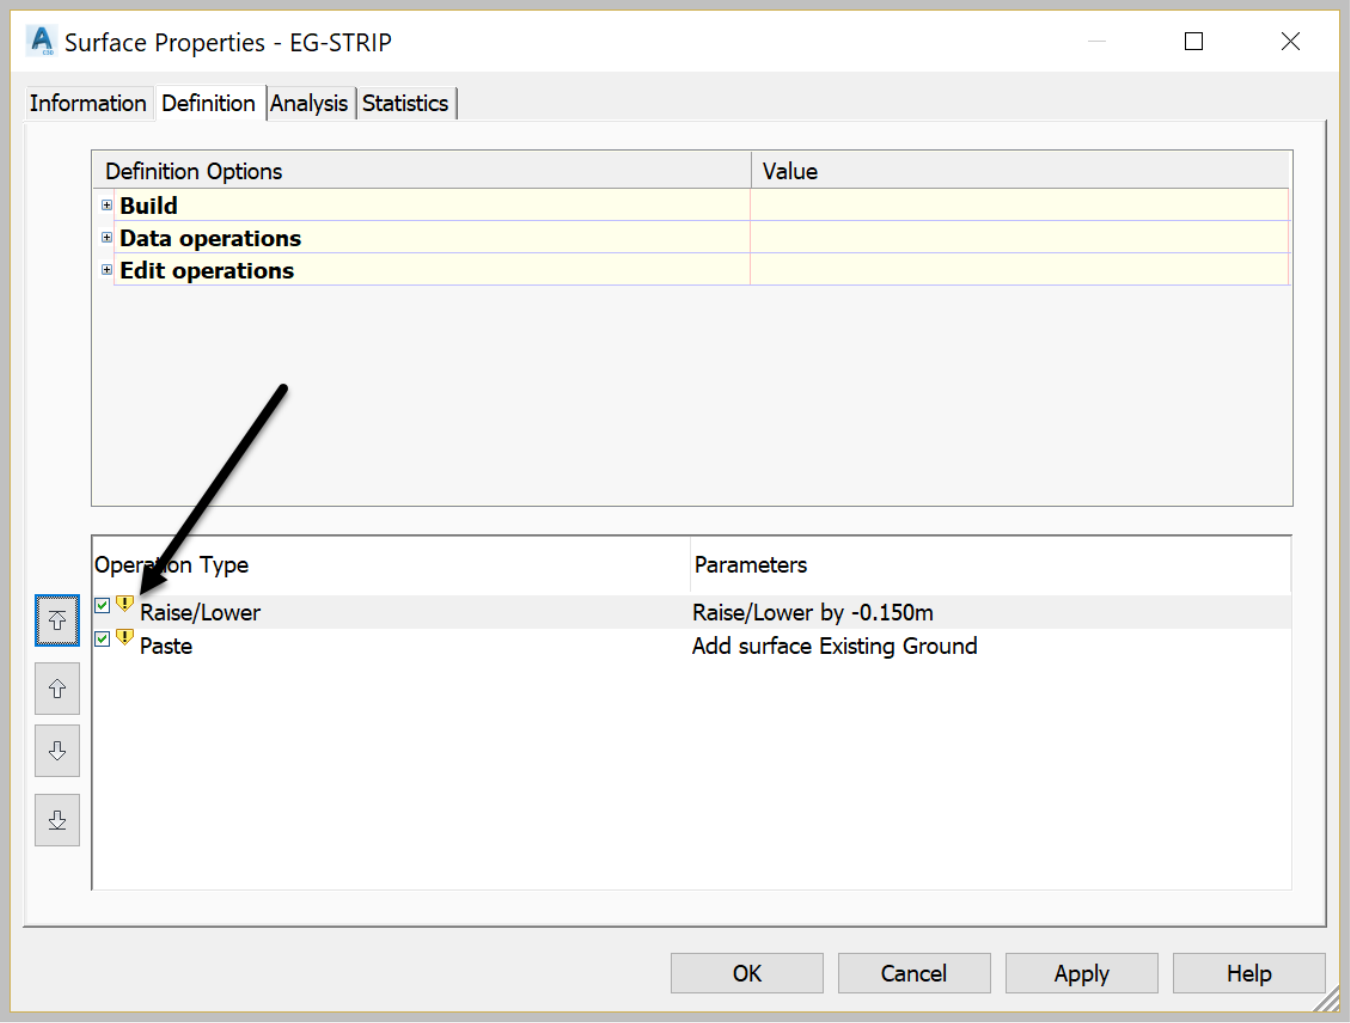
- By changing the order of the operations, in practical terms, we have first lowered the existing ground by the depth of the topsoil (15cm or 6 inches). This is because the raise/lower operation is now at the top, with less priority. We then, pasted the existing ground on top of it. Which brings us to square one, the existing ground.
- Since Civil 3D is warning us that a surface definition has changed, we need to acknowledge that. Click on OK to close the Surface Properties window. We will be back right here once we let Civil 3D know what to do with the changes.
- Now let's go and check the Statistics tab and verify that's indeed what happened.
- In the Prospector, right-click on the surface with the yellow warning sign. We have two options. The first one is to Rebuild. With this option, we will rebuild the surface and continue to get warnings every time we make changes to the surface definition. This is good, as it helps us be aware of potential accidental changes to the surface. The drawback is that intentional changes will not automatically propagate through the design. Thus, other entities , such as profiles, manhole elevations, pipe rules, and earthworks volumes are not updated. Despite that these entities depend on the surface. We would need to manually rebuild the surface to make them aware of the new changes.
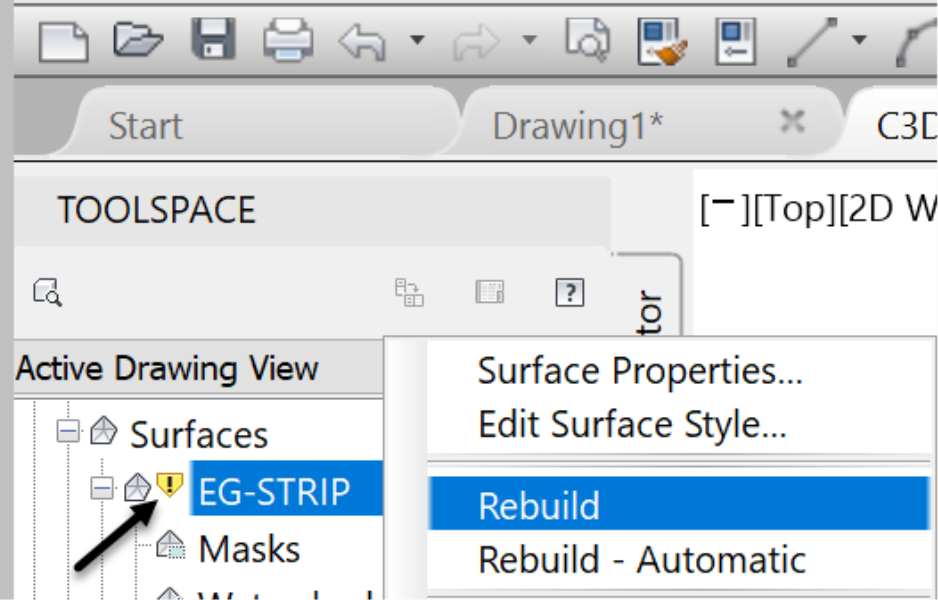
Our second choice is to Rebuild – Automatic. Thissimply tells Civil 3D to go ahead and automatically update the surface and not bother us with warnings while we are busy doing other things. We may save time with this option. However, there is a potential for unintentional changes to the surface to slip through the cracks. They will not be detected because we have decided not to be warnedofchanges. Our recommendation is always to update manually. The benefit of avoiding costly mistakes could justify the lost time caused by manual updates. So, select the manual rebuilt mode and let's go back to the Surface Properties window and check if, indeed, the new value for the mean elevation is changed. We have predicted that the mean value would be changed to that of the original surface.
- Open the properties windows with a right-click on the surface, then go the Statistics tab.
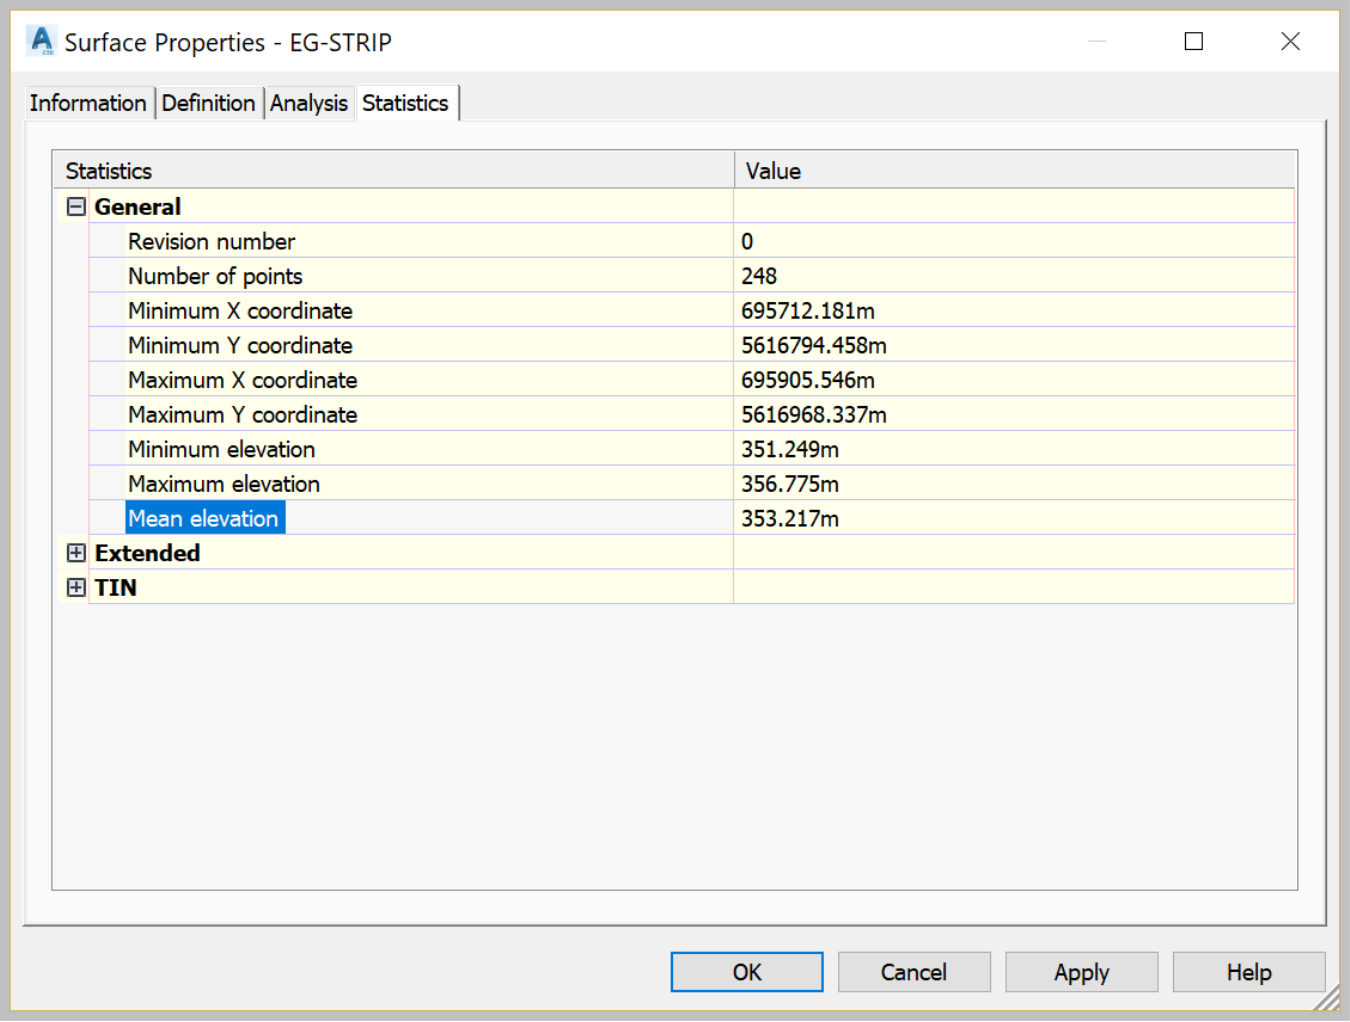
- As it turns out, the new value from the Mean Elevation is now 15cm or 6in higher than the stripped surface. That tells us that we are in fact, back to square one (existing ground elevations). In summary, it's important to understand that as far as creating surface is concerned, the last operation always wins. As shown by the stripped surface example, we must first copy the existing ground surface then lower it. Not the other way around.