• $19.99

    $19.99Civil 3D Essentials Book and Practice Files

    Get It

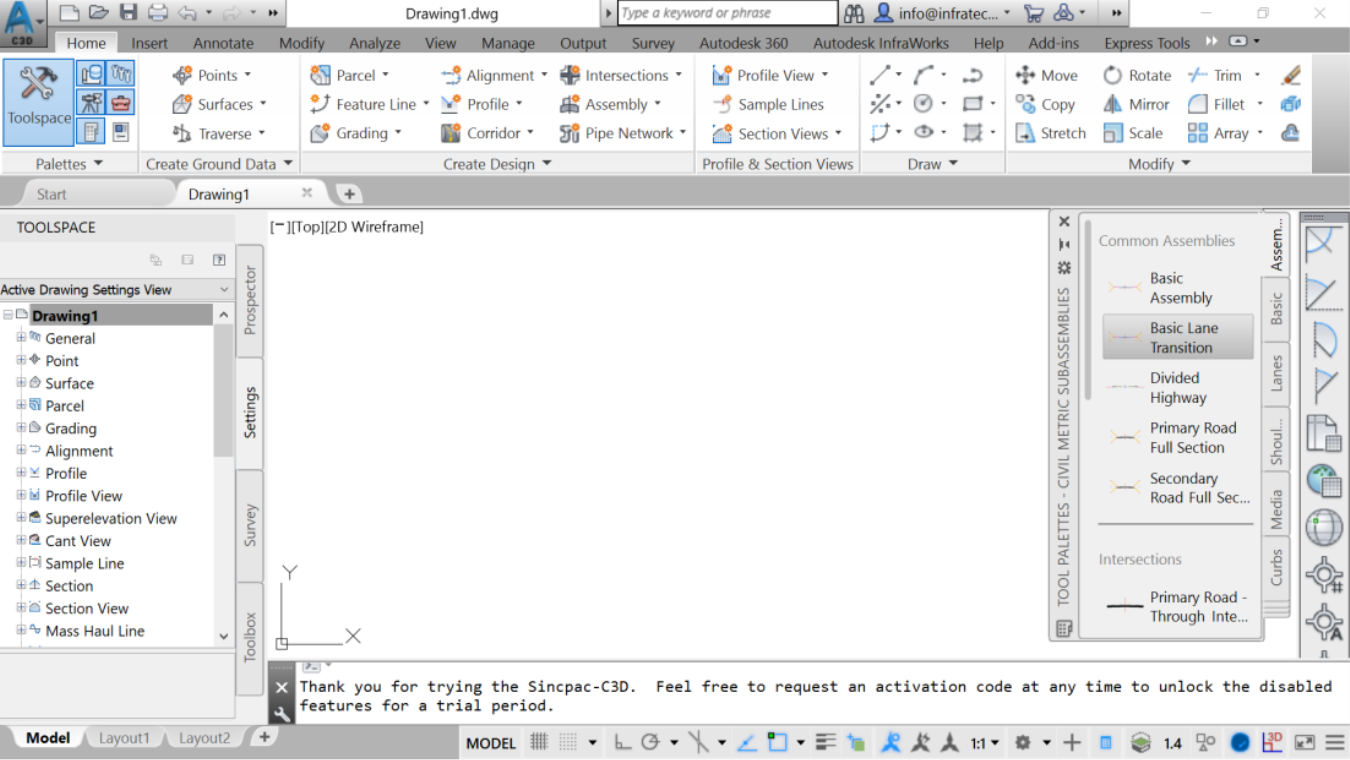
2.1         About the Start Screen

  1. Now, we are going to explore a few items accessible from the Start Screen. It will be advantageous to know how to access some of the options and Autodesk services before diving deep into Learning Civil 3D.
  2. Launch Civil 3D by clicking a shortcut, usually from your PC's desktop, program menu or taskbar. Civil 3D opens, and your default template file, drawing 1, is displayed.
      
  3. Next, click on Start. You will notice two more tabs at the bottom of the screen, Learn and Create.
      
  4. Let's focus on the Create tab, the default one.  On this screen we have three sections: Get started, Recent Documents and Notifications.


  1. The Get Started section allows us to do things like,
  • Opening drawing files and sheetsets
  • get templates online, such as localized country-specific kits; and
  • explore sample drawings on our desktop.
  1. The middle section shows a list of Recent Documents we have worked with. These documents are shown in chronological order. So, if we are looking for a recent document that we don't quite remember the folder it was saved in, this is a good place to look. Furthermore, we can pin a document, to permanently display it in this list, by clicking on the Grey pin in the top right corner. Once we are done with working with that file or don't need to remember it anymore, we can simply unpin it.


  1. At the bottom, we have an option to display the files in different modes: Big and medium icons, with previews, or list view modes.


  1. Now, let's explore the third section, Notifications. In here, we get notifications from Autodesk to make sure our subscriptions and services are up to date and running smoothly. If you are logged into your AutoDesk account, you will see the number of items that need your attention. In our case, we have one item, which is a number of products that need to be updated. Let's check it out.  Click on Updates.


  1. A new window is displayed. The icon in the top left corner allows us to see a full list of products. This list will be different depending on your subscription package. But the process is usually the same.  To see the list of updates that can be made, Click on My products and tools.


  1. What is shown here is a comprehensive list of all products in your subscription package. In this case, we have access to the AEC collection (Architecture, Engineering, and Construction), which gives us access to software such as Civil 3D, Revit, Recap, Map 3D, and many more. This is a good place to check if you ever need a design software.
  1. You may already have access to one in your collection, without knowing it. To install a software, simply agree to the terms and conditions, and you are on your way.
  1. One more thing you can do is to access your full Autodesk Account from the menu in the top right corner.


  1. Once there, click on the Account Details, then on Access my complete list of products and services.


  1. Here, you can,
  • manage your profile or company settings, if you have account administrative rights. 
  • change contact and billing information; and
  • access cloud services.
  1. But, one of the most useful services is a direct access to Autodesk TechnicalSupport. To do that, click on the support icon in the top right corner.
      

  1. From there, you can check on updates on your existing support cases or simply create new ones:
      

  1. Then,
  • Close your internet browser window to return to the Autodesk Portal.
  • Click on done to close the account details window.


  1. Next, close the main portal access window to return to the Start Screen.

This concludes the section on the Start Screen. Next, we will start exploring in more details, the Civil 3D interface and the working environment.