-
Get It
$19.99
$19.99Civil 3D Essentials Book and Practice Files
Creating Civil 3D Parcels from Objects : A step by step tutorial guide
Introduction to Creating Civil 3D Parcels from objects
Firstly, why do we need to know about creating Civil 3D parcels from objects? Well, let's find out in this online training course. Certainly, this step by step tutorial is a part of the Civil 3D essentials book and how-to manuals.
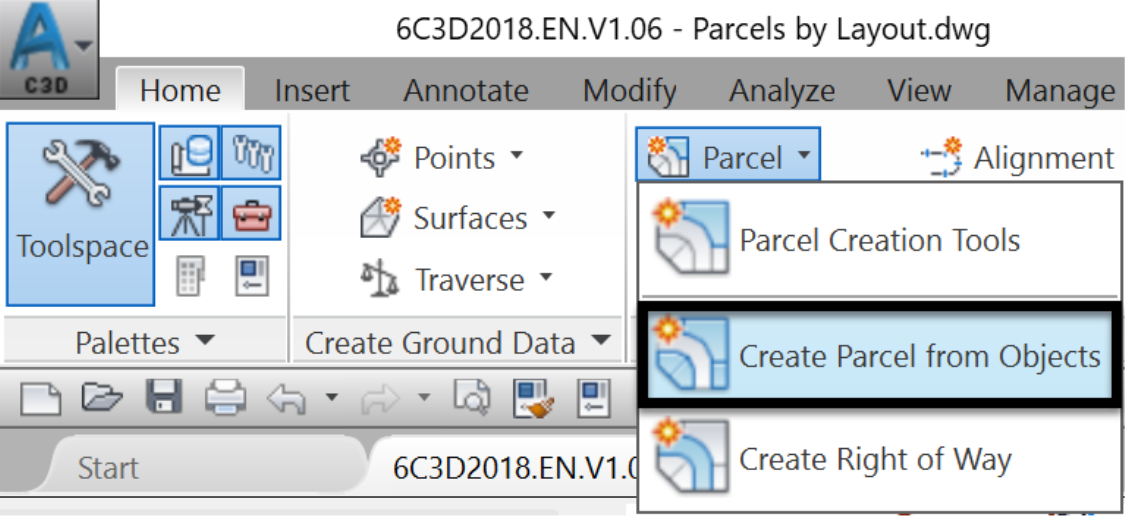
Creating Civil 3D parcels from objects
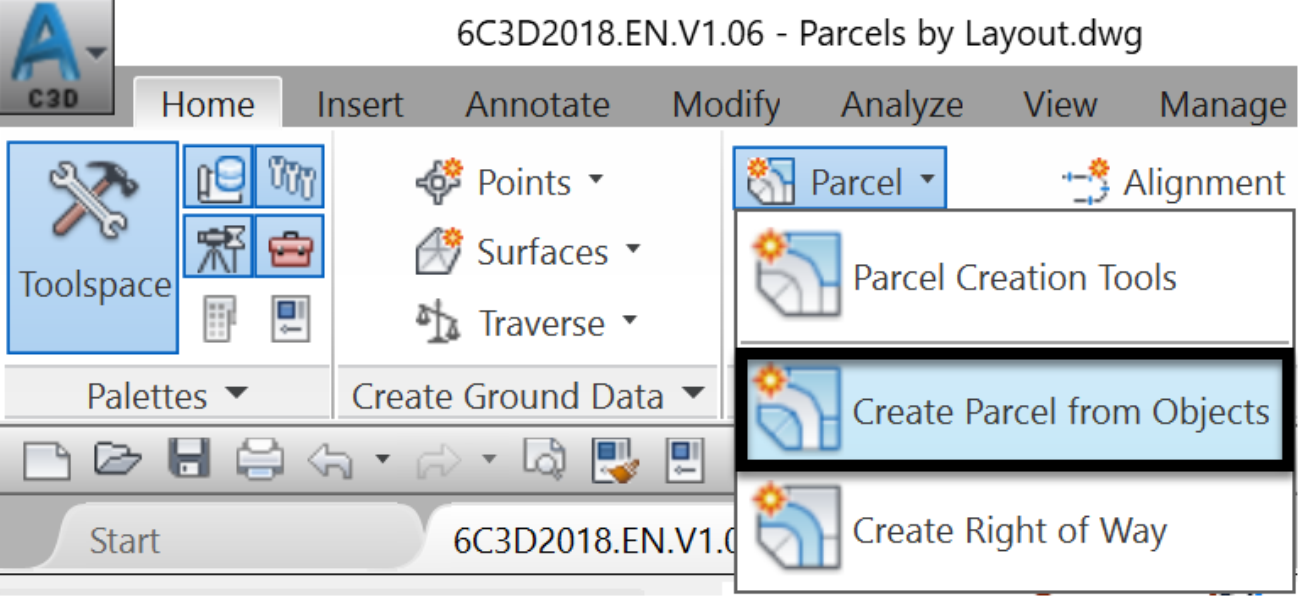
- Create a parcel from the main lot (blue boundary line). To do that, from the Ribbon, click on the parcel command and Create from Object from the drop-down menu.
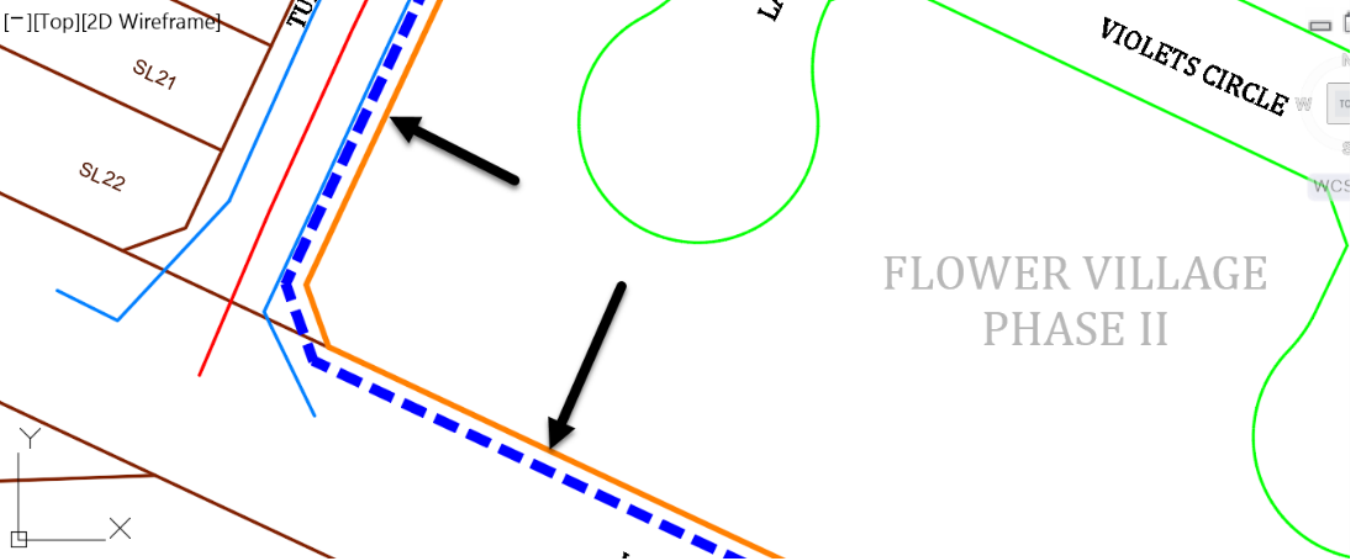
- Click anywhere on the Orange line representing the site boundary.
- Type Enter at the Command Line input.
- In the “Create Parcels” window,
- Choose the options to put the created parcel lines into the Site, Flower Village II.
- Apply a single-family style with the townhouse lots we will be creating.
- Accept default layers.
- Use Parcel Number and Area for the area’s labels, Bearing over a distance for the line segments, Length, and Radius of curve segments.
-
We will also decide to keep the original lines; even though we can erase them. We may need them to create future grading surface boundaries.

- Click Ok.
- Now, define the road right of way. Rerun the same command to create parcels from objects.
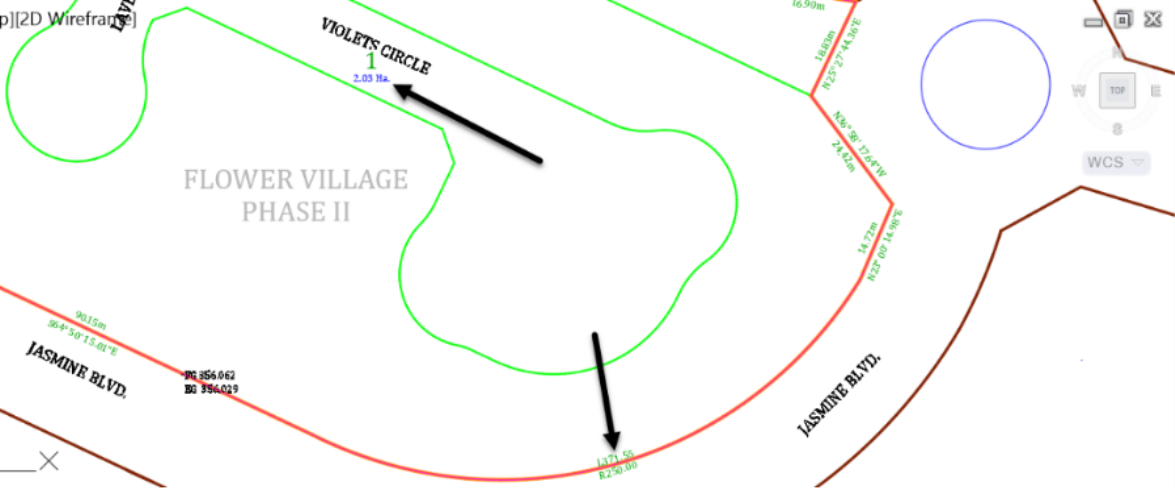
- You will notice that the overall parcel has been created from the boundary polyline. Segment labels have also been added.
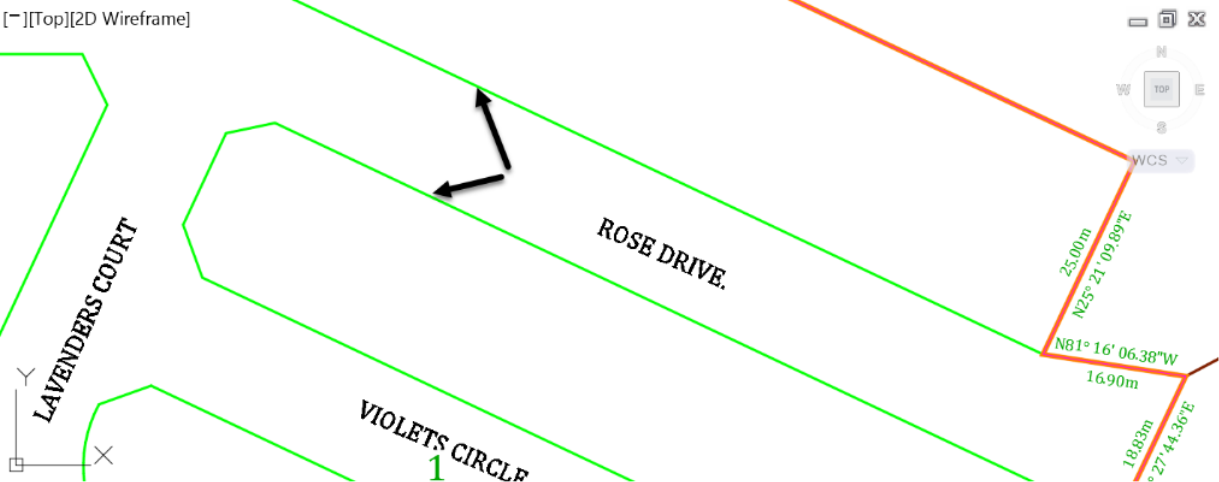
- Next, let's create a parcel for the road right-of-way. Rerun the Create Parcels for Objects command from the ribbon.

- This time select the two road right-of-way polylines.
- In the next box, accept the same default settings previously used for the boundary polyline.

- Click Ok.
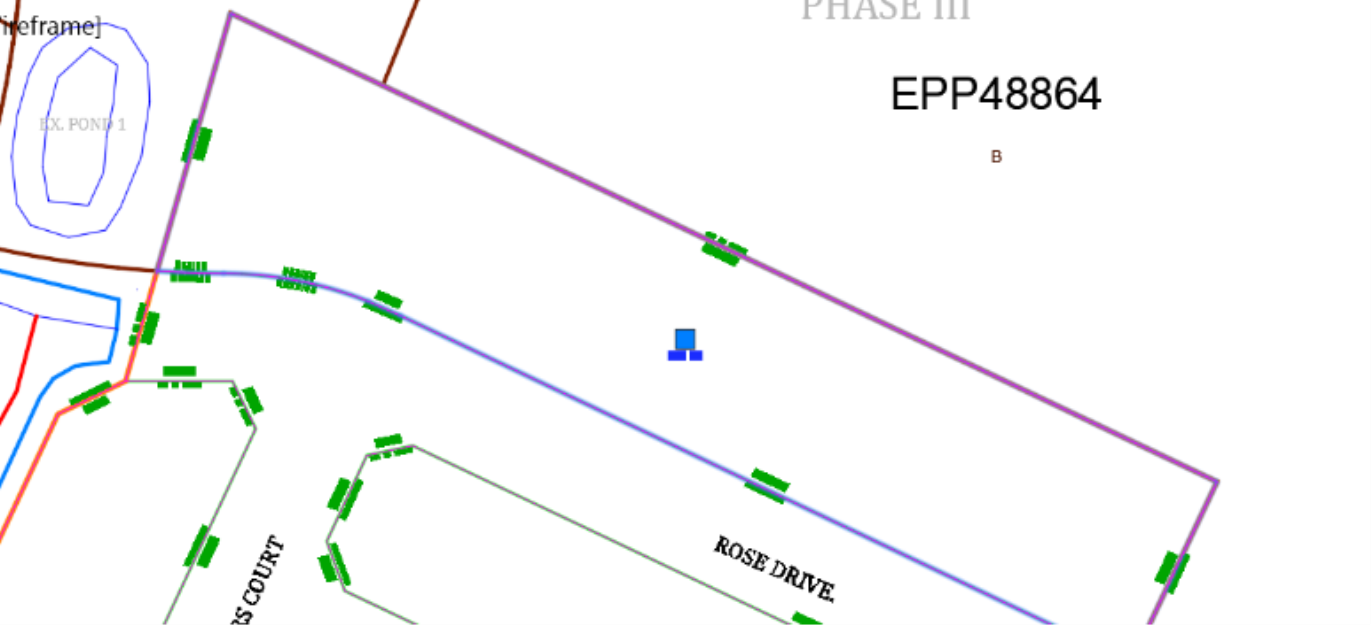
- We have now created three lots. Two residential parcels and another one representing the road right-of-way.
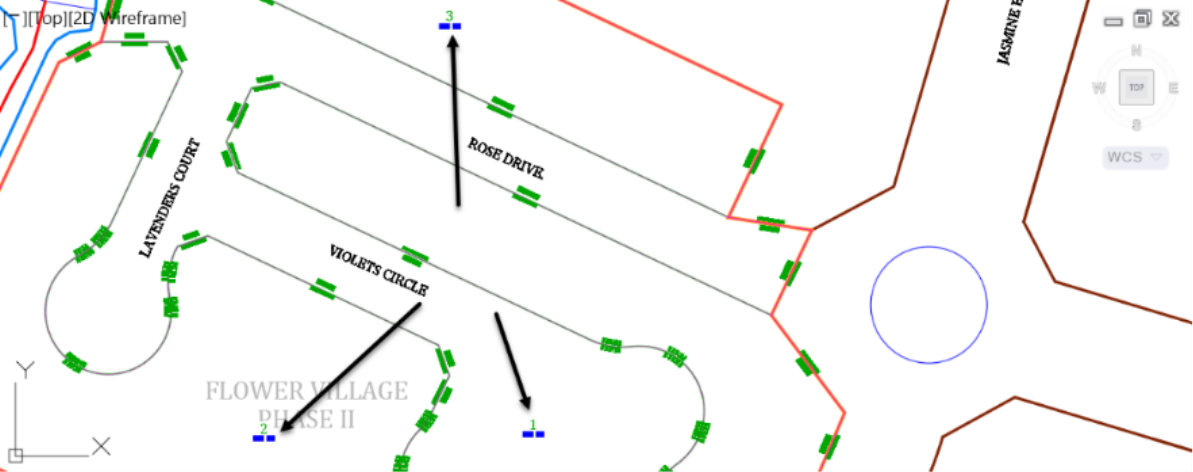
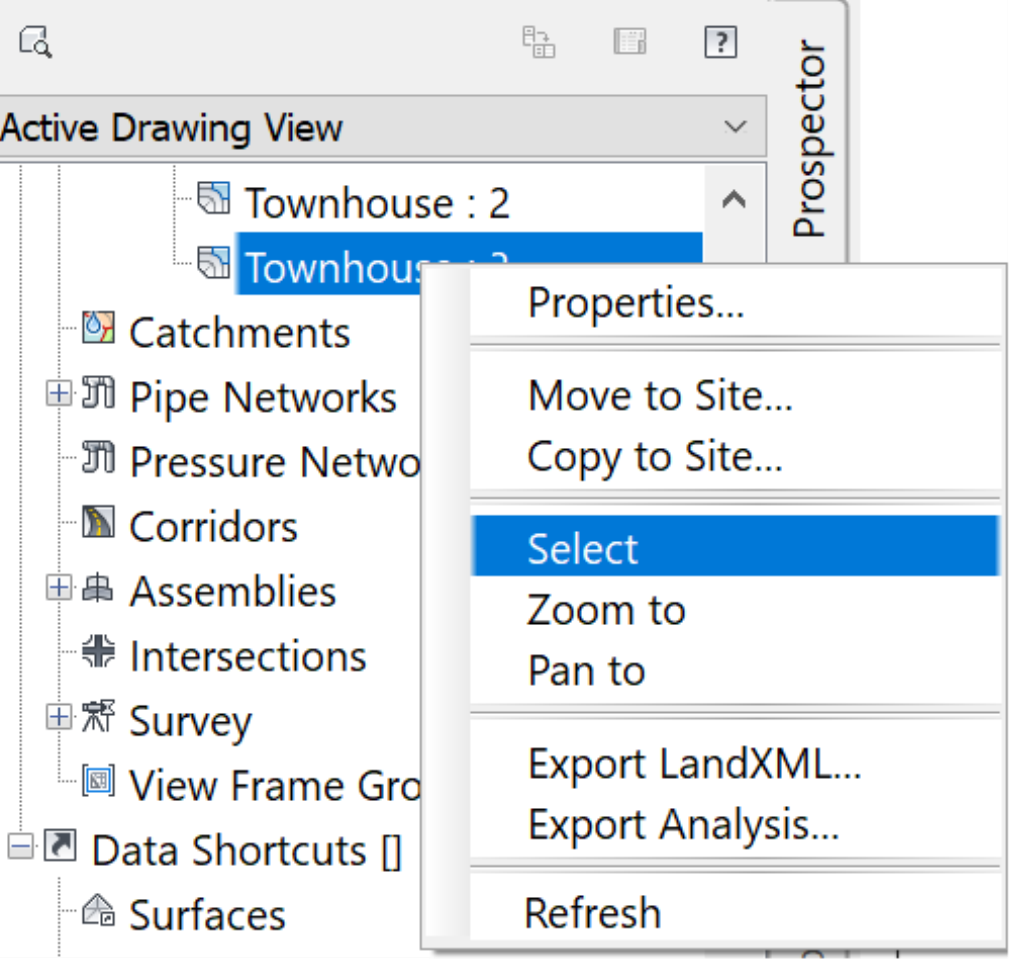
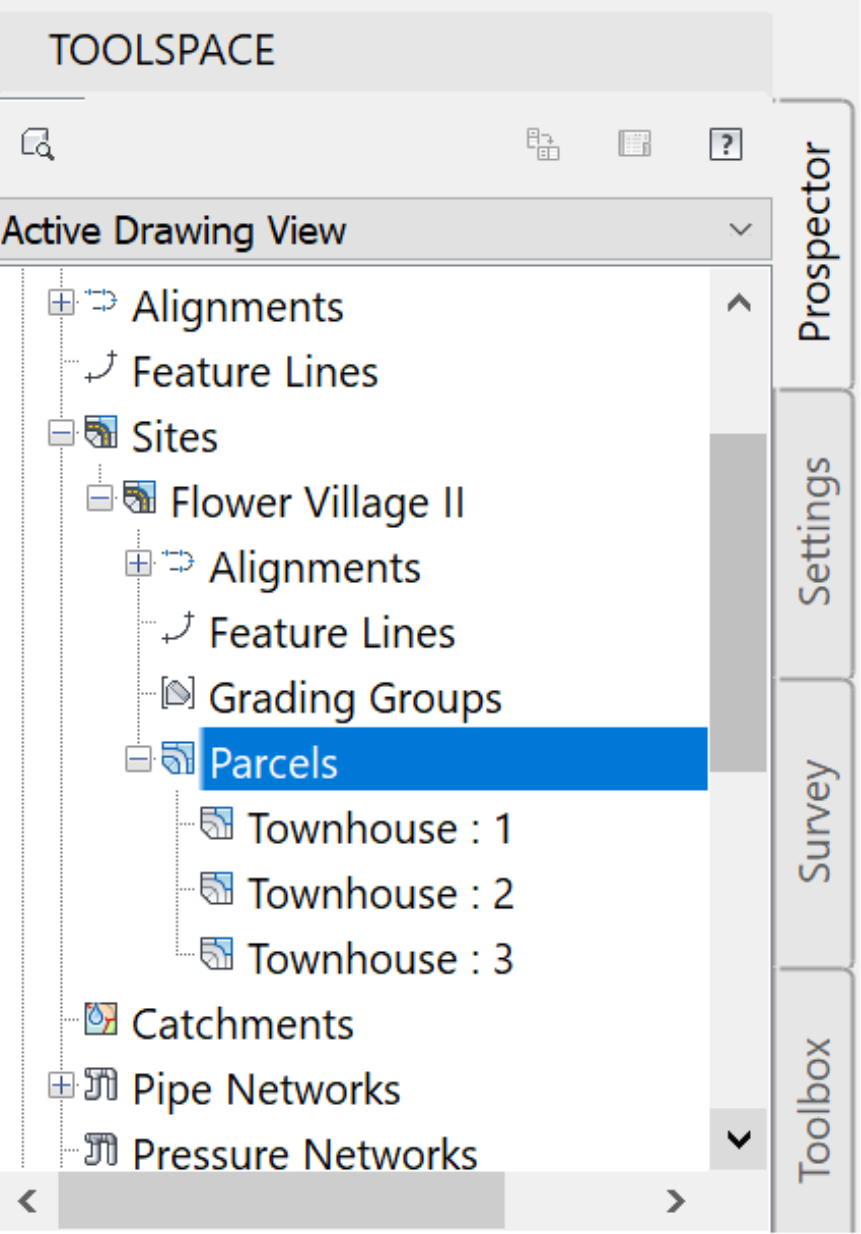
- While we are focused on creating parcels in the drawing areas, the database is being updated with new information. Let's check it. In the Prospector, expand the Flower Village II site collection.

- After a right-click on parcels and refresh, the parcels appear in the site.
- From here, we can zoom to a specific parcel by selecting it, right-clicking and select Zoom to.
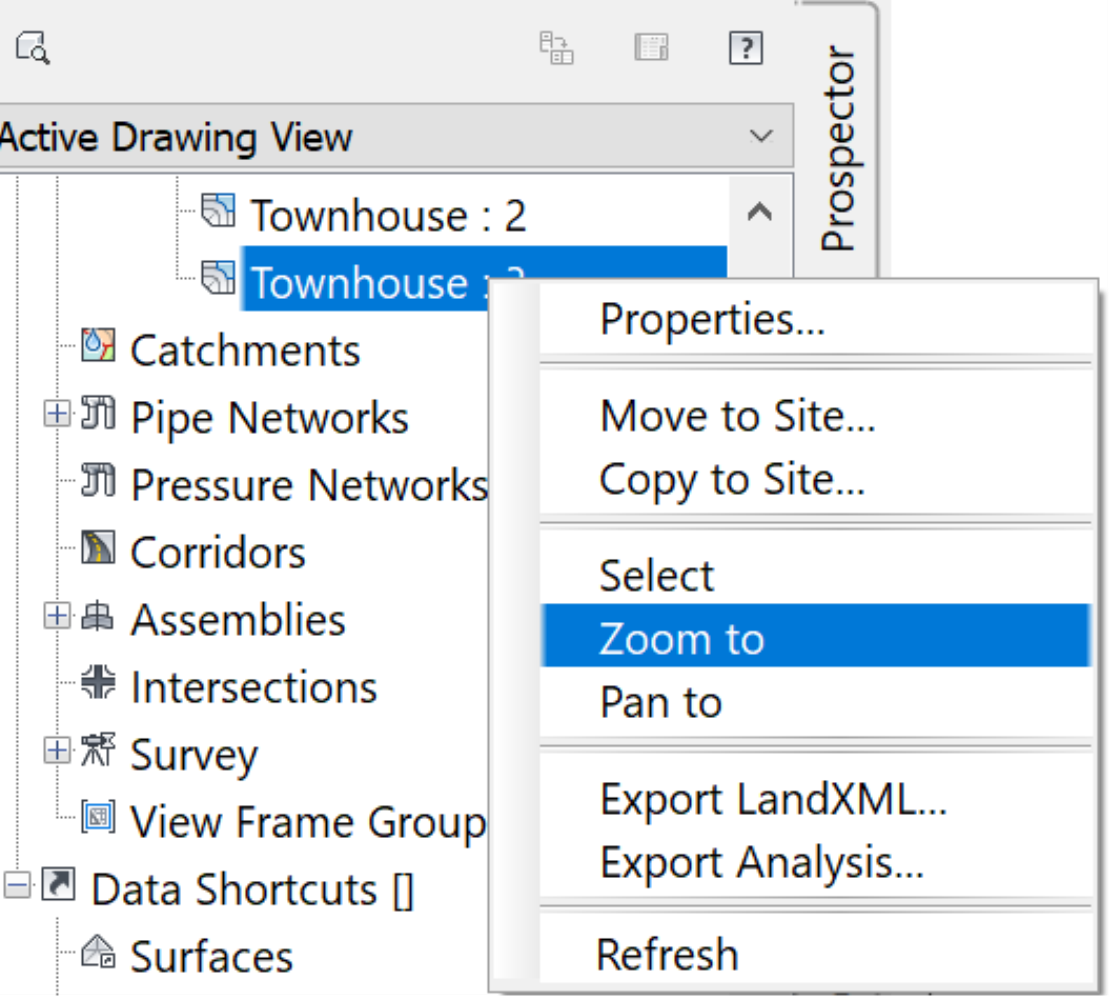
- We can also select a parcel if we need to change its properties or perform other operations on it.