-
Get It
$19.99
$19.99Civil 3D Essentials Book and Practice Files
Modifying a Civil 3D corridor: A step by step tutorial guide
Introduction to Modifying a Civil 3D corridor
Firstly, how do we modify a Civil 3D corridor? Well, let's find out in this online training course. Certainly, this step by step tutorial is a part of the Civil 3D essentials book and how-to manuals.
Modifying a Civil 3D corridor: Let's practice
- If you are following along, keep working from the current file. If not, open the 09.02-CORRIDOR – Modifications dwg file in the corridor working folder. This should bring you up to speed, and you can go back to practice the previous steps when you find time to do so.
- Once the corridor is created, it needs to be fine-tuned to meet our design requirements. For that, we can go to the corridor properties window and see potential adjustments we can make. This is the same window we would be presented with; had we checked the Baseline and Region Parameters checkbox in the corridor creation dialog box.
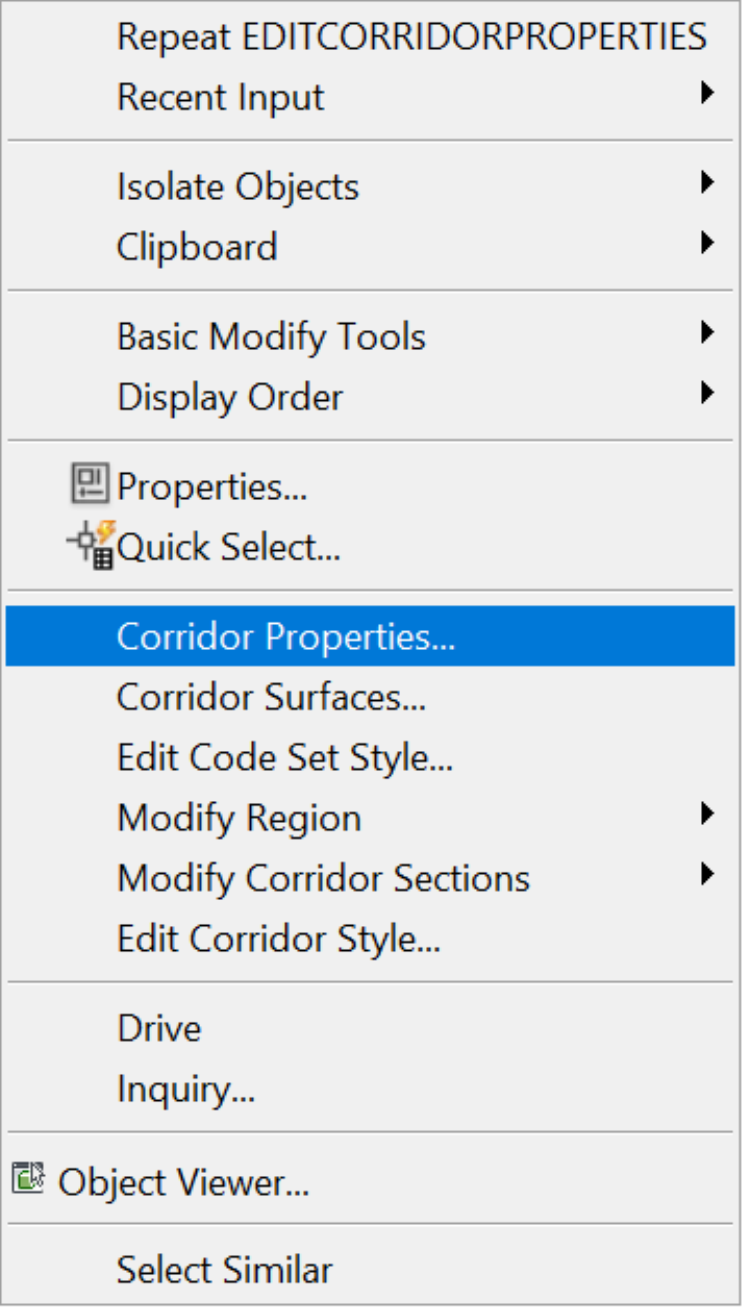
- In the drawing or the prospector, select the newly created Corridor (Corridor – Rose Drive). Then, right-click and select Corridor Properties.
- Switch to the Parameters tab in this window for more options for modifying the corridor.
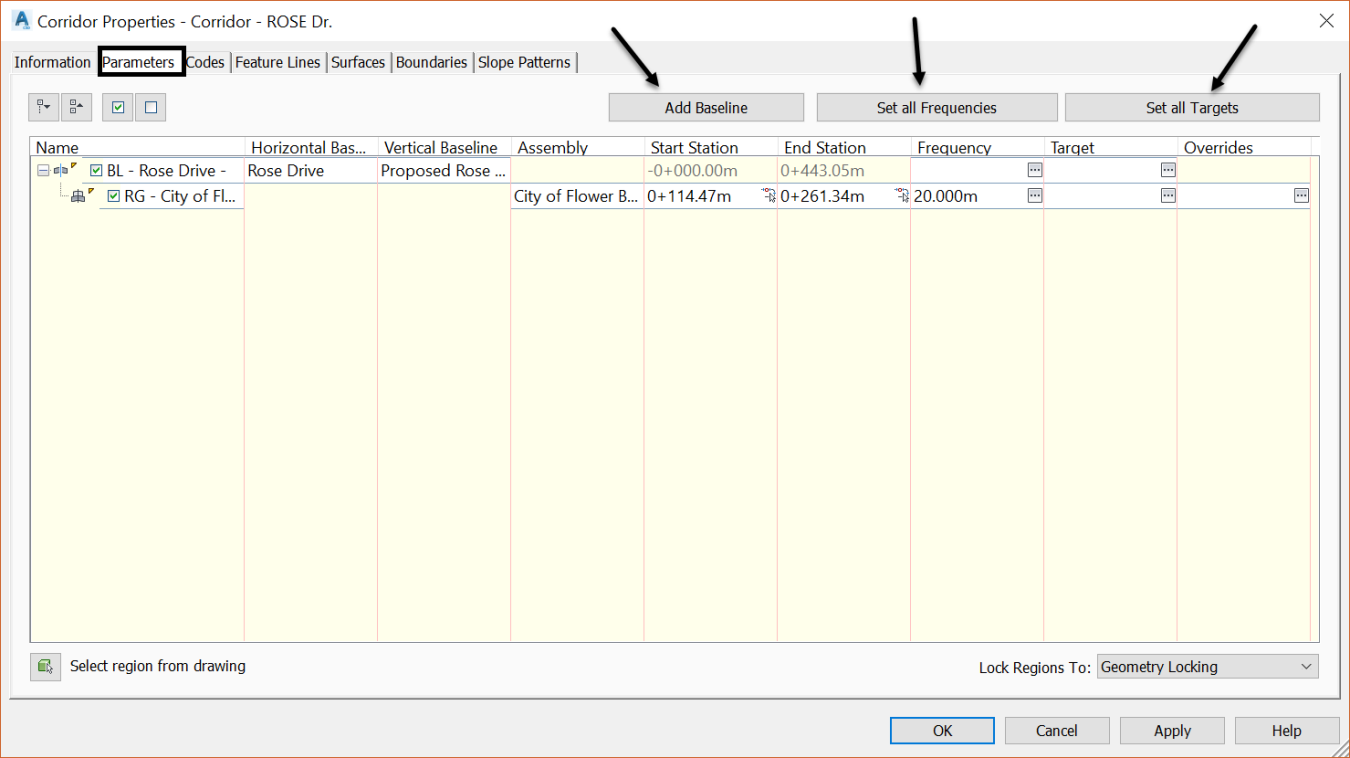
- On this tab, we have three main types of items we can manage:
- Baselines: which are basically alignments we can add to the Corridor definition. This can be a bike path, a secondary road, a ditch, a stream or simply another street that is not parallel to the main road alignment.
- Frequencies: they specify the insertion frequency of the assembly along the corridor. The corridor is essentially constructed by inserting typical sections along the alignment. They are inserted at the elevations of the profile, at each insertion station. Generally, the smaller the frequency, the more precise the corridor is, especially in the curved regions of the corridor.
- Targets: enable us to extend the corridor and match specific offsets, elevations or surfaces. For instance, one can have a road that narrows or widens. In these cases, the paving of the road must be defined to target the variations of the widening or narrowing of the pavement. This may be for a bus stop or a roadway tapering.
- Now, let’s see these options in practice.