-
Get It
$19.99
$19.99Civil 3D Essentials Book and Practice Files
Projecting Civil 3D Pipes in Profile : A step by step tutorial guide
How do we project Civil 3D Pipes in Profile
Firstly, how do we go about Projecting Civil 3D Pipes in Profile? Well, let's find out in this online training course. Certainly, this step by step tutorial is a part of the Civil 3D essentials book and how-to manuals.
Working with Civil 3D
Now, let’s project the pipe network in profile view, for better visualization and annotation.
- Right-click on one of the pipes or structures and select Draw Parts in Profile View.

- When prompted to select a profile view, select the Rose Drive profile view. We can find it in the profiles area of the drawing.
![]()
- Notice that the pipe lines will appear in the profile view.

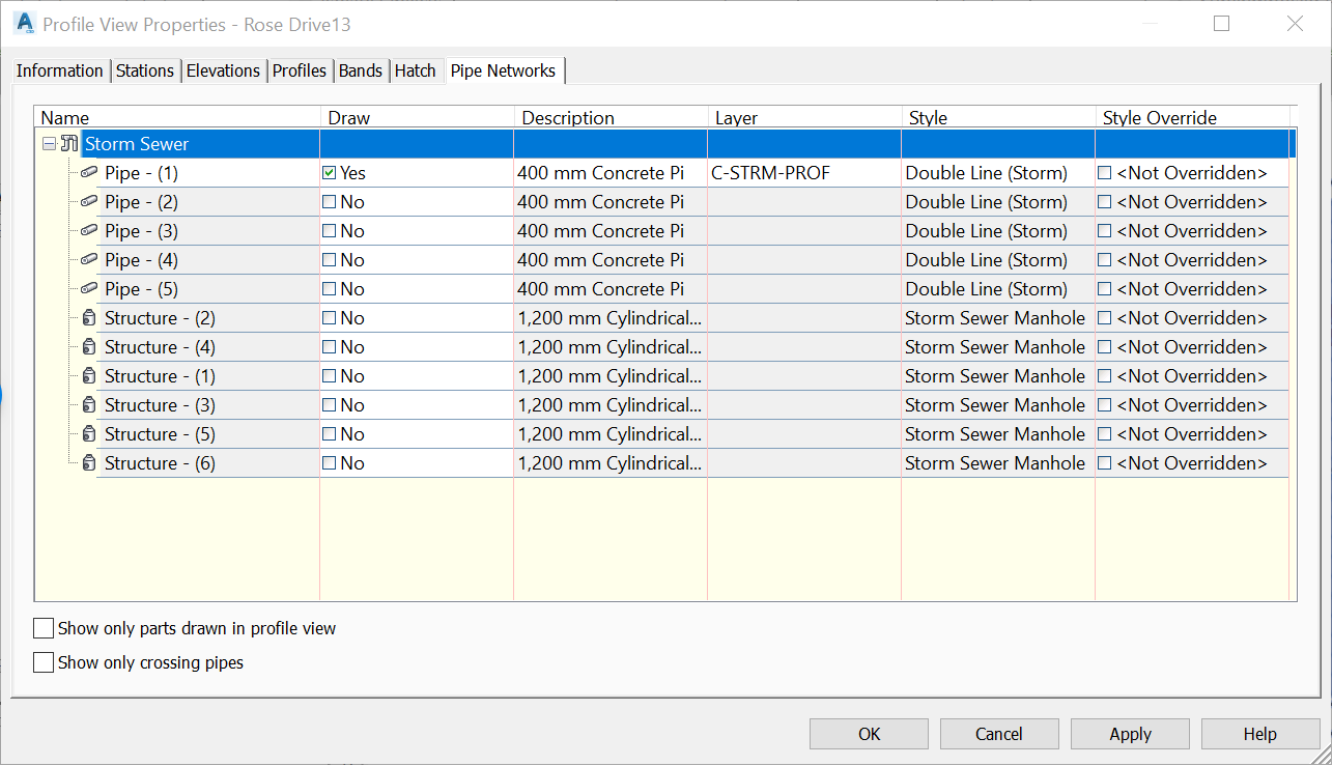
- Now, let's project all pipes and structures in the profile view. To do so, right-click on the grids of the profile view and select Profile View Properties.

- Activate the Pipe Networks tab. Currently only the projected pipes or structures have the Yes/No option checked to Yes.
- To project a part to the profile view, we need their status to be a Yes. To do that, select all of them by simultaneously pressing CTRL + A on the keyboard to select all of them.
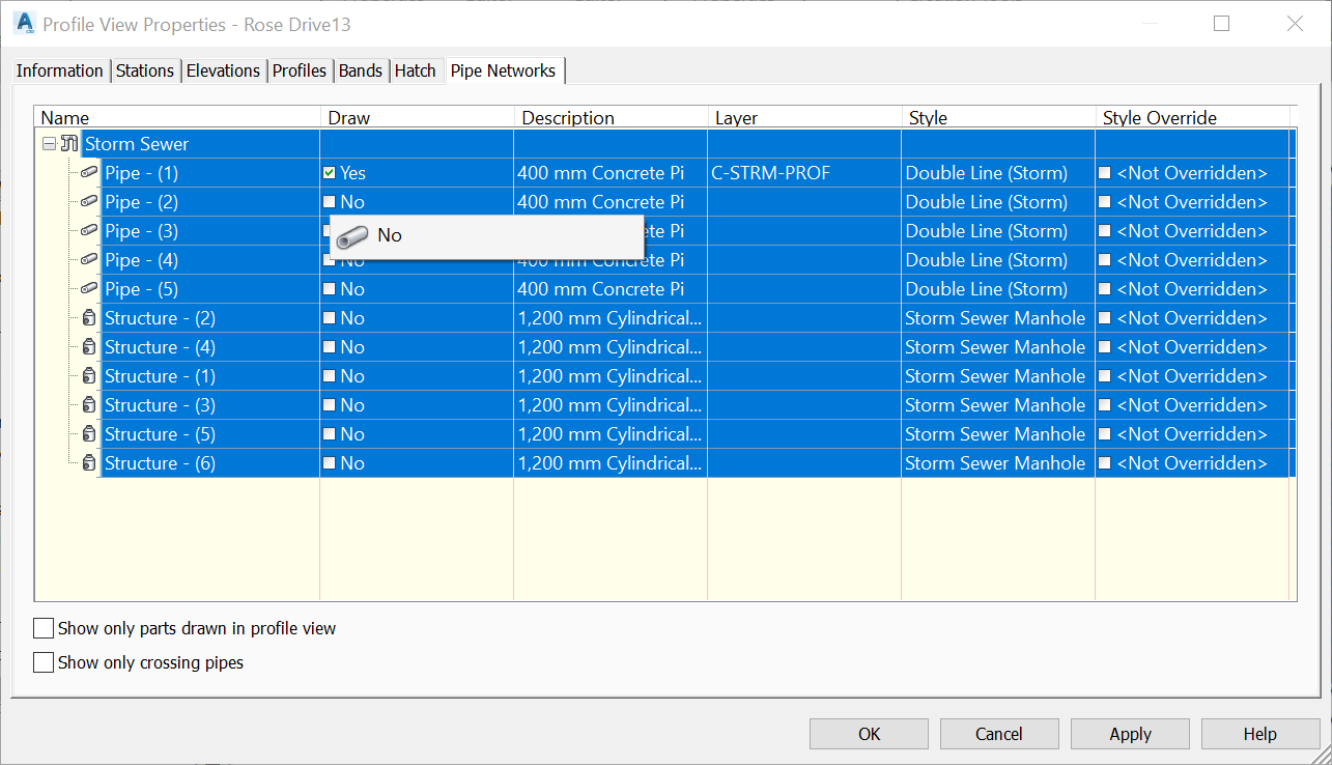
- Click on one of the No options in the Draw column to convert all options from No to Yes.
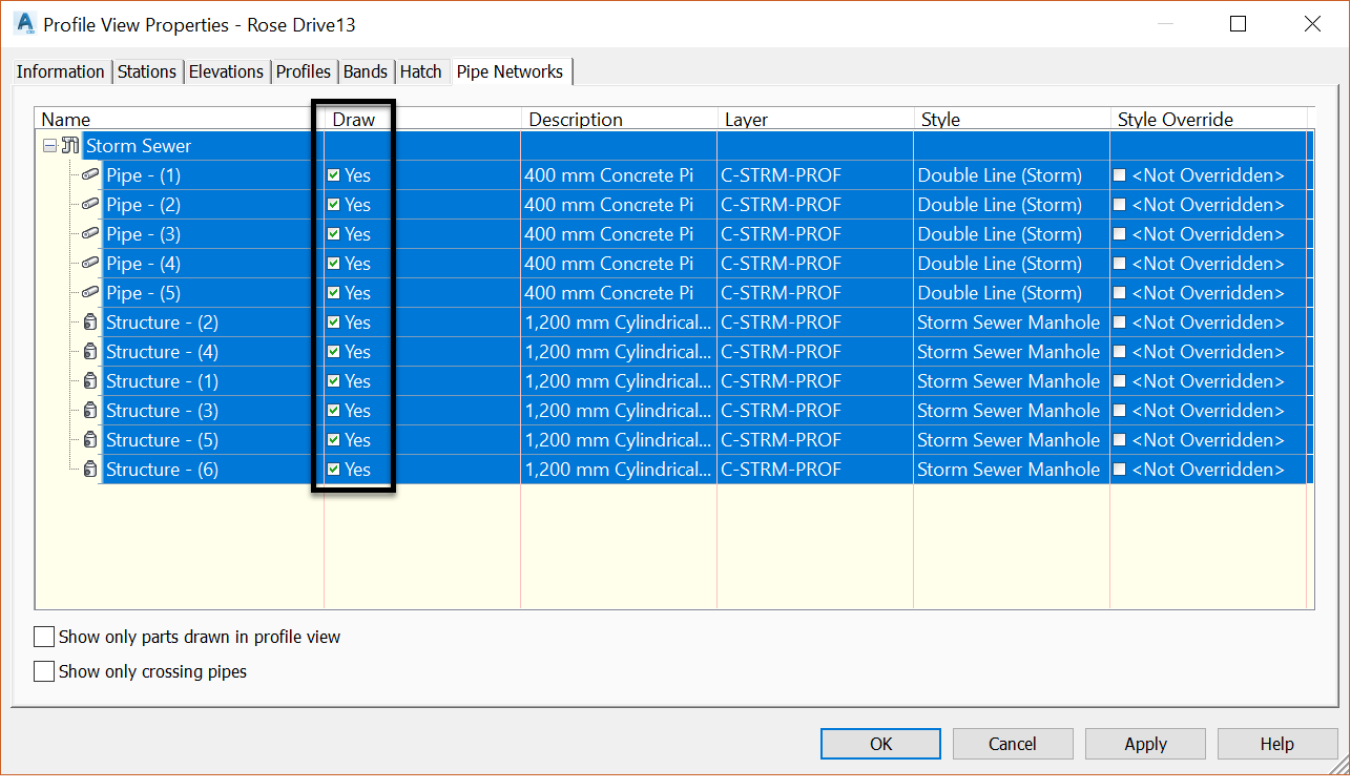
- Click OK, and all parts should now appear in the profile view.
