-
Get It
$19.99
$19.99Civil 3D Essentials Book and Practice Files
How to go about splitting a Civil 3D corridor : A step by step tutorial guide
Introduction to splitting a Civil 3D corridor
Firstly, how to go about splitting a Civil 3D corridor? Well, let's find out in this online training course. Certainly, this step by step tutorial is a part of the Civil 3D essentials book and how-to manuals.
Splitting a Civil 3D corridor
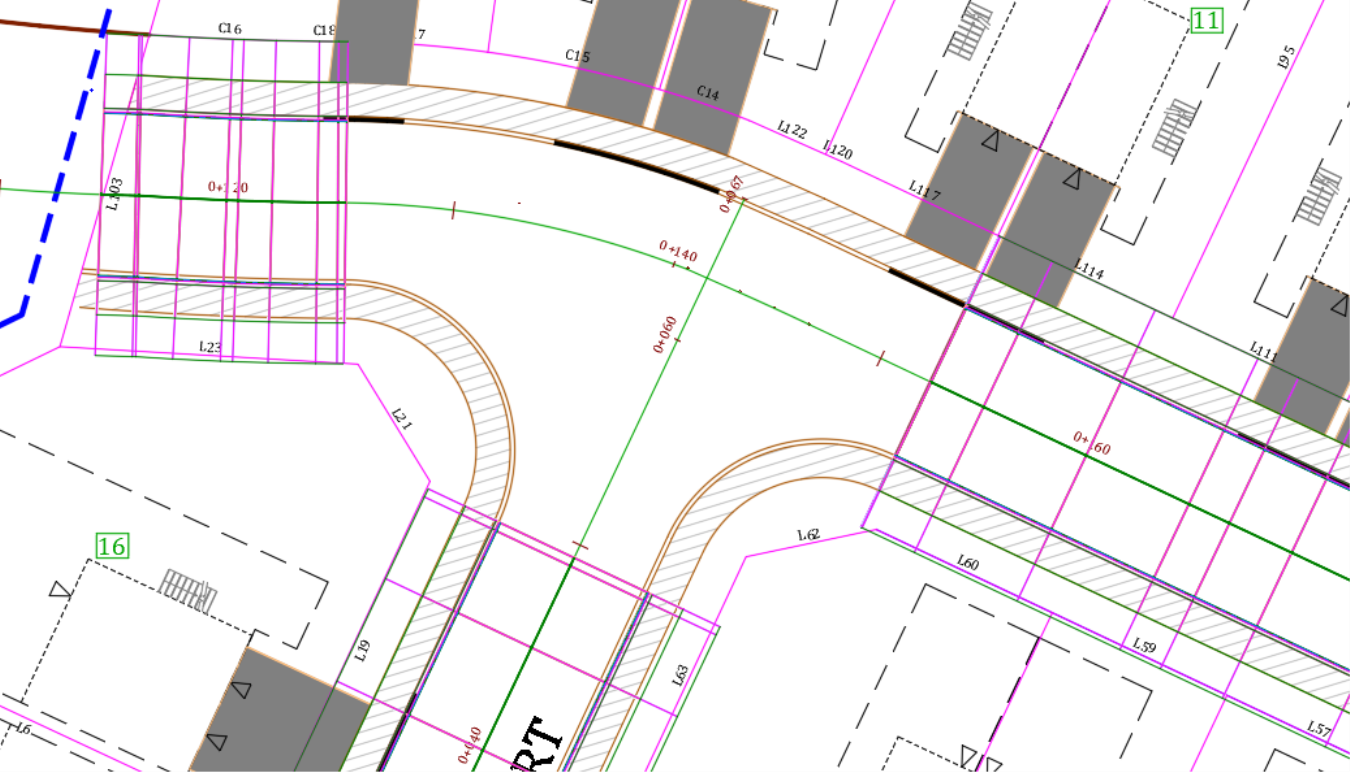
Once the corridor is created and the parameters are adjusted, we may still need to make modifications to the corridor. If you zoom to the intersection of Rose Drive and Lavender Court, you will notice that the corridor is a little messed up. First, the right-side lane is still trying to target the south face of the curb. Besides, we also need to provide a more detailed design for the intersection. So, we are going to split the corridor and make some room in the intersection area.
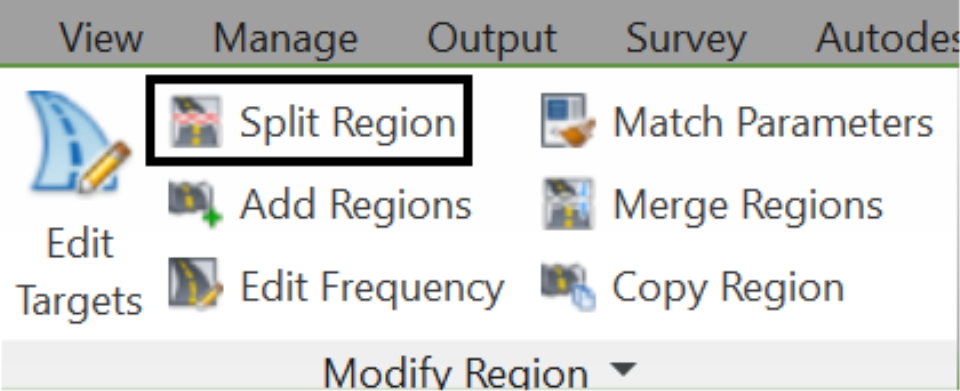
- To split the corridor, select it, then from the ribbon, run the Split Region command.
- Now, click twice inside Roses Drive, in the vicinity of station 0+140 and hit Enter.
- When prompted to select another region to split, press Esc.
![]()
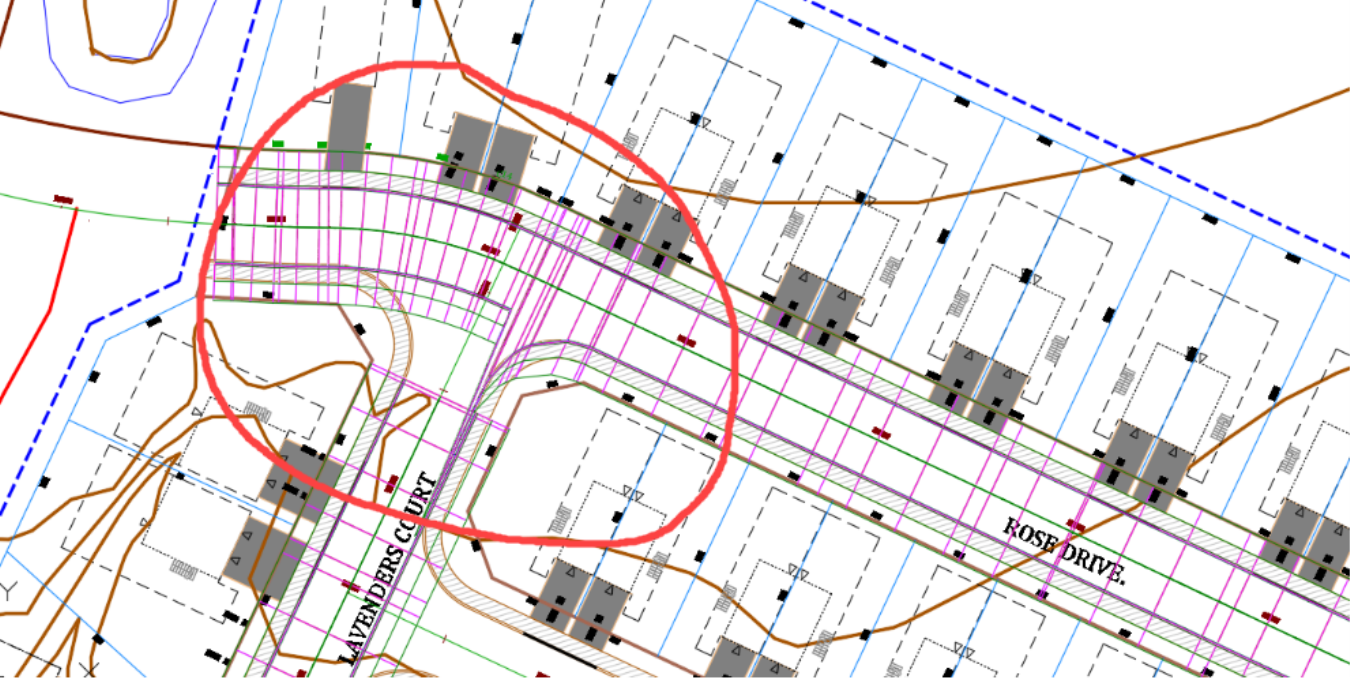
- In the corridor, you will notice three small grips, two triangles, and a diamond. Each triangle enables you to move a region in one direction, while the diamond allows you to move the split point in either direction. Use the left and right triangles to move the split regions on each side to, approximately, the start of the south curb returns. You can use the end object snap option to snap exactly where to the end curves. When done, we should have the intersection area free and clear of any corridor section.