Related Civil 3D Course and Books


Tutorial: Civil 3D Civil 3D Point Elevations from Surface
Introduction to Civil 3D Civil 3D Point Elevations from Surface
How do we create Civil 3D Point Elevations from Surface? Let's find out in this online training course and tutorial, a part of the Civil 3D essentials book and how-to manuals.
Civil 3D Points Elevations from Surface.
How do we create Civil 3D Point Elevations from Surface? Let's find out in this online training course and tutorial, a part of the Civil 3D essentials book and how-to manuals.
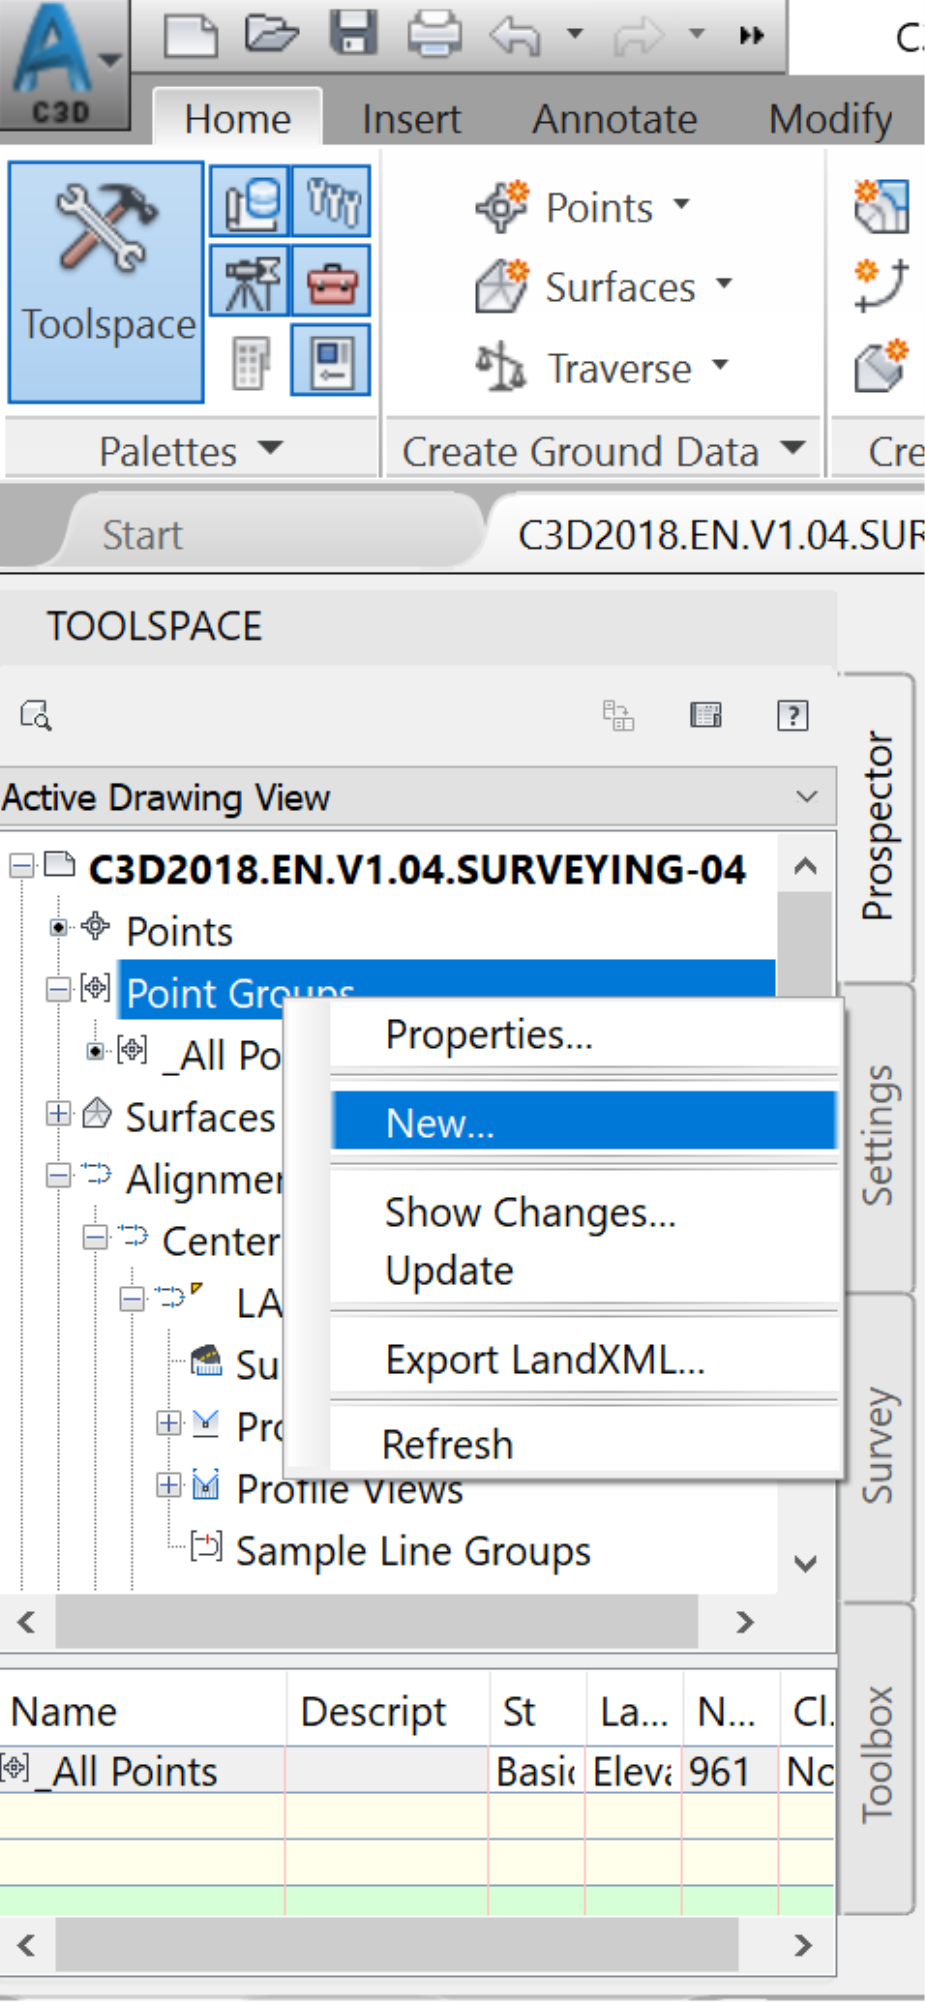
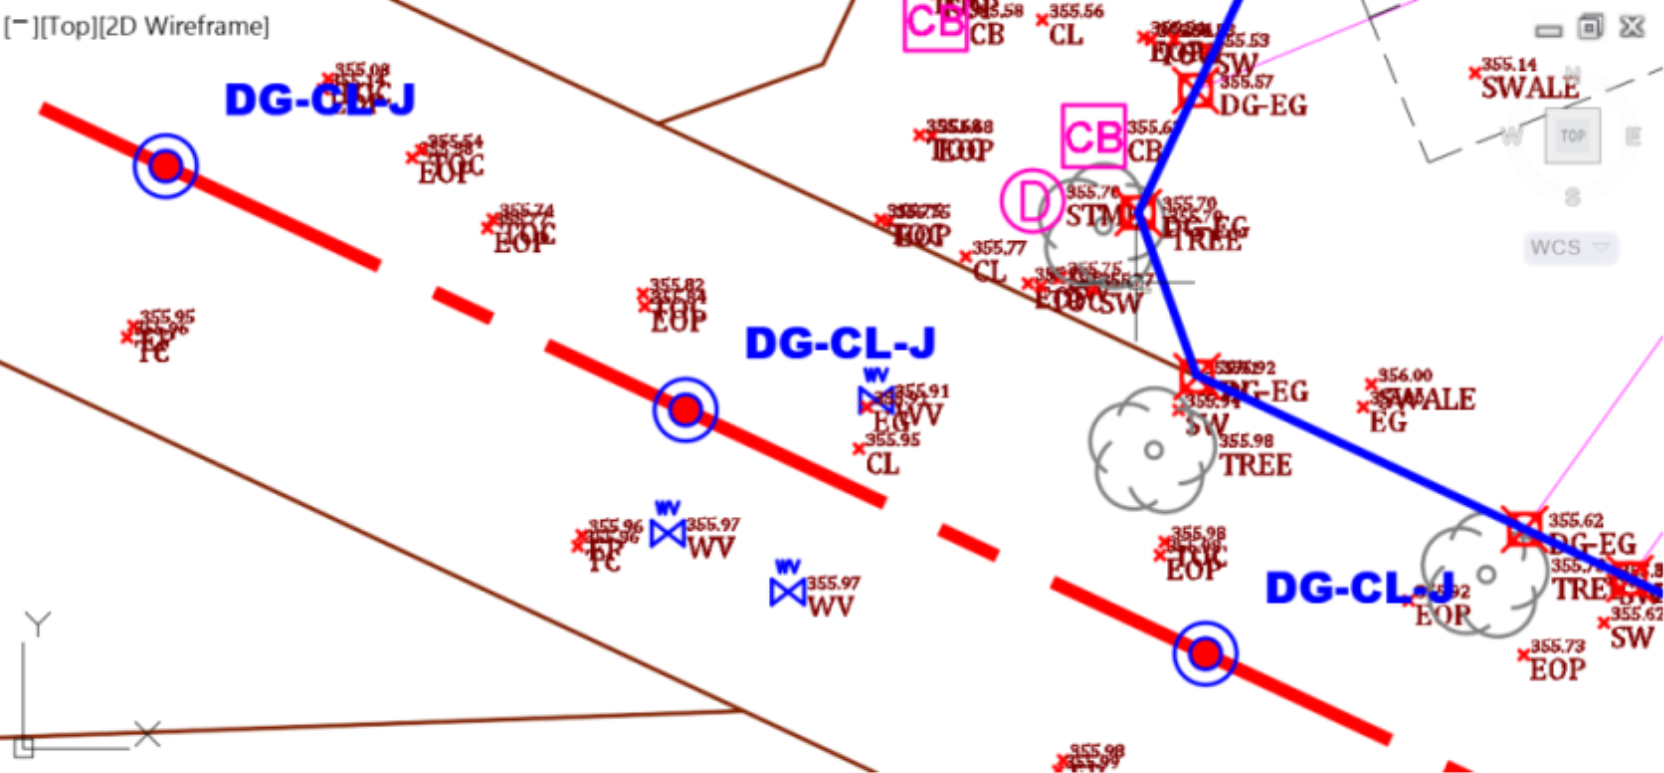
Now let's see a practical use of point groups. Remember the Centerline points we have created along Jasmine Blvd? Now we can select only those points and make several other operations to them, using the point group feature. This will be a simple example. However, the applications in which we can use Point Groupsare virtually endless.
- Create a temporary Point Group, just for the DG-CL-J previously created, and call it Temp.
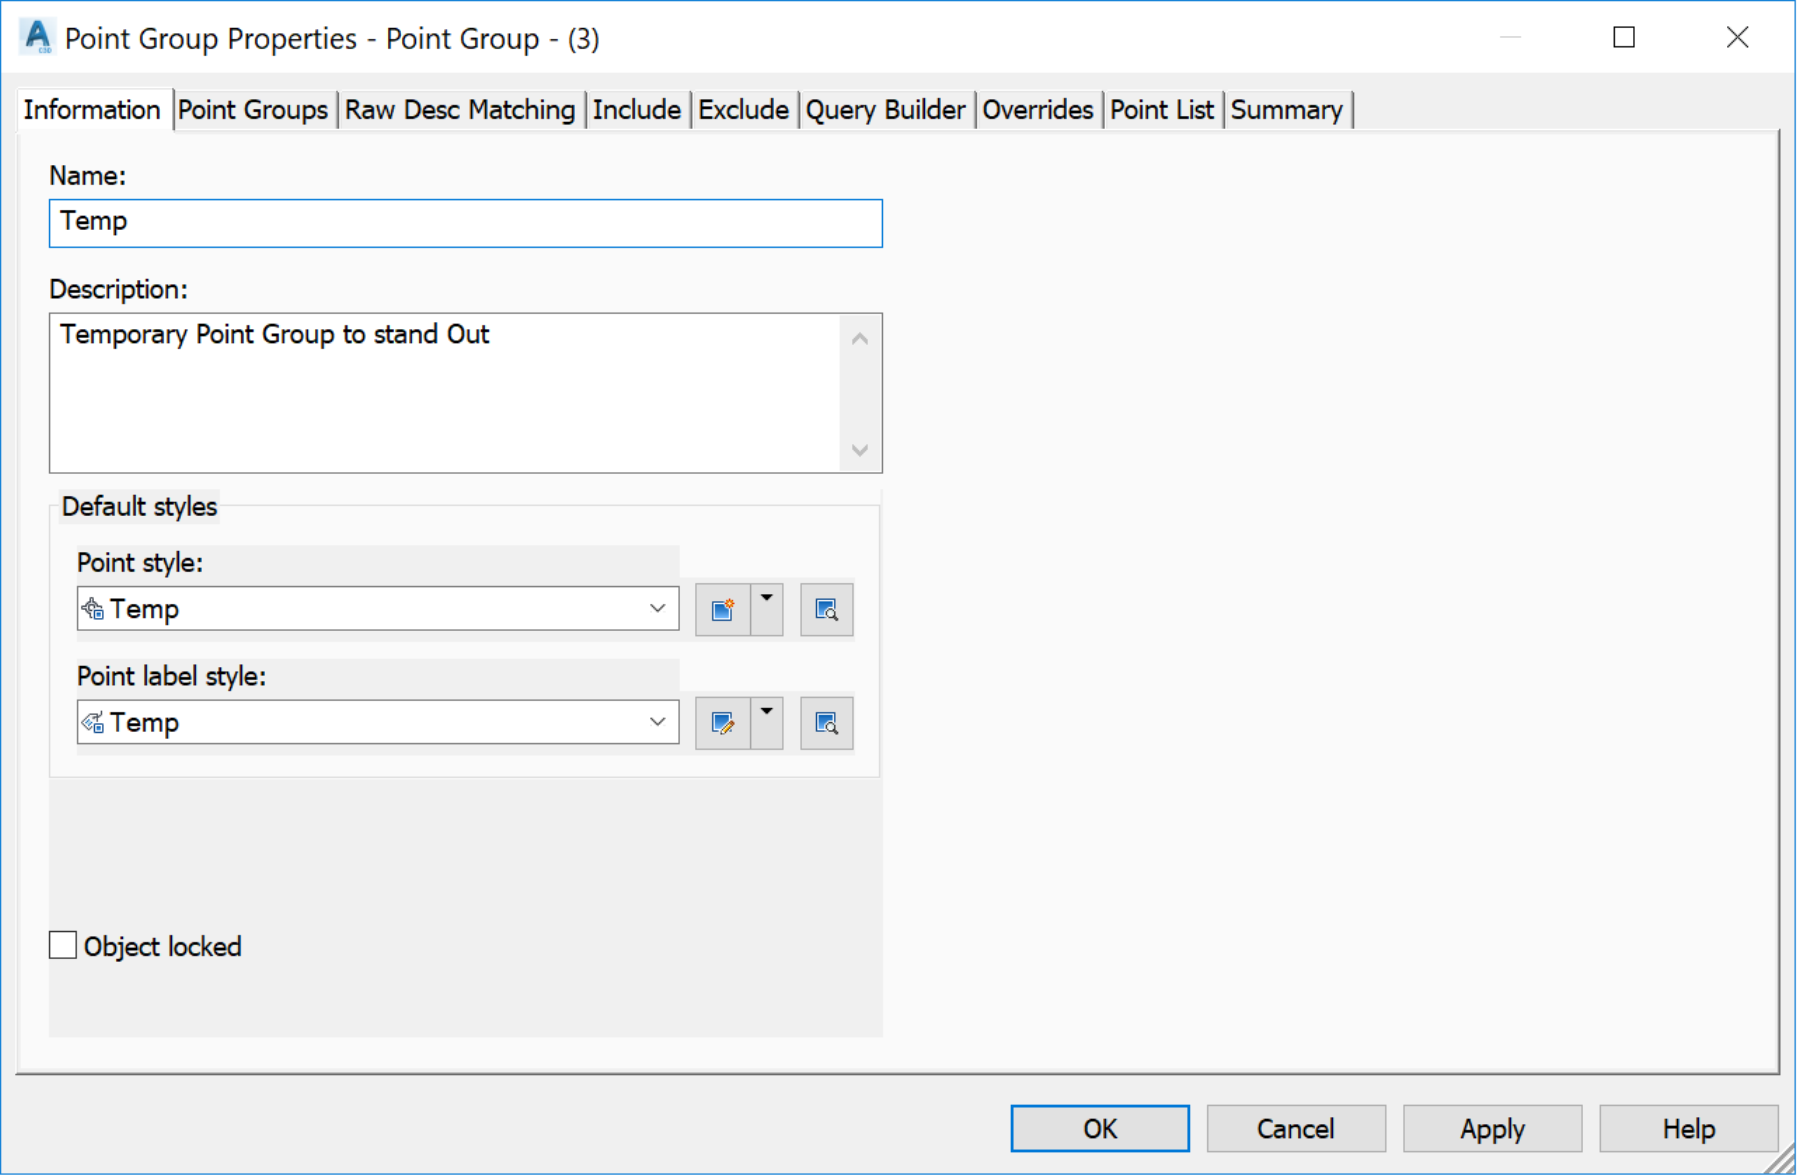
- Name it Temp and assign the Temp styles. These styles are used when we want to make points standout for a rapid selection.
- On the Include Tab, include all points with the raw description matching: DG-CL-J
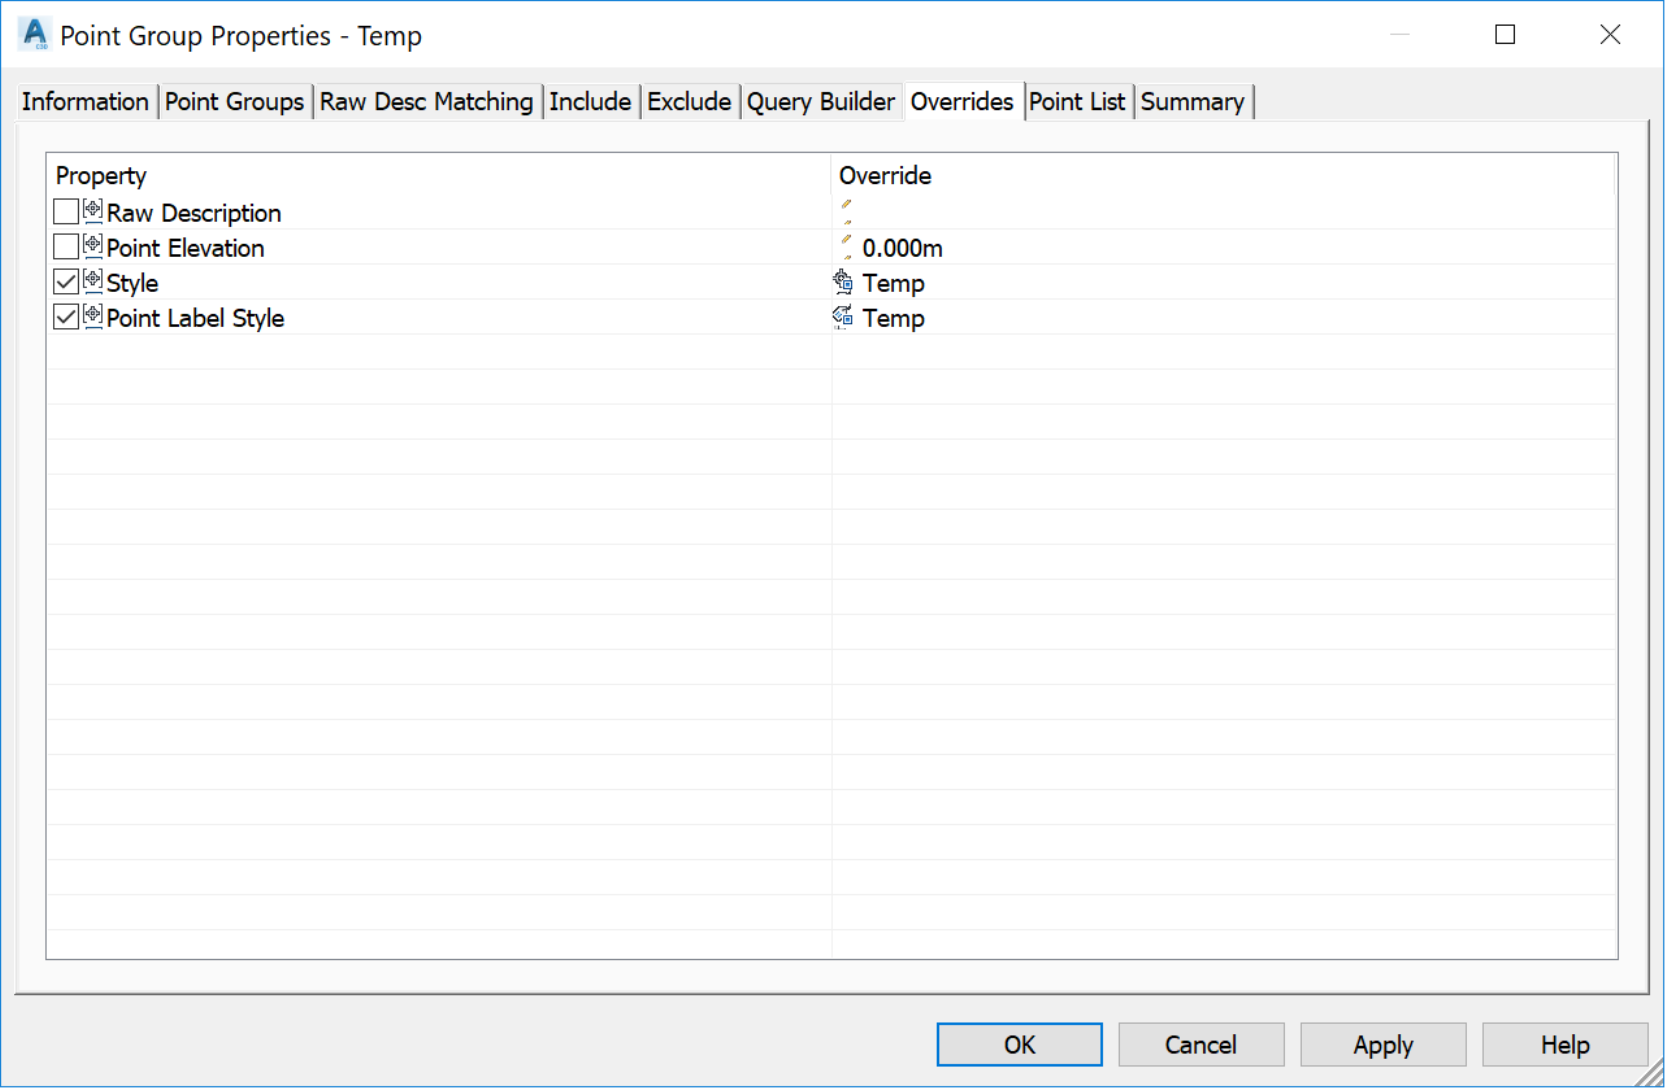
- On the Overrides tab, activate Style and Point Label Style. We select this to override any style applied by the Description Key Set that we've created in the Style and Templates chapter.
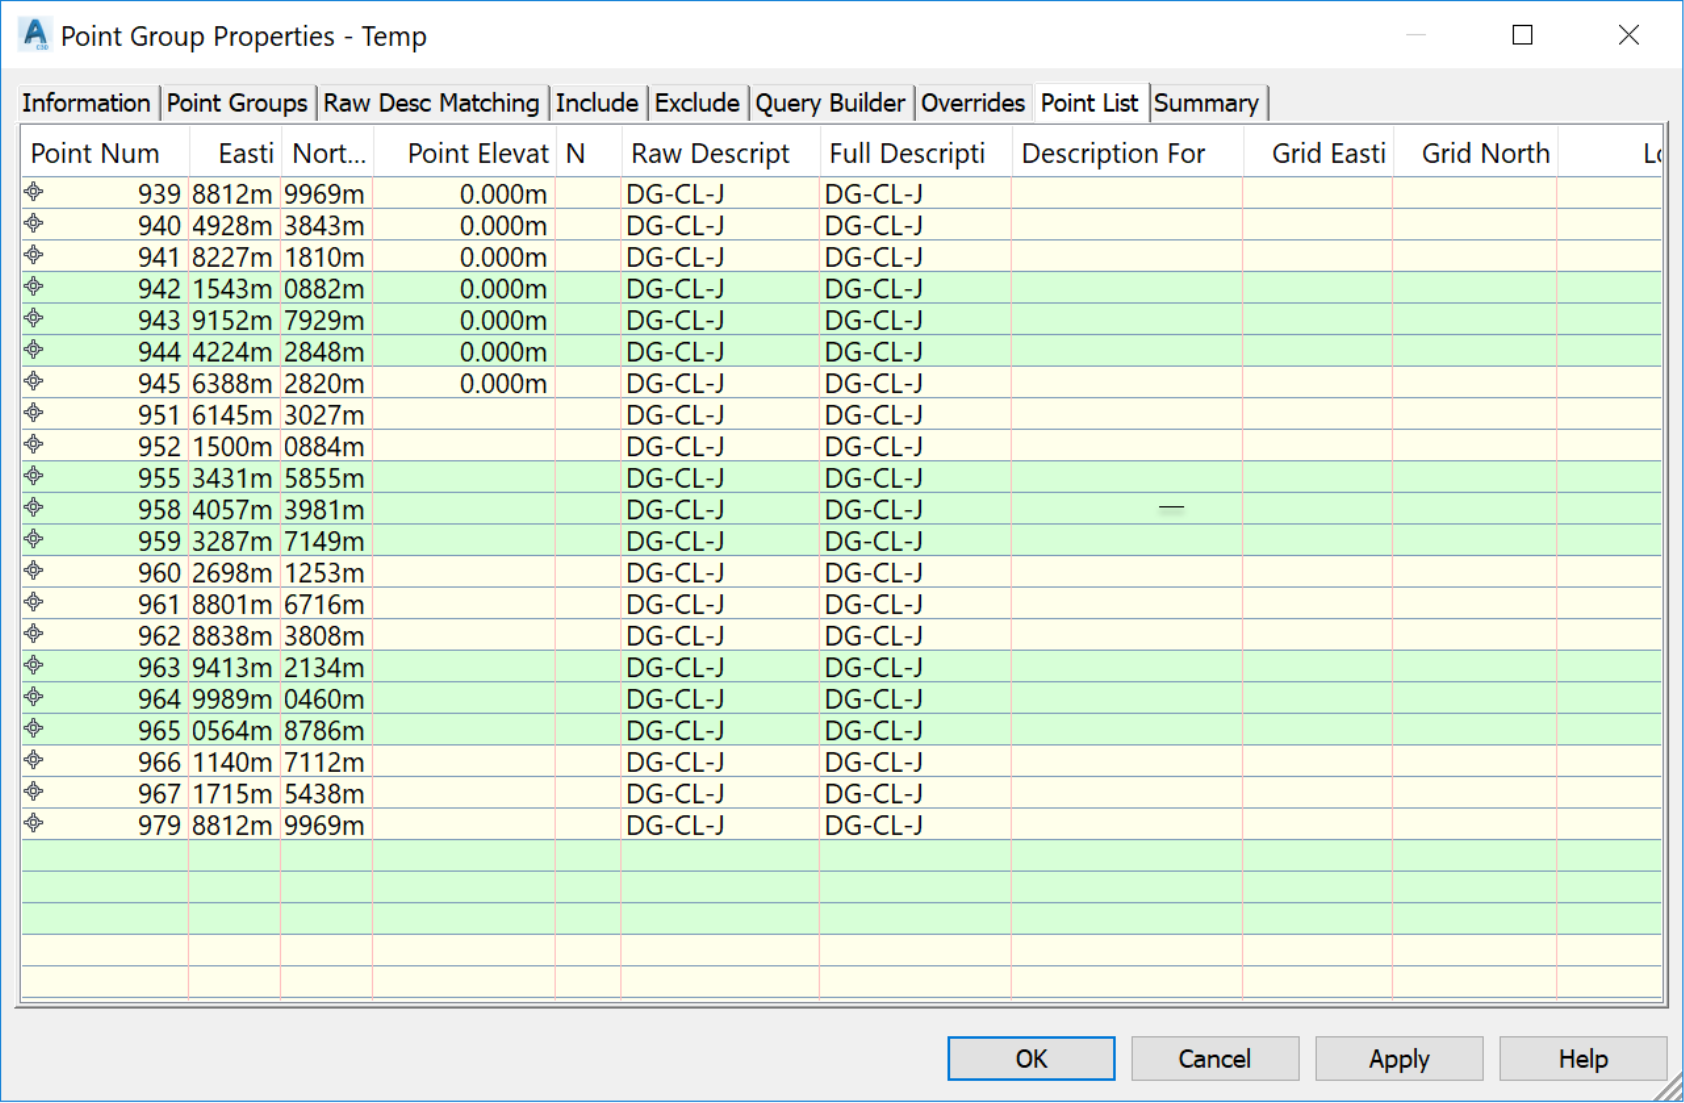
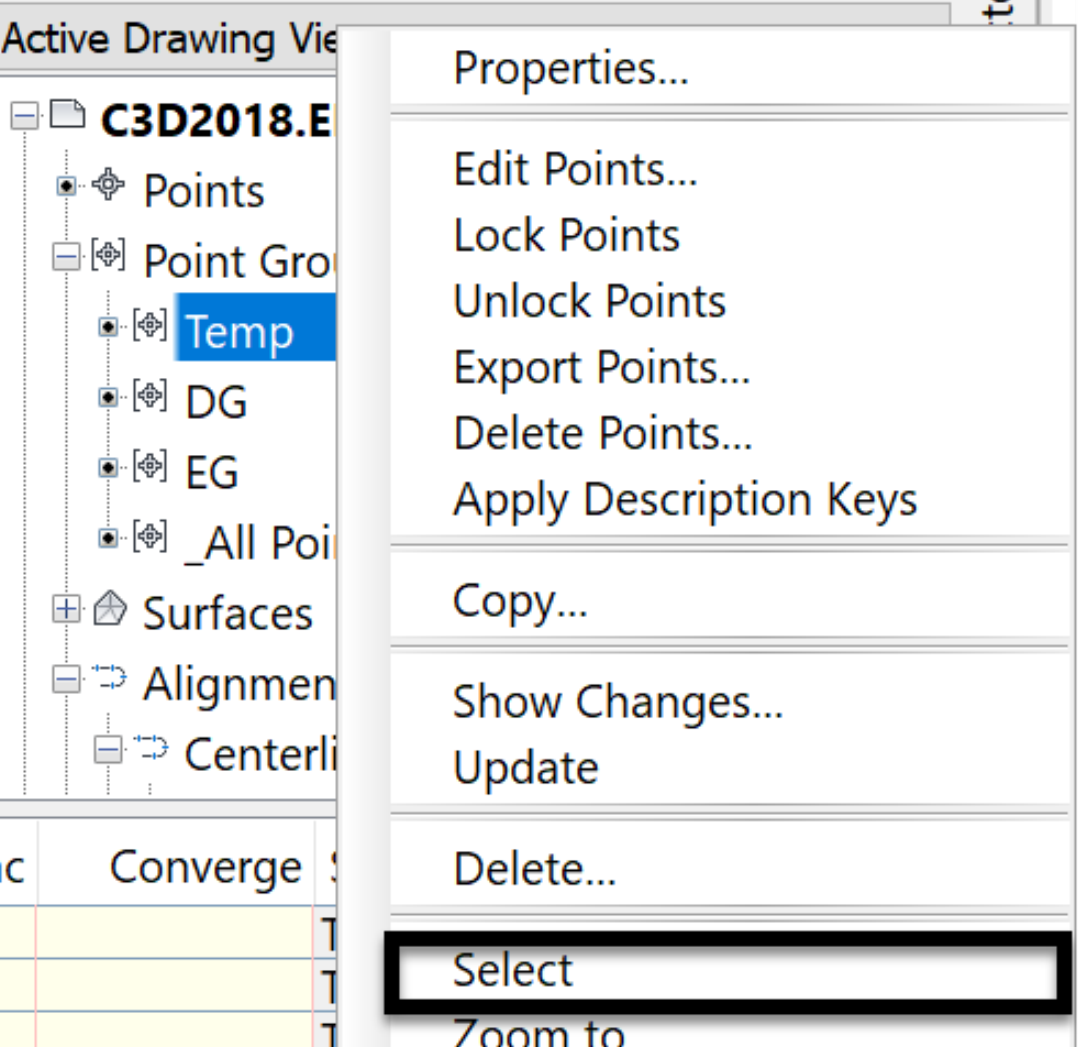
- Now, let's check the list of point picked up by the Group. Looking at the list, this is exactly what we wanted. We have picked up only the DG-CL-J points. Nothing else is included. We can now click Ok and go back to the Prospector.
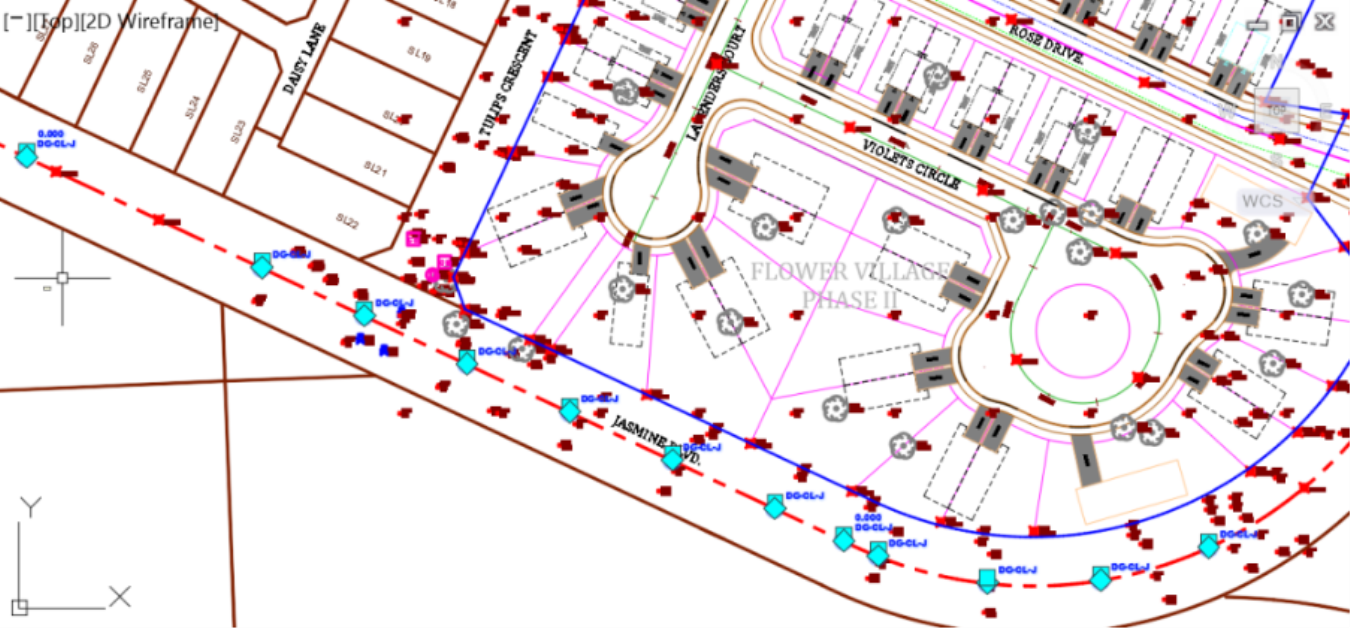
- In the drawing, we now see the DG-CL-J point standing out due to the applied Temp style. We will later see how to create these types of styles and labels.
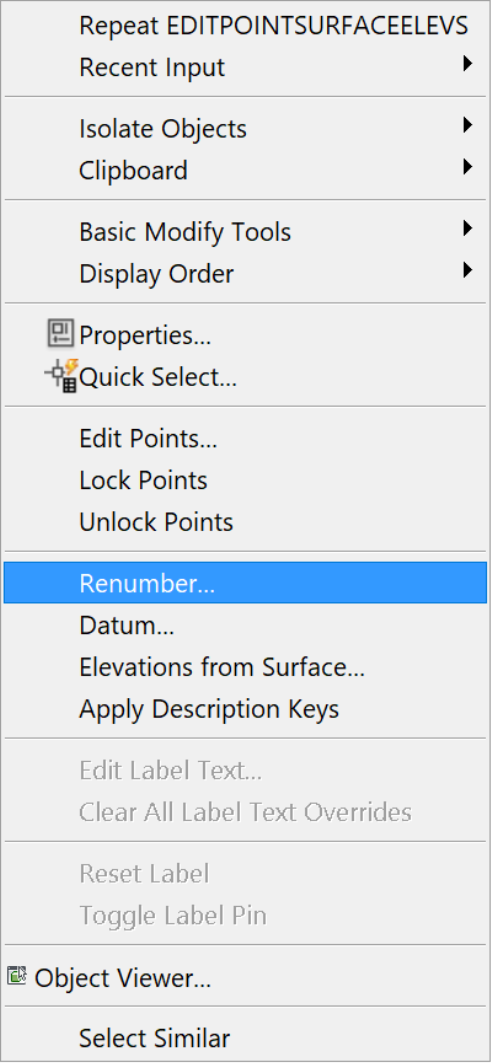
- Now, Jasmine Blvd is already an existing road. So, we may want to assign all points to an existing surface elevation. Thisis very easy to do with a point group. Simply go to the TempPoint Group, select the points and assign elevation from the EG surface.
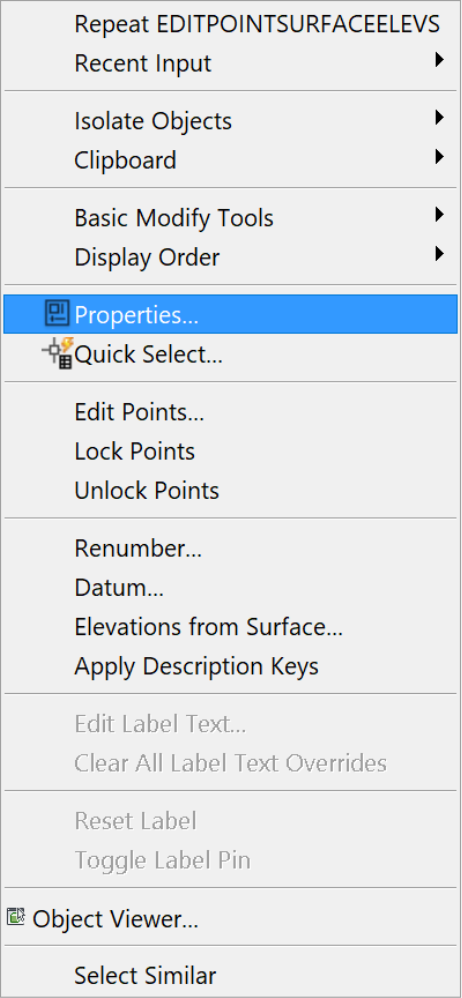
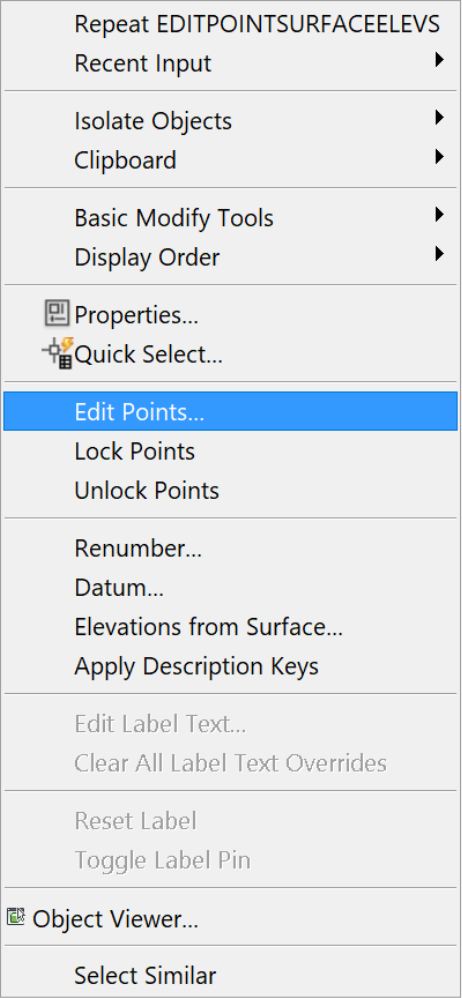
- All points belonging to the group are selected.
- Right-click and select Elevations from Surface
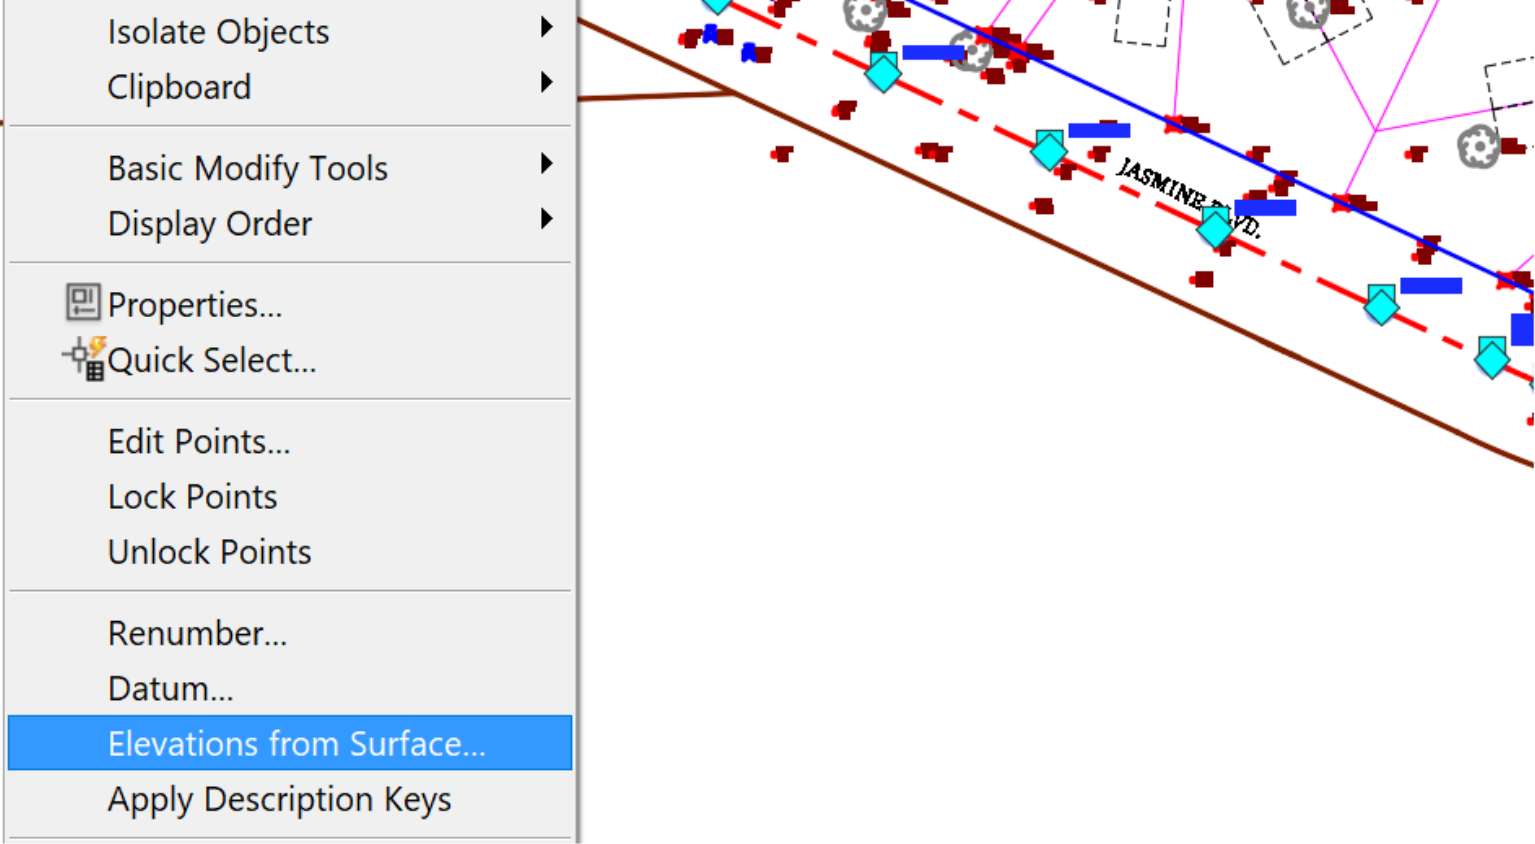

- Choose EG in the Select Surface window
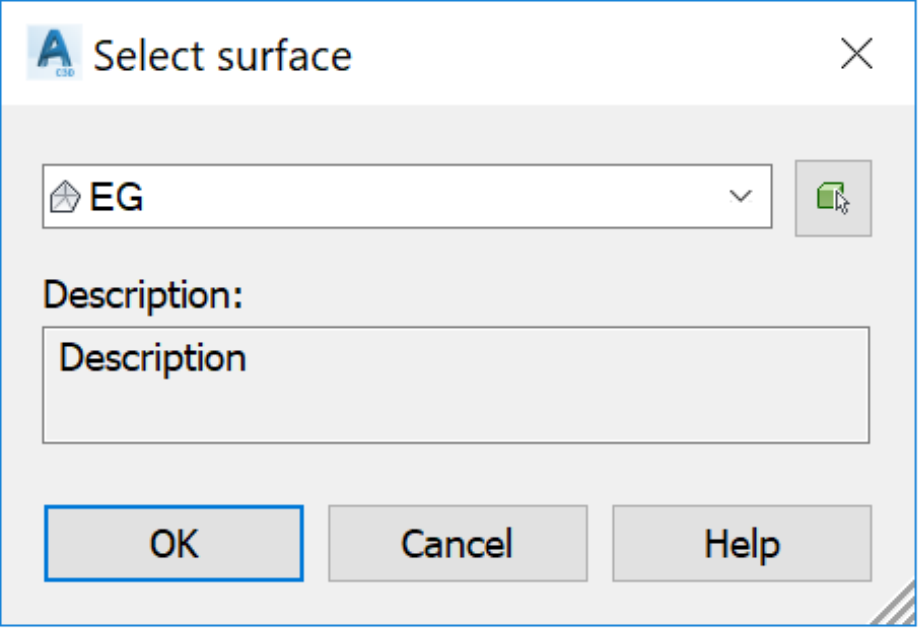
- Click Ok
- All points in the Temp point group are now assigned elevations matching the existing ground.
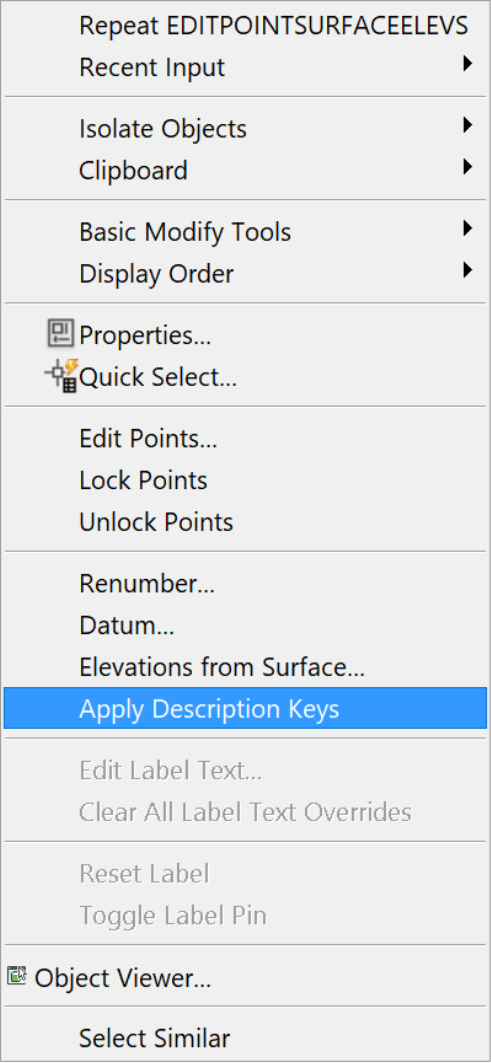
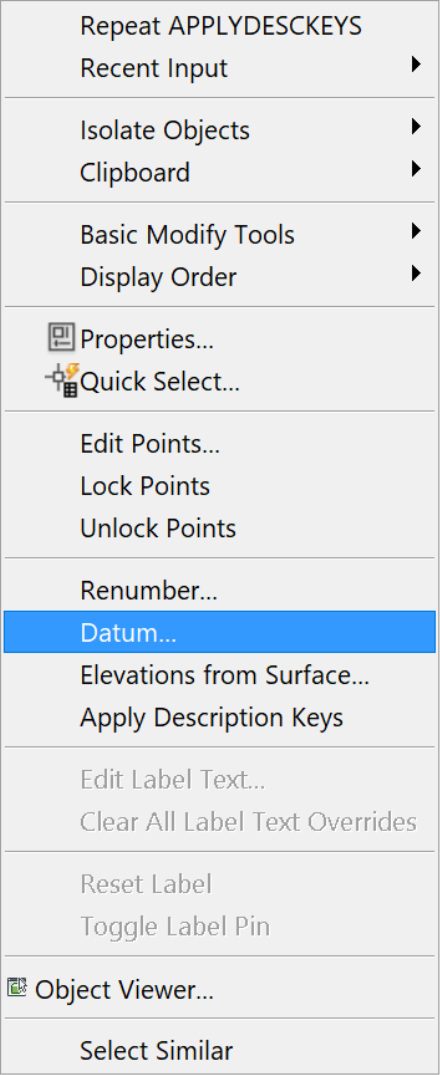
In addition to making them stand out and assigning elevations from a surface, we can also select the Point Groups and do the following:
|
Change the properties of points such as: Raw description, styles, layers, colours , scale, etc.
|
Edit points to change properties such as: numbers, coordinates, descriptions, and the like.
|
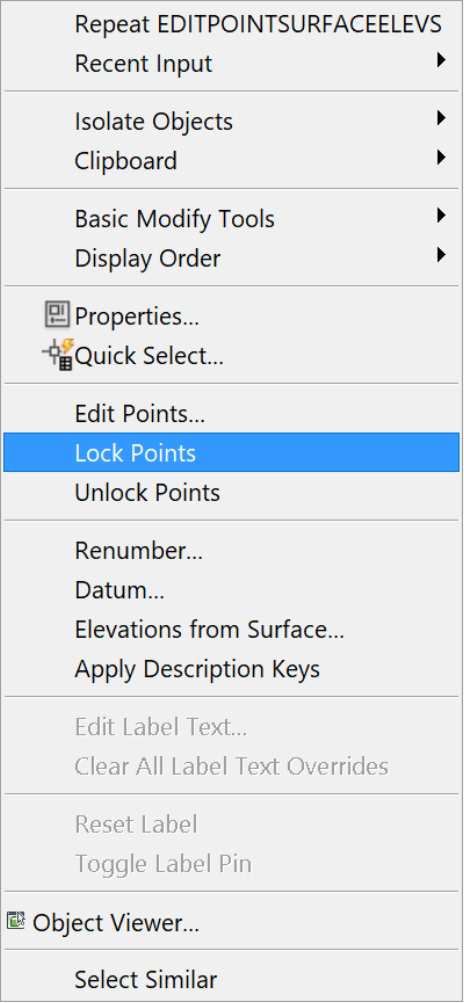
Lock and unlock points. This is particularly useful for survey points. We don't want to inadvertently modify them.
|
|
Renumber Points: As we add and delete points, point numbers get offset. To keep a tidy point group, we may need to renumber them.
|
Apply Description Keys: As we create points and update the description Key Set, updates to both may be needed.
|
Change Point Datum: We need to change a datum for points (raise or lower all points by a given value). Example, correcting a survey.
|
Topic: Civil 3D | Training: Civil 3D Essentials | Software: AutoDesk Civil 3D
Civil 3D course OFFER
-
Get It
$19.99
$19.99Civil 3D Essentials Book and Practice Files