-
Get It
$19.99
$19.99Civil 3D Essentials Book and Practice Files
Tutorial: Civil 3D Point Groups
Introduction to Civil 3D Point Groups
What is the Civil 3D Point Groups? Let's find out in this online training course and tutorial, a part of the Civil 3D essentials book and how-to manuals.
Creating Point Groups
Point Groups are used to organize and manage points in a project. They also allow us to assign display styles and labels to points belonging to the same group. This can be done by overriding the property assigned by a description key set, if one is used. For example, we would like to separate the existing ground points from the design points. Maybe existing points don't need to display elevation information, since contours will be more than enough.
On the otherhand, design elevations need to be shown with precision at specific locations, since the builder or contractor will use them to set grades. To do this, we simply need to create two point groups. One for the existing points and another for the proposed points. Each group will have its ownPoint Style and Label Style.
To create a point group:
- Activate the prospector tab on the Toolspace
- Right-click on Point Groups and select New.
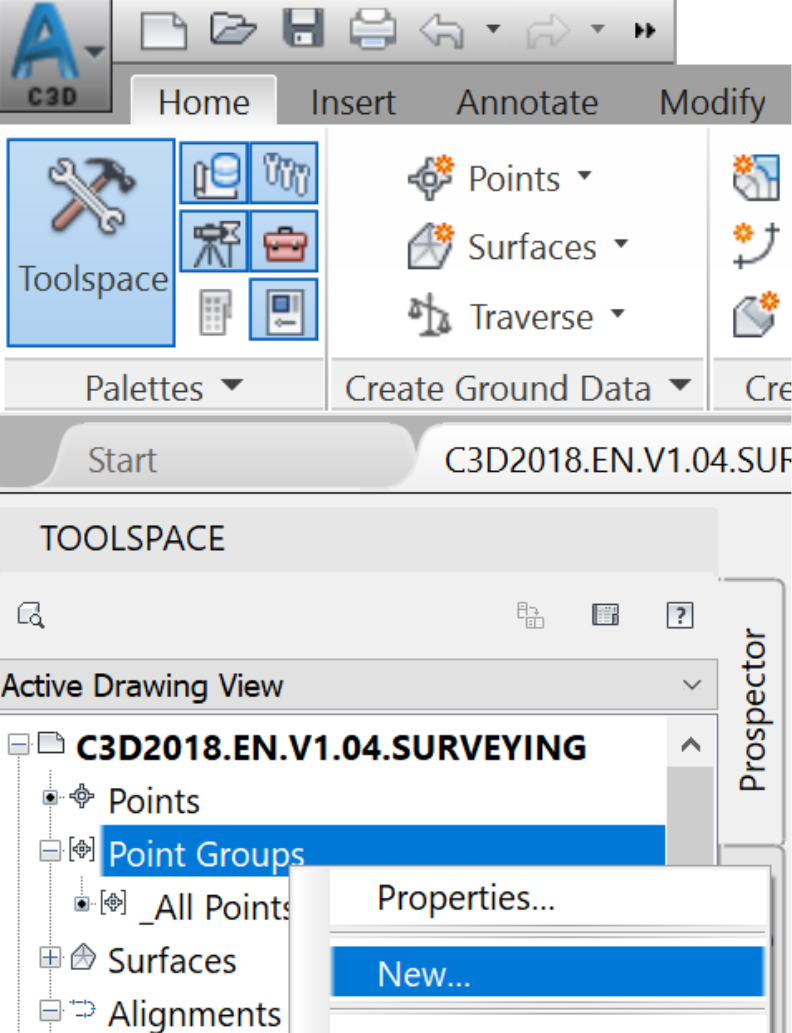
- Information tab: assign the name EG (Existing Ground), style Basic and label style Elevation and Description.
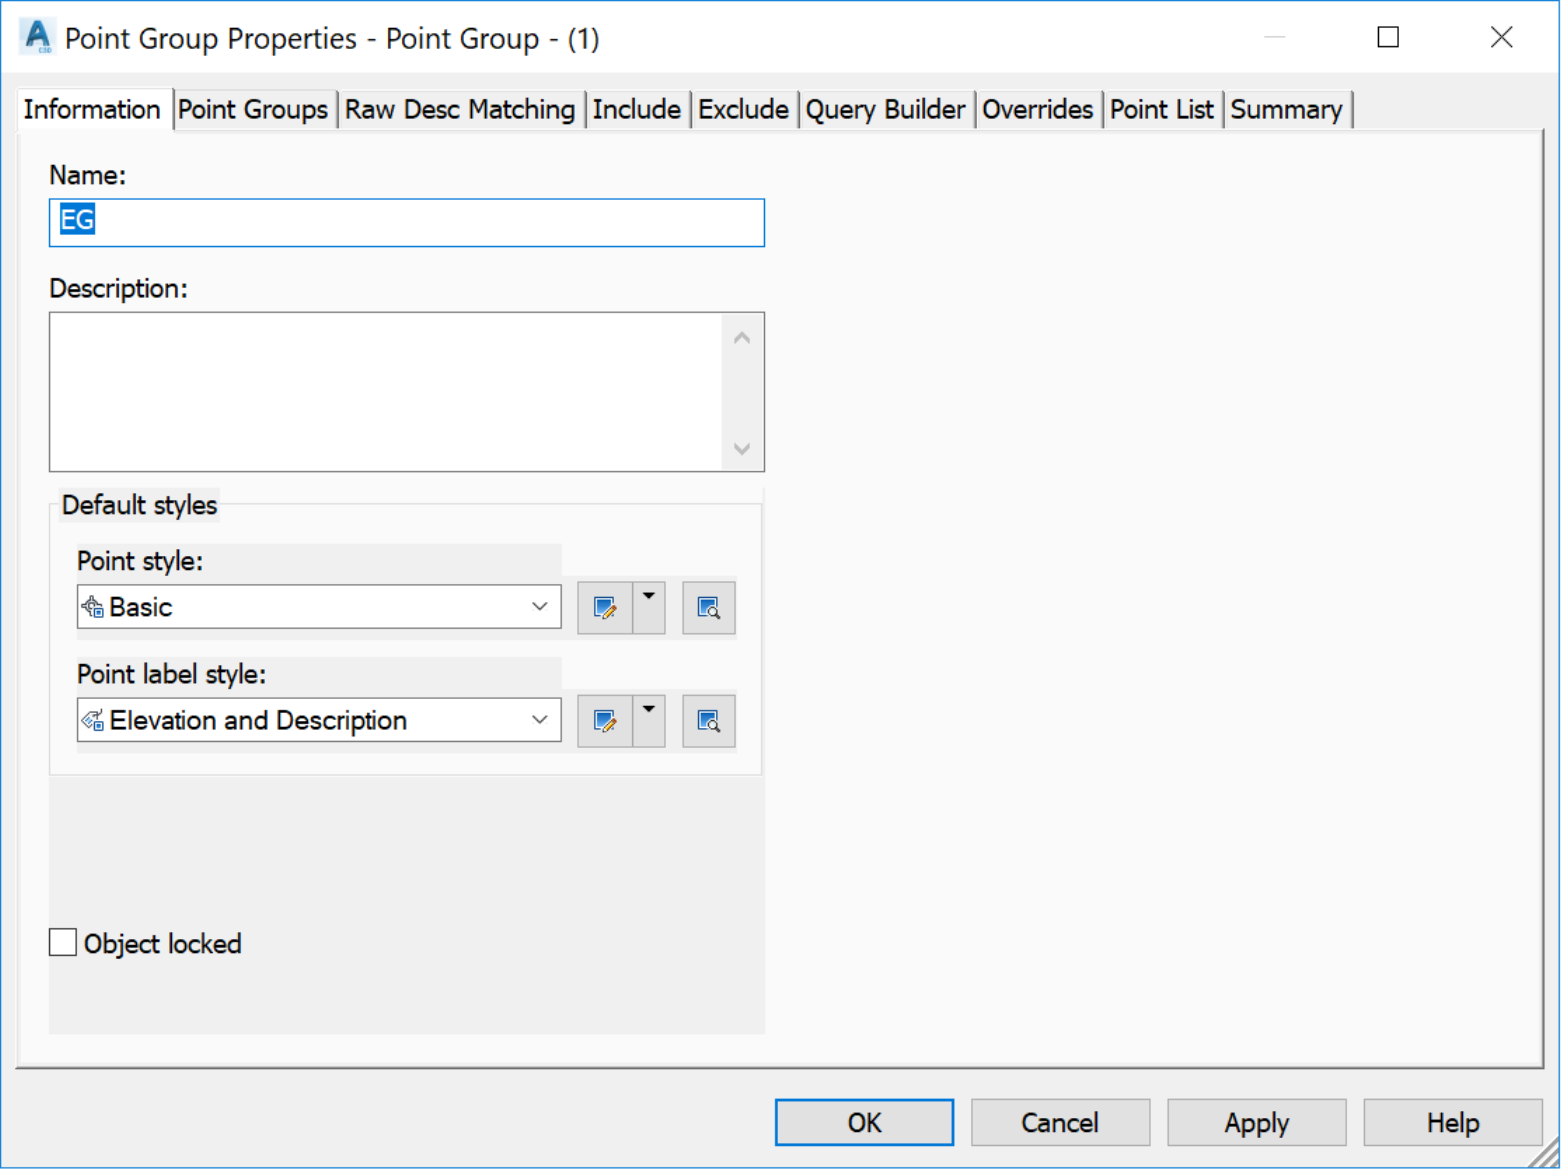
- Include tab: At the line With Raw description matching, type the following EG* (for Existing Ground survey shots), CB* (for Catch Basin rim elevations), TC* (for Top of Curbs) SW (for Sidewalks), STMH (for Storm Manholes), SSMH (for Sanitary Sewer Manholes), Swale (for Top of bank and bottom of swale elevations), Top.Pond (for Top of Pond), Bot.Pond for (Bottom of Pond).

We include the * wildcard sign to also include points, in situations where additional numbering is needed during the surveying process. For example, when names such as STMH-1, STMH-2, andthe like, are used to collect survey manholes with unique identifiers. Using STMH* will make sure all STMHs are included in the point group.
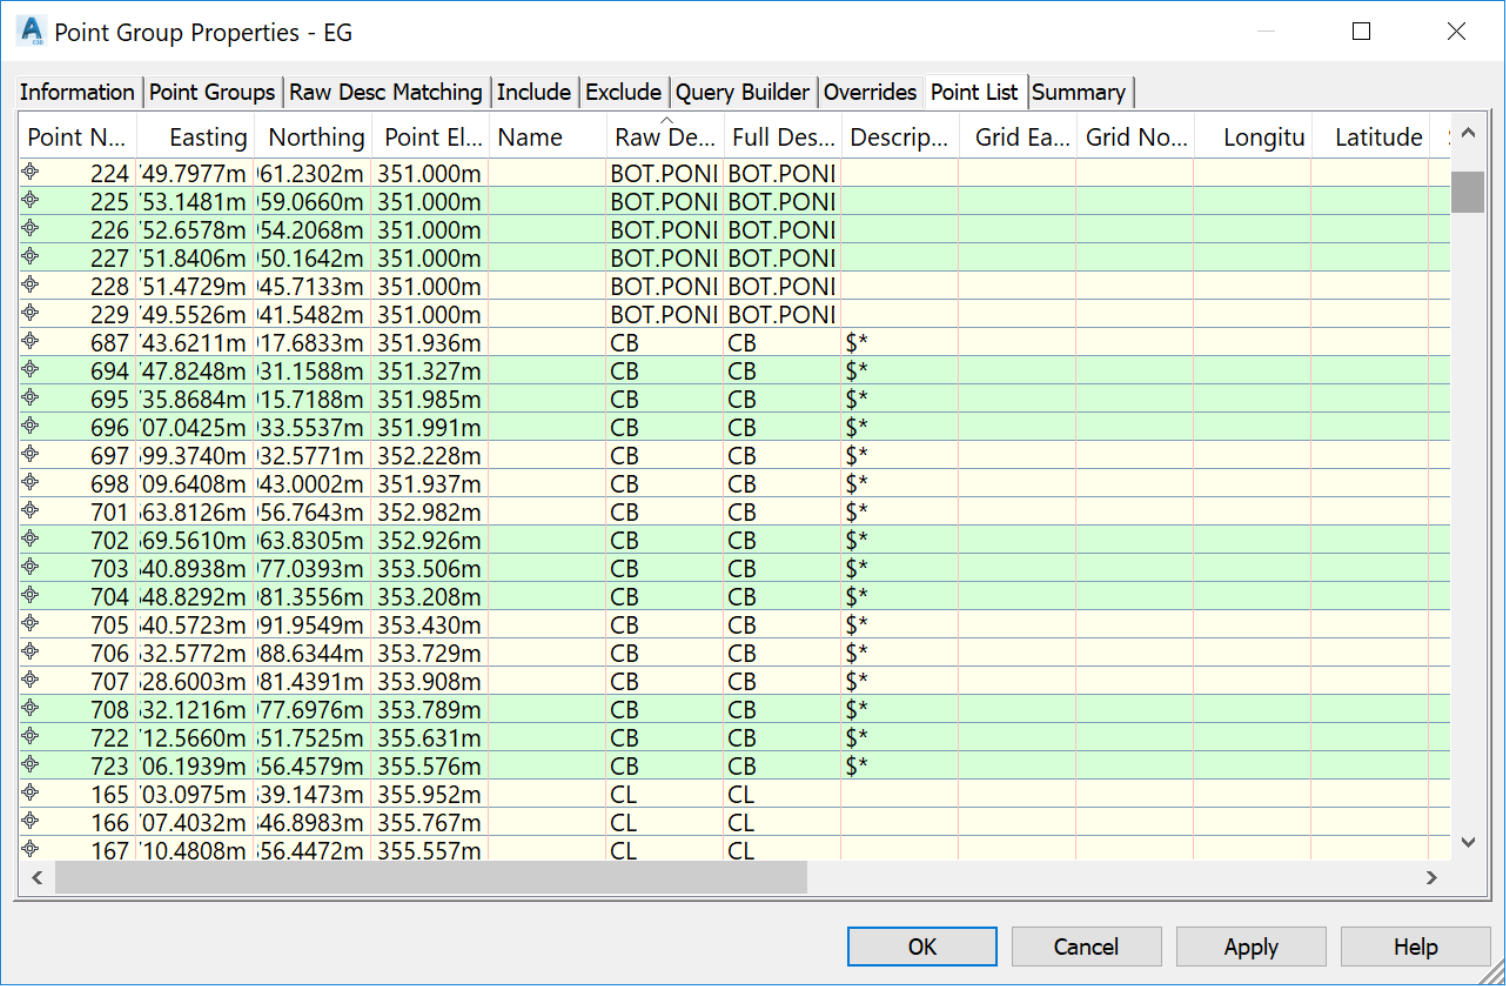
- Before exiting, we can verify the list of points included in the group, on the Point List tab.
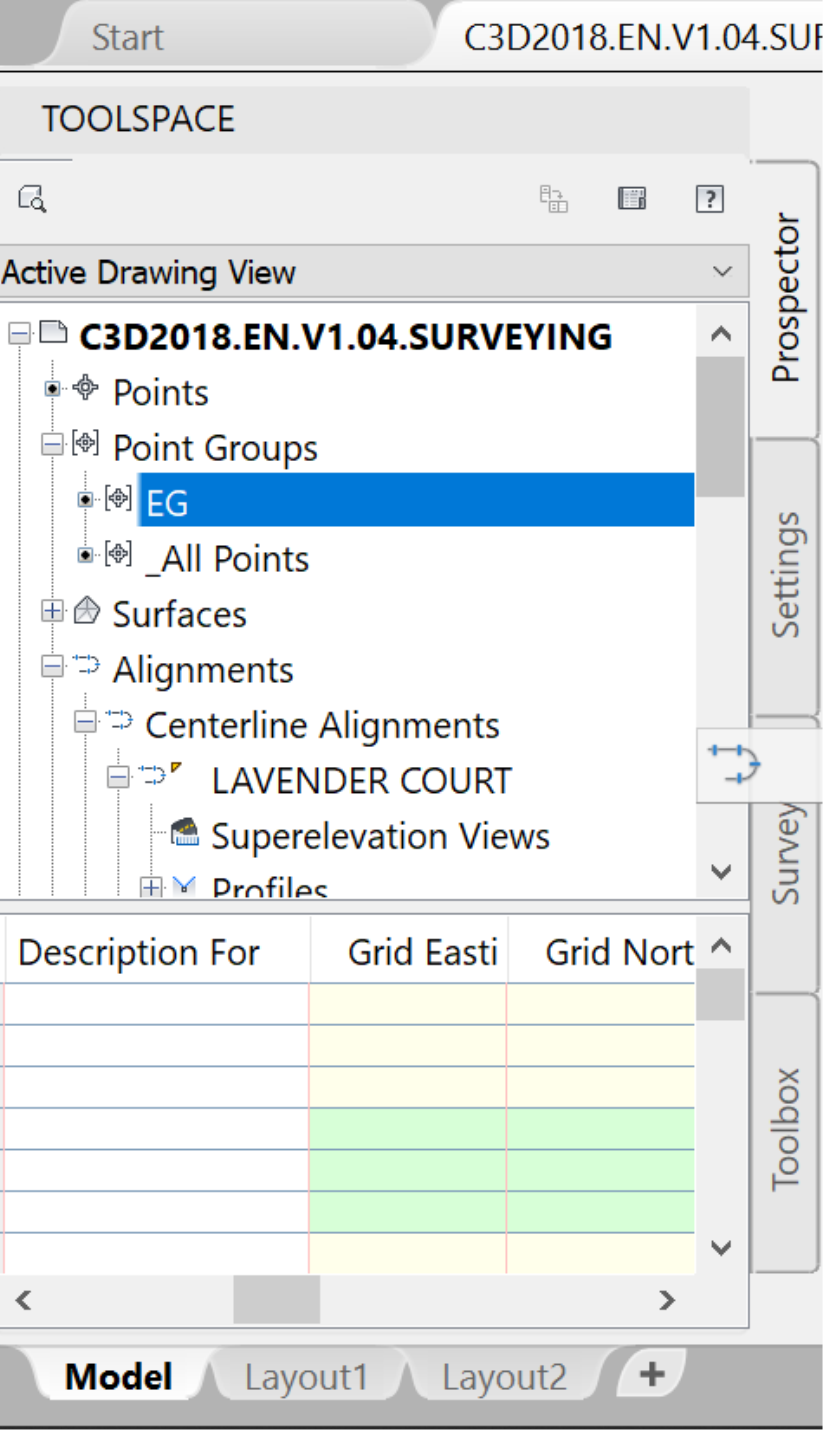
- Now click Ok to close the Point Groups Properties window
- The point group EG is now created, and we see that it is added to the point groups collection in the Prospector.
Now let's create a Point Group of design points.
- Repeat the previous two steps, creating a point group and assigning its definition.
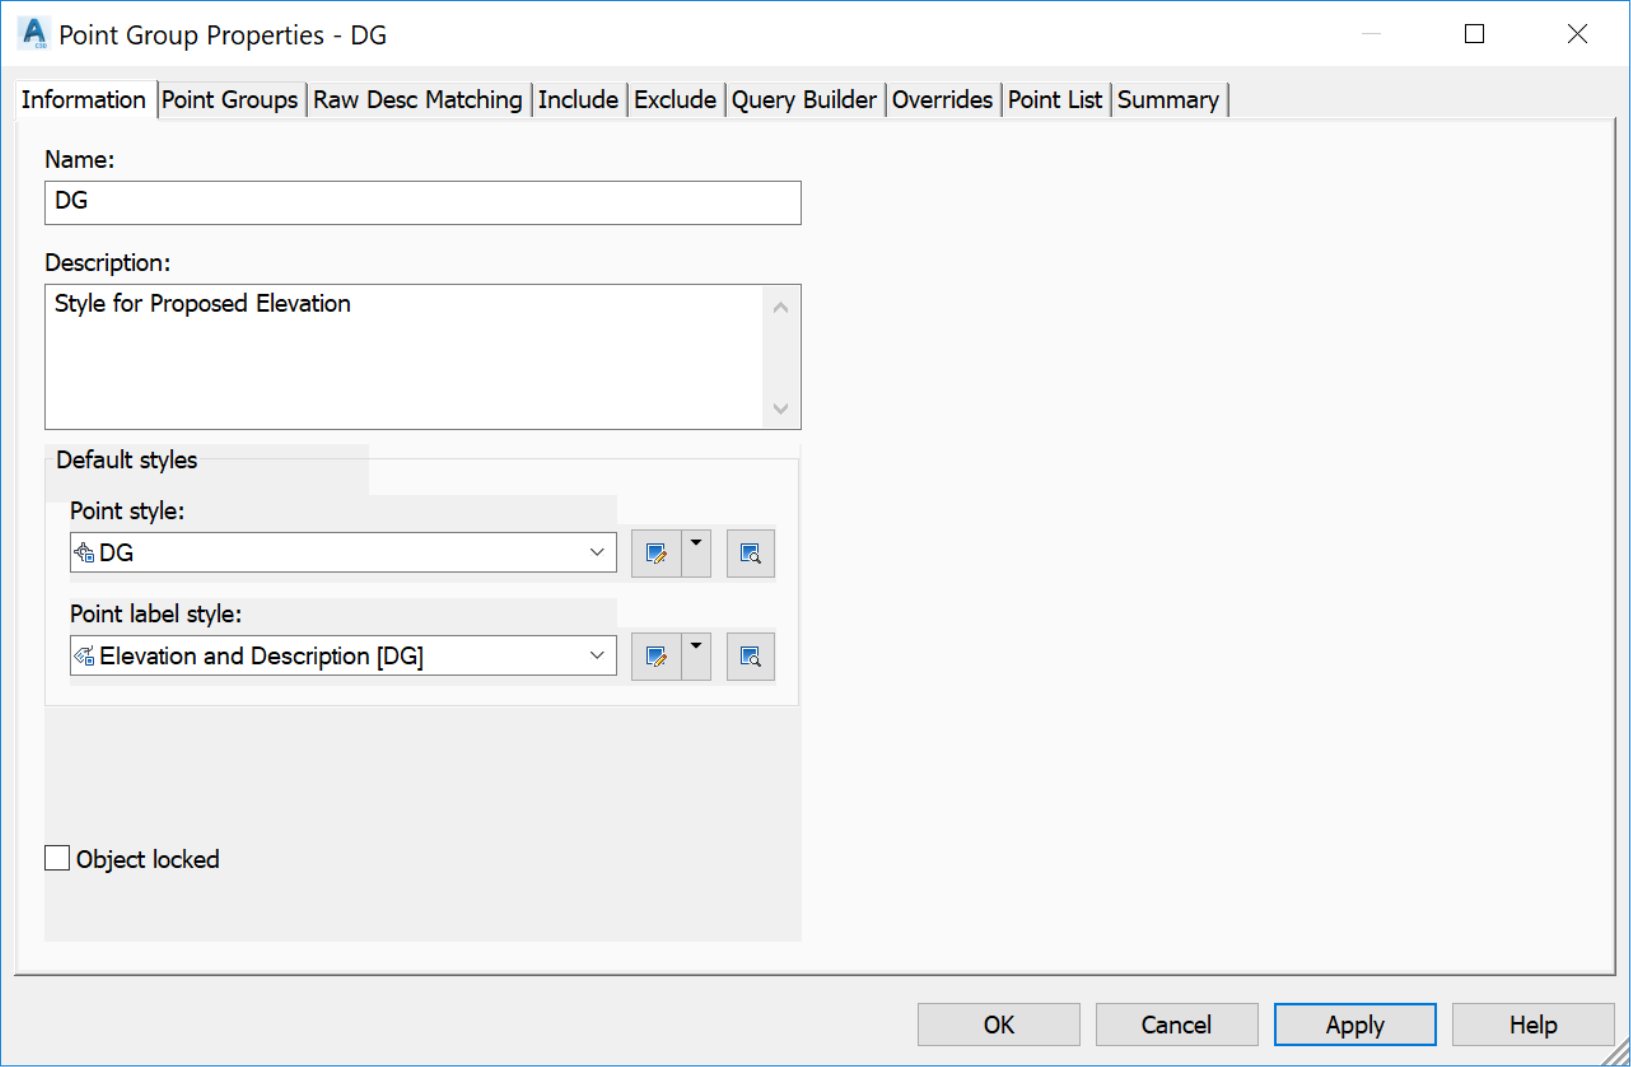
- On the Information tab: assign the name DG (Design Ground), a Basic style and an Elevation and Description style.
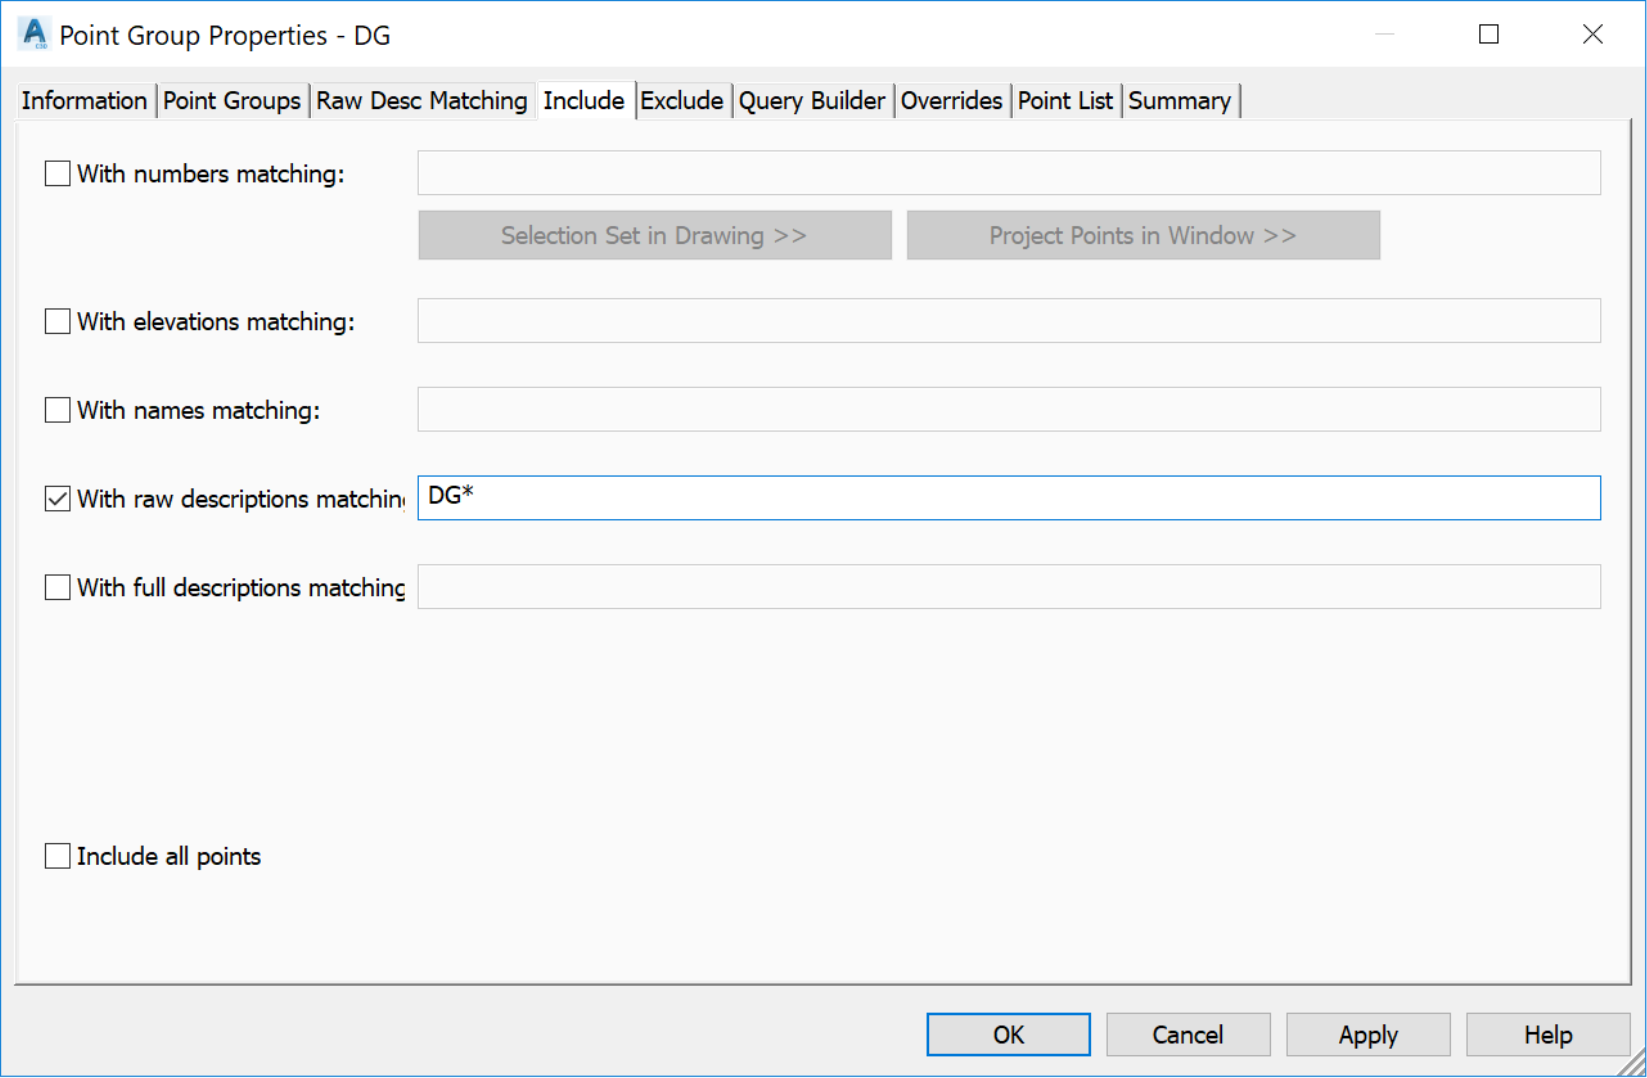
- On the IncludeTab, set With Raw definition to DG * (the wildcard * will include all points starting with DG).
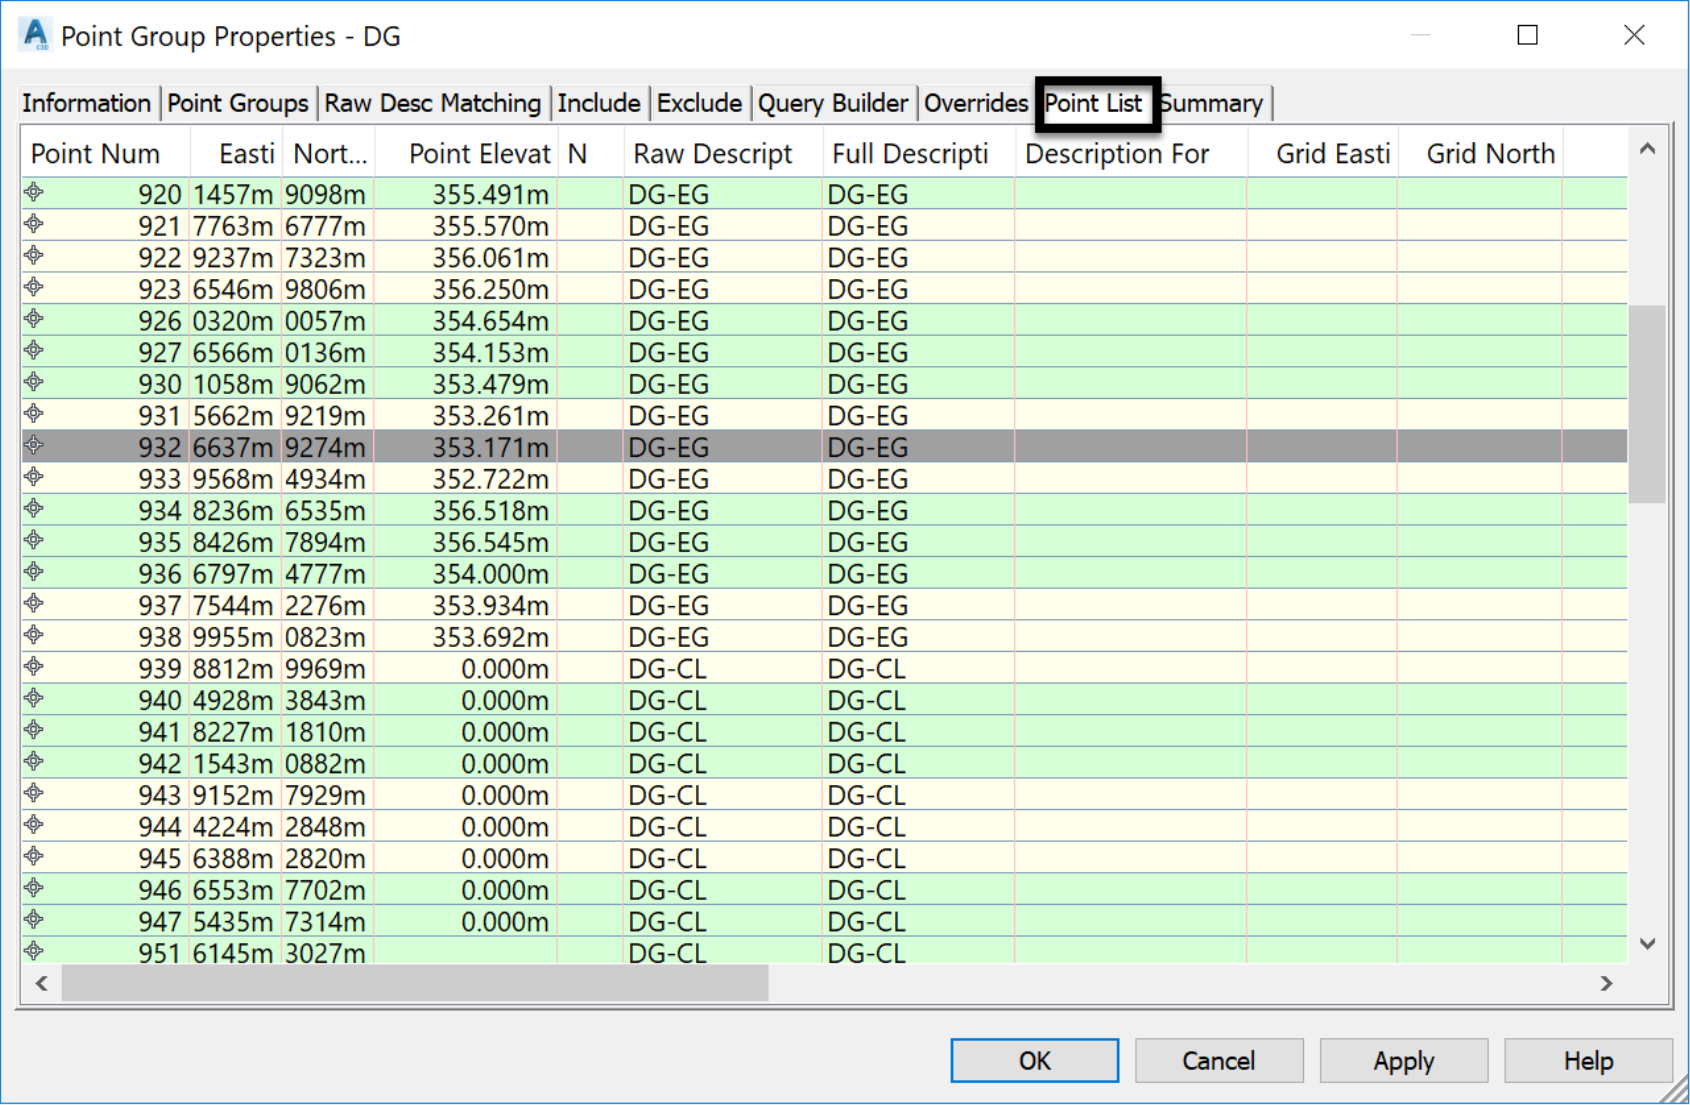
- You can check the list of points included in the DG point group from the Point List tab. Currently, that includes all DG-EG and DG-CL points created in previous exercises.
- Click OK.
Topic: Civil 3D | Training: Civil 3D Essentials | Software: AutoDesk Civil 3D
Civil 3D course OFFER
Refer a friend and both of you get access to our Civil 3D Courses at a discounted price.
Related Civil 3D Course and Books

