Adobe Lightroom Classic and making Adjustments to Multiple Photos - Previous, Copy, Paste, Sync
About Lightroom making Adjustments to Multiple Photos - Previous, Copy, Paste, Sync
Product: Adobe Lightroom Classic | Subject: Adobe Photoshop Lightroom Classic
In this exercise, we will learn about Adobe Lightroom Classic and making Adjustments to Multiple Photos - Previous, Copy, Paste, Sync.
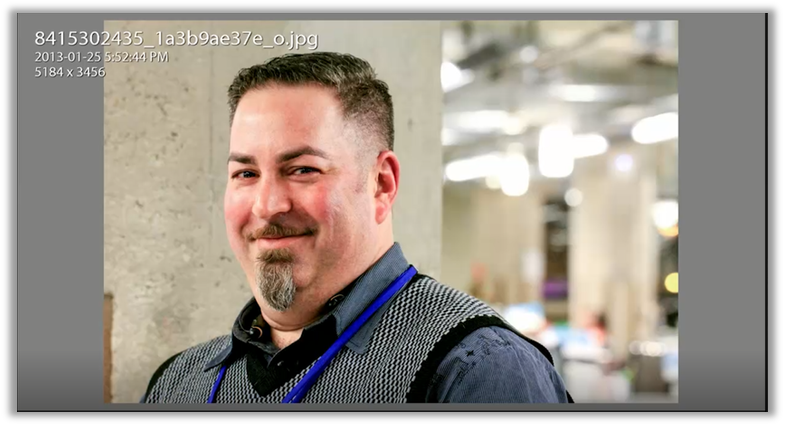
In this section, I want to share with you how you can use Lightroom to quickly speed up your workflow by applying any of the adjustments that you make to one or more photos all at once. This is the power of Lightroom. In this example, I'm working with this portrait here, and I'm working within the portraits folder.

You will notice that already; I've made a few adjustments to this image.

If you look in the filmstrip, you'll notice a few more images that appear to be taken in the same conditions. As a photographer, what you're aiming for is that every photoshoot has the same idealized conditions for making your post-processing a lot easier. Of course, if you're an event photographer, or wedding photographer, or some sort of lifestyle photographer, that may be a little bit difficult. In that situation, one possible solution is to group all of the photos that were taken under similar lighting conditions. That makes it extremely easy for you to just work on one image and apply all of those adjustments to a whole set of photos. And it speeds up your workflow by a lot. So, in this example, these photos appear to have been taken in the same background, using the same post and the same pillar. So, I think I'm just going to make all of the adjustments that I've made for the image above and then apply them to the other photos. So very easily, since I've already made these adjustments here, I'm going to go to the next photo, and I'm going to just click on previous.

So, by clicking on the previous button, what you're doing is you're taking all of the previous adjustments you made to the most recent photo and applying them to the current photo. You will notice that all of these values will be the same values that show up for this fellow when you go to the previous photo. Now since this was a previous application, it's just going to show up as paste settings.

But we can go to the basic panel, and we can see the adjustments made are the same as the adjustments made to this previous photo.

Now previous here doesn't mean the previous photo in the filmstrip. It means the previous photo that you work with. So let's go to this image here.

Let's just add a bit more color to the image. So I'm just going to give a hue and saturation adjustment for the sepia tone. I'm getting give another kind of Hue and Saturation Adjustment to exaggerate it. Then I'm going to adjust the balance more toward the shadow side and leave it like that.

Now, this was the most recent image that I worked with. I'll go back and say, Oh, you know what? I was working with the guys above during my workflow. Let me just go ahead and apply the adjustments that I made to these two images. I'm going to click on the previous.

When you clicked on previous, you probably thought you're applying all of the adjustments that you made to the guy image to this image. However, that's not how it works. It was the adjustments you made to the most recent previous image, which are now applying here. So you have to be careful when you use the previous button to paste the settings.
Now what I want to do is I want to make sure that I choose the original image, and I copy the settings from the image and apply them to another image. The easiest way to copy all of the adjustments you made to one image and apply them to the next is:
- First of all, find the original image and,
- Then select to copy all of the settings.
- The Copy Settings dialog will open up

These are all the adjustments that you can choose to copy and then apply to the next image.
- All the adjustments with the checkmarks are the ones that are going to be copied.
- For now, these are Okay, so we're just going to choose to copy.
- Next, we will go over our image.

- Then we will paste those settings.

You can see these settings in the original image are the same as the settings here. And give you another example.
To give you another example, let me go back to this image of this fellow here.
I will right click the image and choose to reset the image to look like it was shot. I'm going to take our very original photo then select all of these photos. I want you to keep an eye on the bottom left side. And as I select these three photos, you'll notice that what was previous is now sync.

So let's go ahead and click on it. We will see that it shows up with the synchronize Settings dialog box, similar to the Copy Settings dialog box.

We're going to keep all of the changes and adjustments we made to the original image. Then we're going to synchronize them. You will see very easily the other two images that have the same settings from the original image synchronized to them.

This is powerful because what we're doing here is we're taking settings and adjustments from one image and applying them to a whole slew of photos. Now, let me undo that. And now I'll show you that I'm going to apply all of these same settings from this fellow because he's highlighted. I'm going to sync it across all of these photos. But I'm going to show you what that looks like. So once again, we're going to synchronize the settings used to synchronize. And they all get a nice color treatment that was not intended.

This is the power of working with Adobe Photoshop Lightroom. You can easily see how quickly you can make adjustments to one photo and apply it to as many photos as you want.
To quickly recap, what we did in this section was; we made adjustments to one image. We went to another image. We applied those settings and adjustments we made to the previous image by using the Previous button. All that will do is take all the adjustments. We made the most recent image and applied them to the current image. Another way to copy those settings is to find the source image, the one that you want to copy the settings from, select the copy button, the dialog will open up, you can choose whichever one of the settings you want to copy, choose to copy them, and then go to the next photo or the series of photos and then choose to paste those settings in. Another way to make those adjustments is to choose your source image, and then choose all subsequent images that you want to make the adjustments to and then choose to synchronize all the settings. So I'm going to go ahead and do that now, and since this was the first image that we chose, the settings from this image will be applied to each of the other images we choose.
I hope that has helped you use Adobe Photoshop Lightroom to make adjustments to one photo and quickly synchronized and copy all the settings to as many photos as you want.
Full Course and Free Book
-

Adobe Photoshop Lightroom Classic
Course5.0 average rating (1 review)Are you a professional an amateur or an aspiring photographer or a digital artist? Impress by creating breathtaking photos with Photoshop Lightroom Classic CC. Learn hands-on techniques from one of the best photo editors there is.
Purchase$1 / month
-

Adobe Photoshop Lightroom Classic Book
CourseAre you a professional an amateur or an aspiring photographer or a digital artist? Impress by creating breathtaking photos with Photoshop Lightroom Classic CC. Learn hands-on techniques from one of the best photo editors there is.
Free