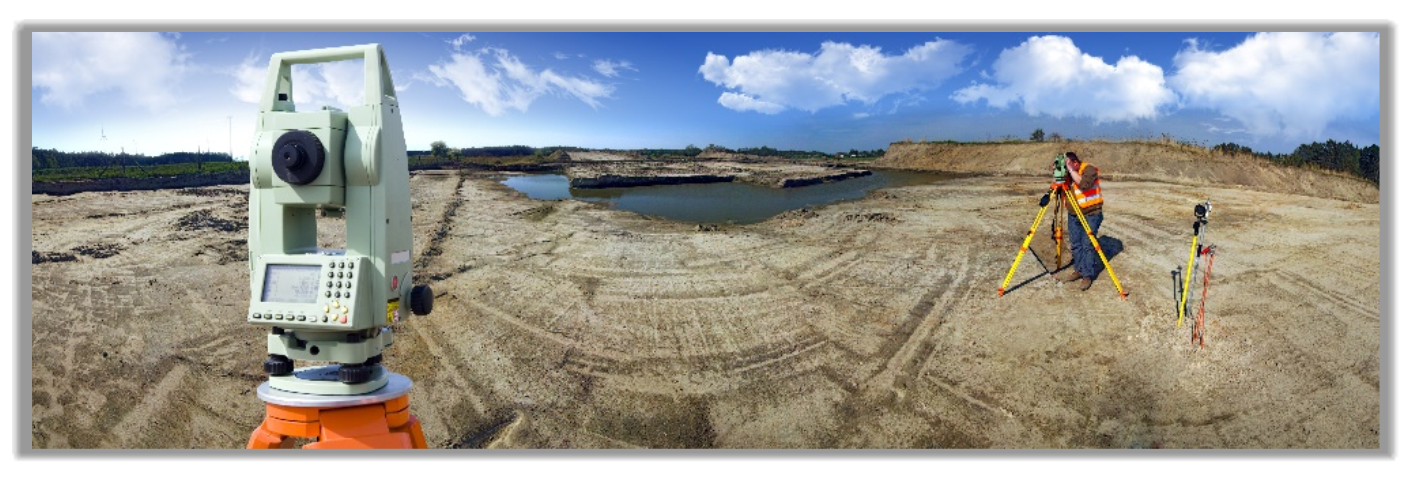
Civil 3D Field Survey
Field to Finish Surveying Setup
Product: Autodesk Civil 3D | Subject: Surveying with Civil 3D
In this exercise, we will learn about Civil 3D Survey field setup.
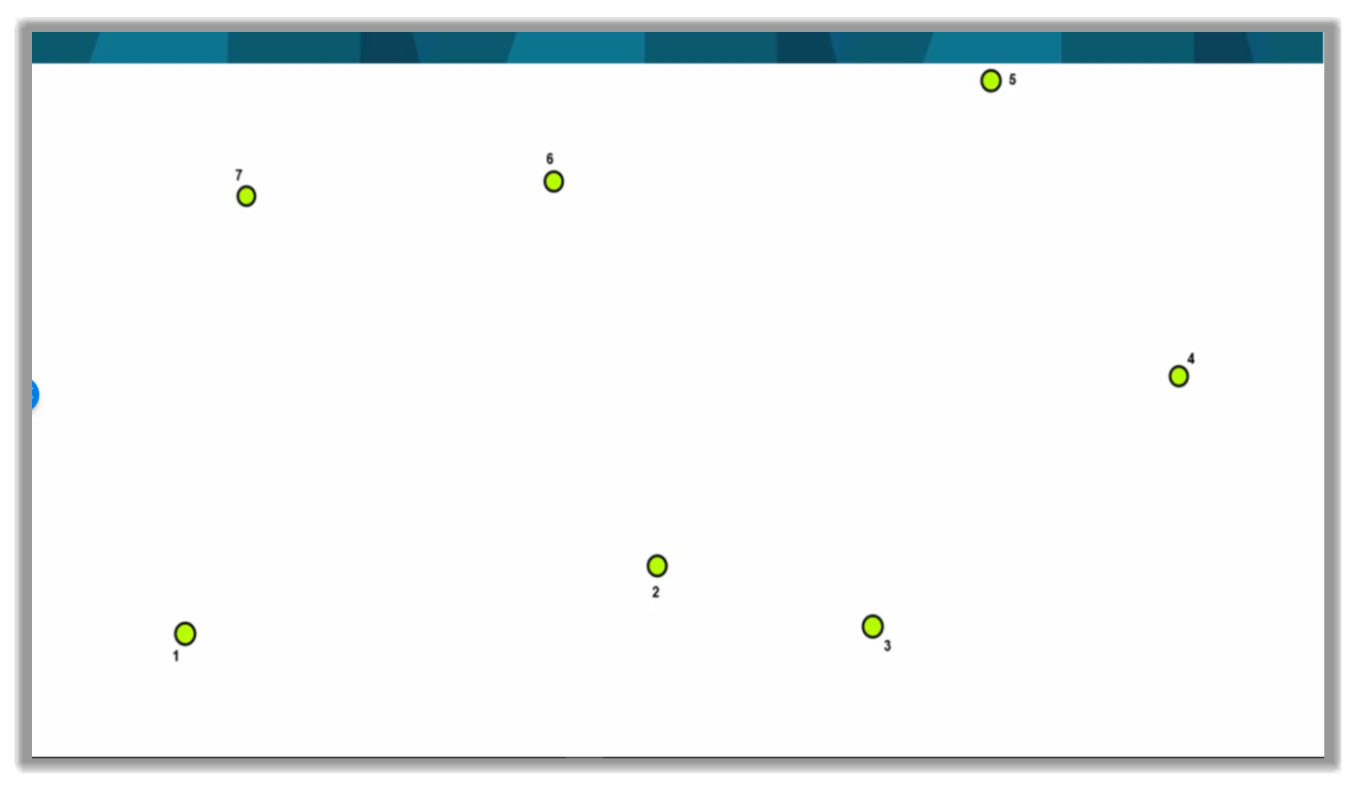
2.1 Setting up for data Collection
- First, the surveyor will need some referenced control points with known and georeferenced coordinates. If that's not the case, a local temporary coordinate system (1,000, 1,000) can be used. Once the real coordinates are known, a translation and rotation can be made in the office to convert the local coordinate to a real-life coordinate.
- Then, stations need to be set and scattered to cover the job site.
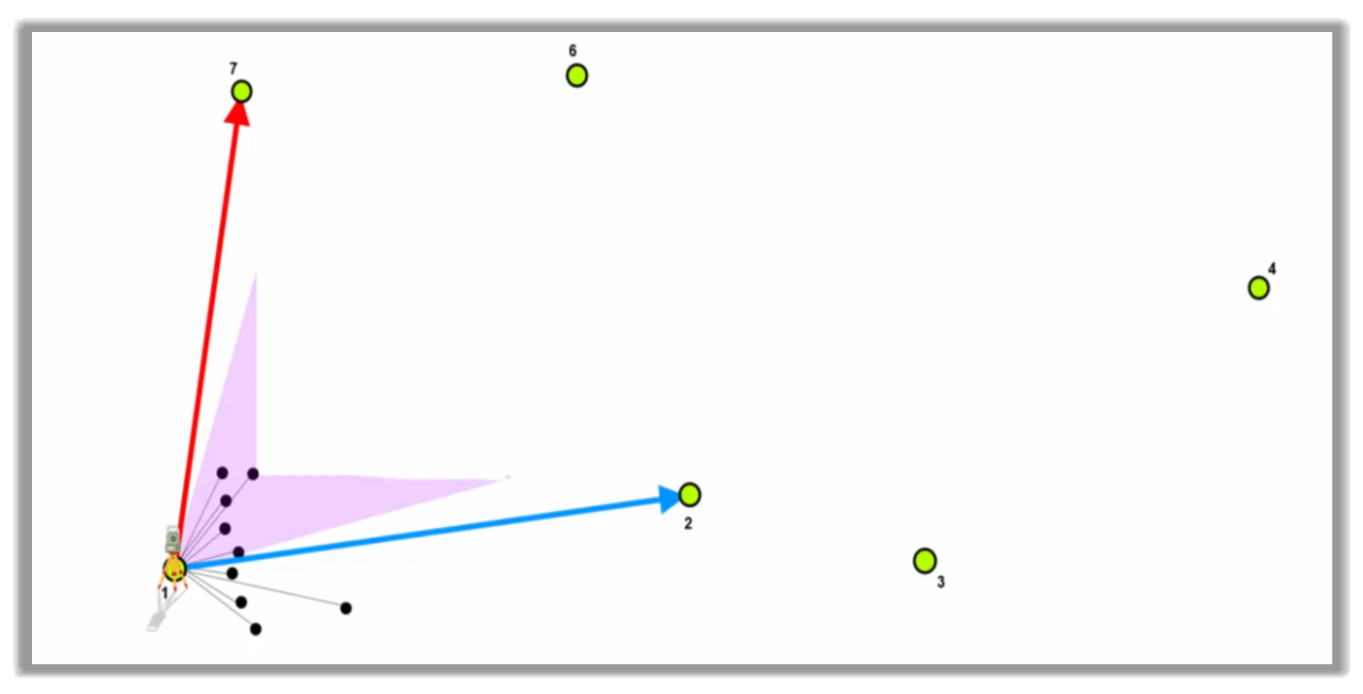
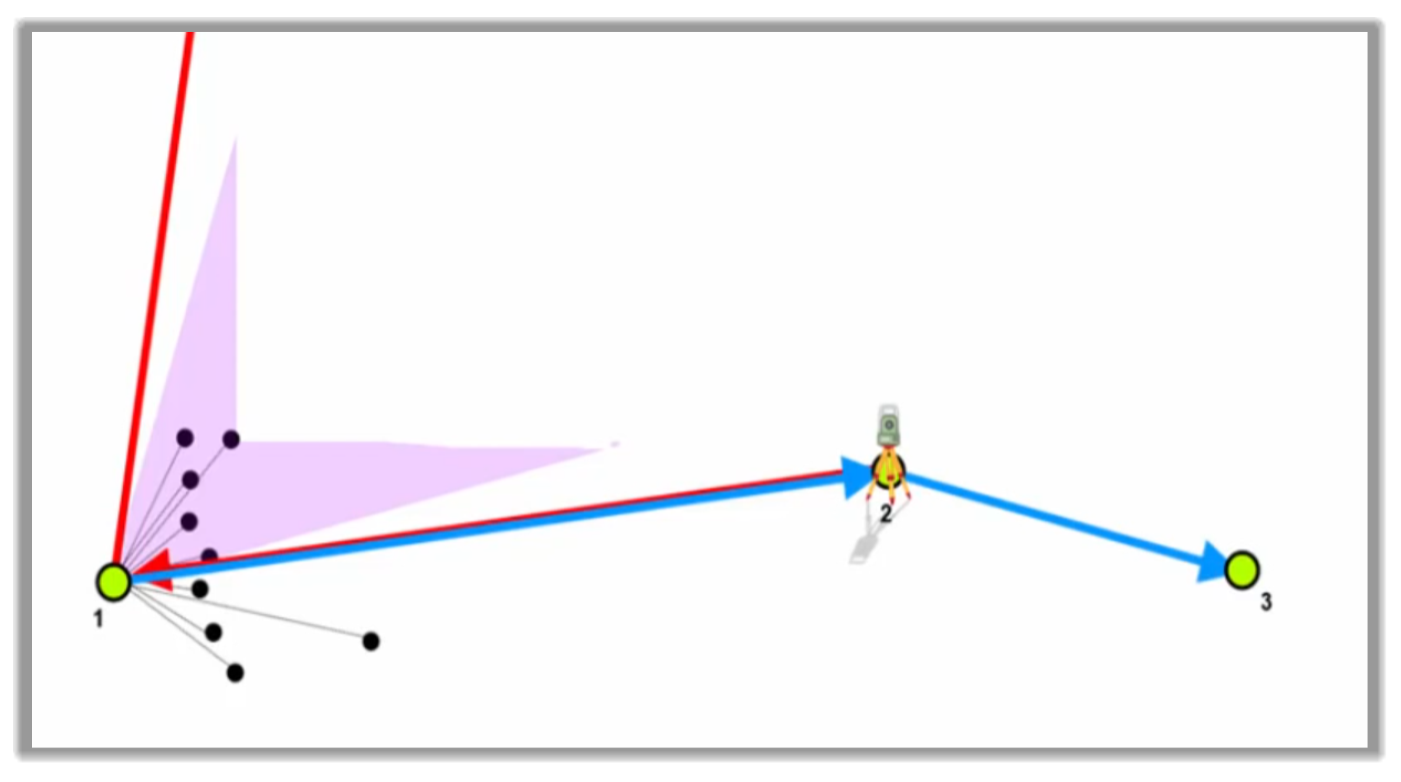
- Next, the way it typically works is the instrument is set up on Station 1.

- Subsequently, a backsight foresight set is measured to the previous and next stations, which in this case would be Station 7 and 2.
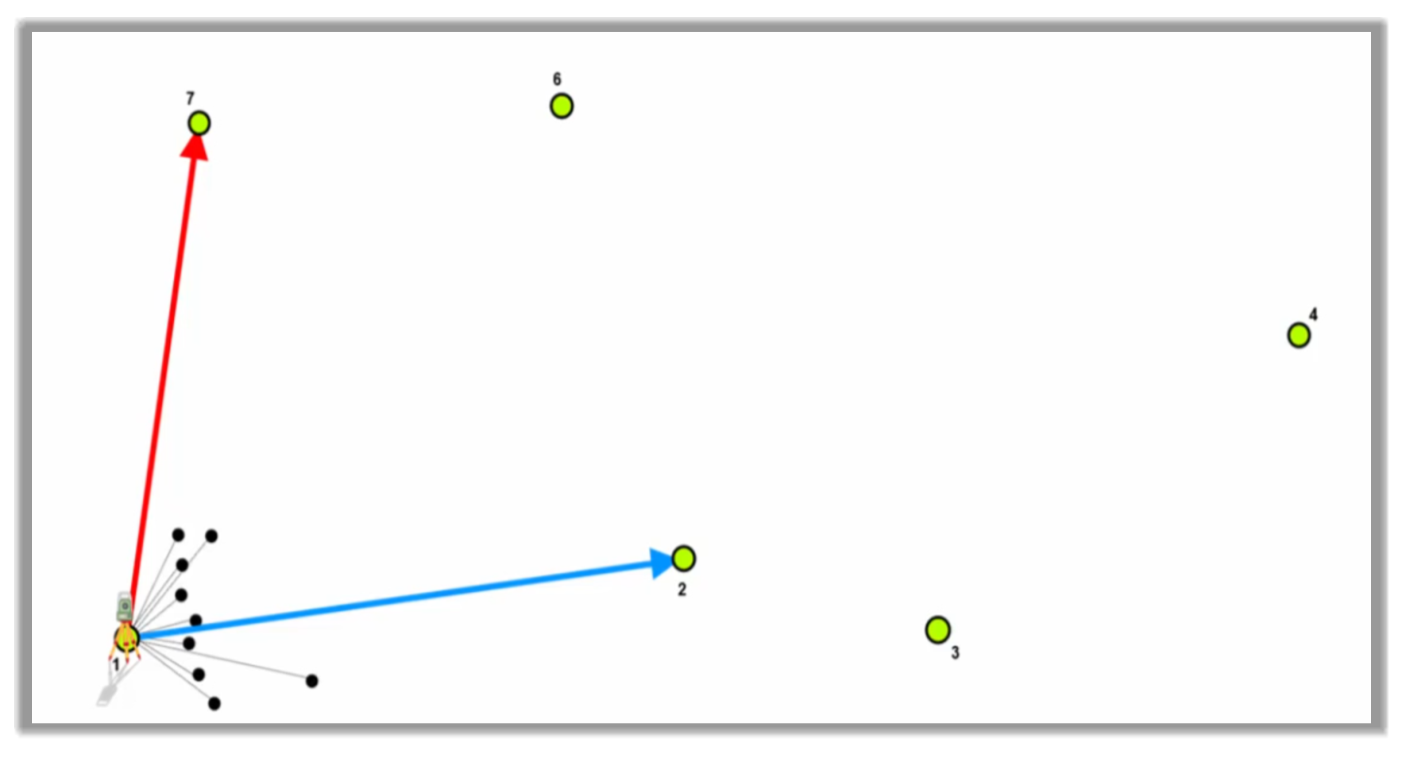
- After that, we measure several side shots with their associated feature codes. These are the points we are really interested in like sidewalks, roads, ponds, power poles, etc., anything within reach of this station. While doing this, we would store the information and any referenced image or notes.
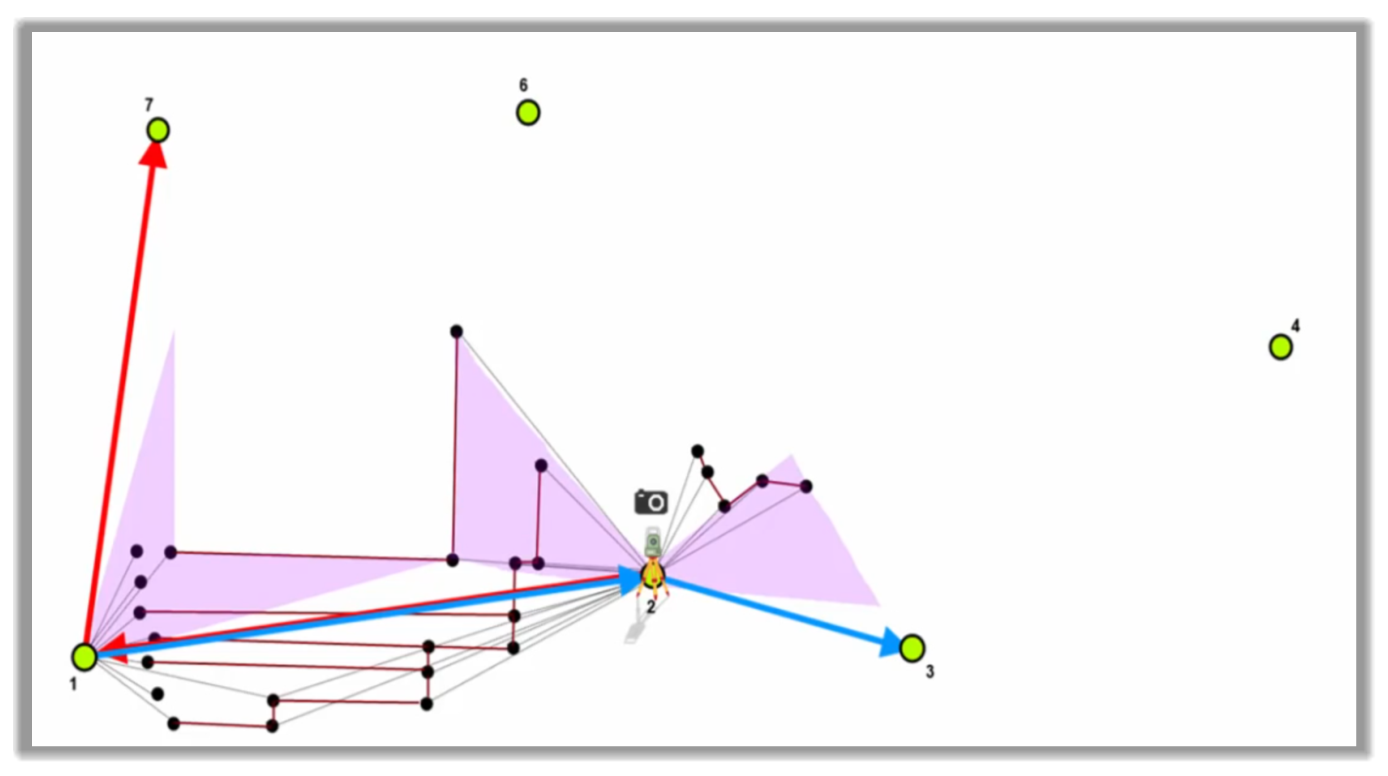
- We then move the Station 2, where we measure again the backsight and foresight set of the previous and next stations, which are now Station 3 and 1.
- We then measure additional Side Shots for the elements within reach of the current station. We can also measure the same infrastructure to get a different perspective for buildings, for example.
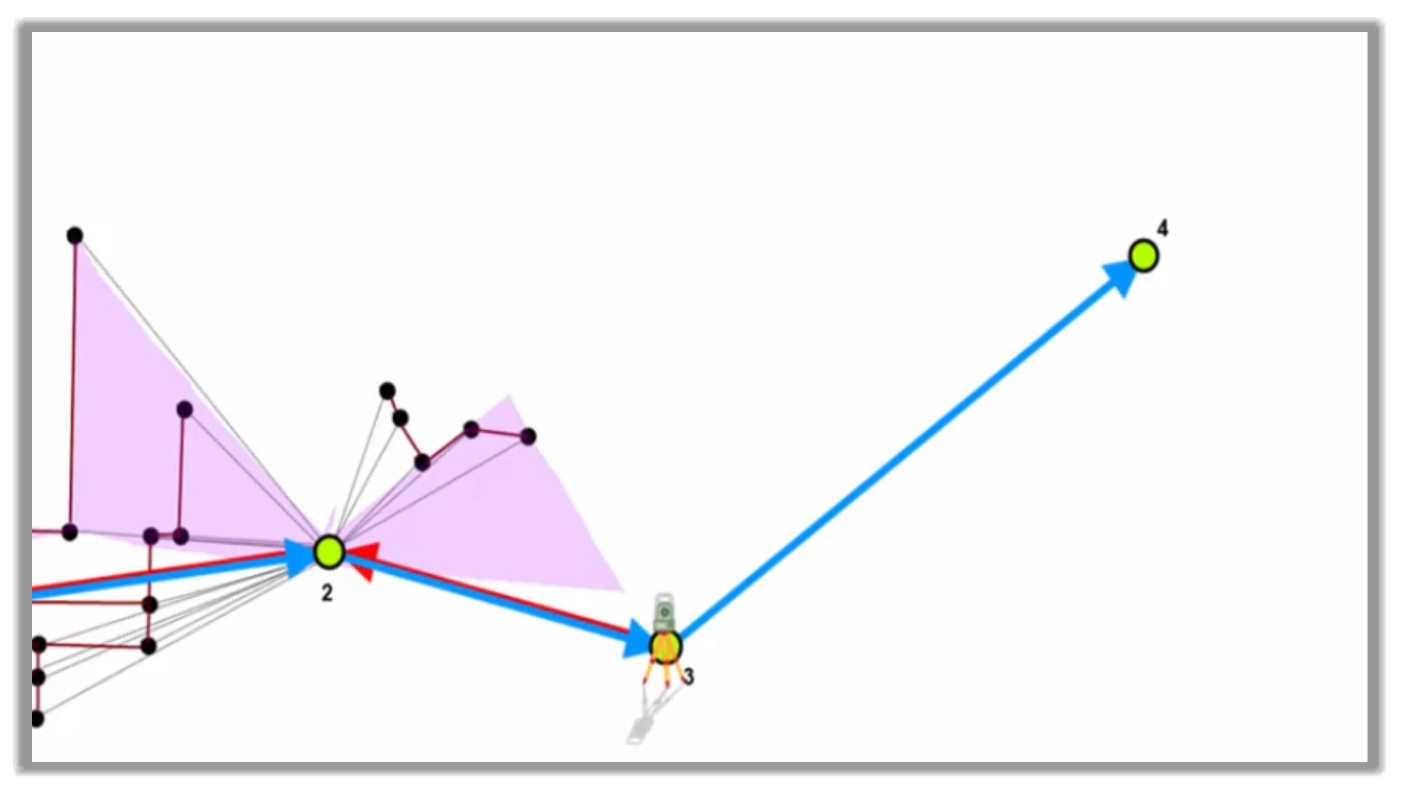
- We then repeat this process for each of the stations until the survey is complete.
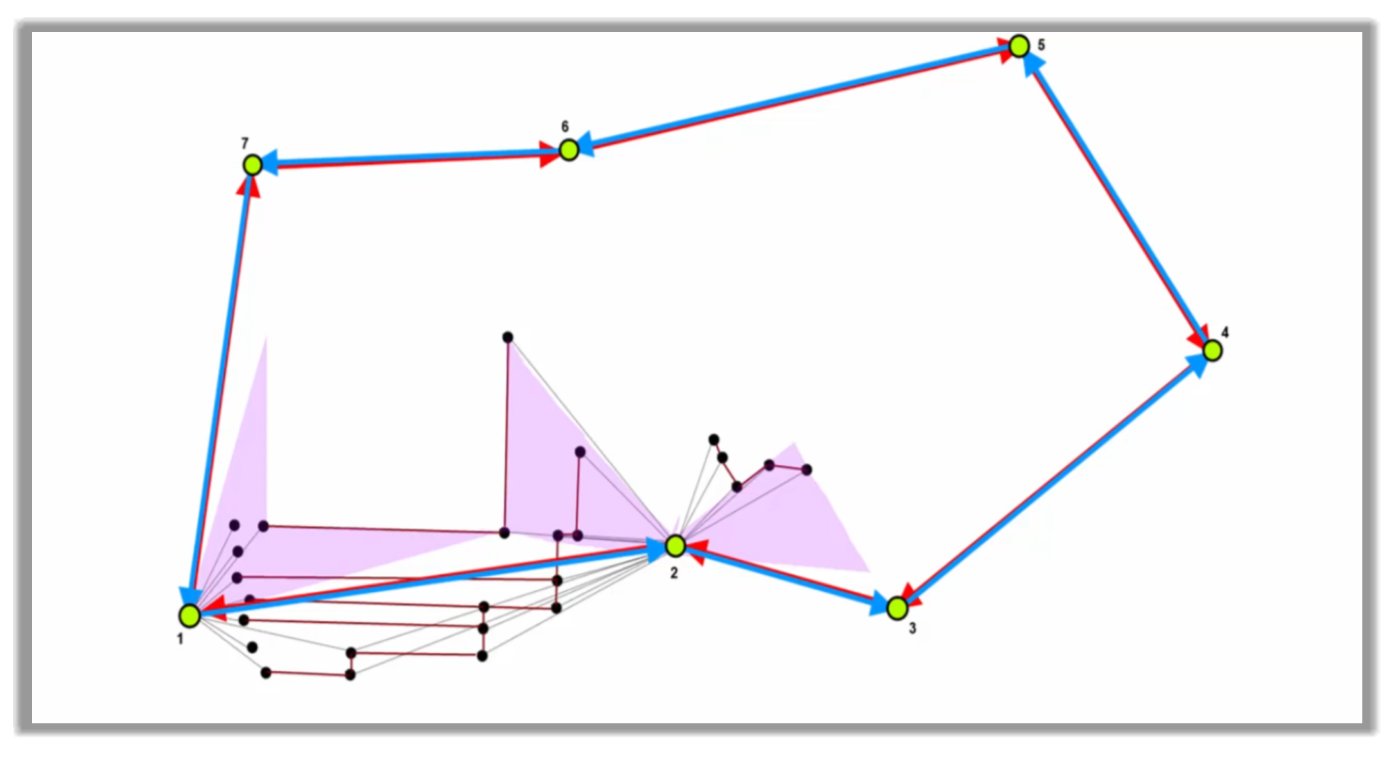
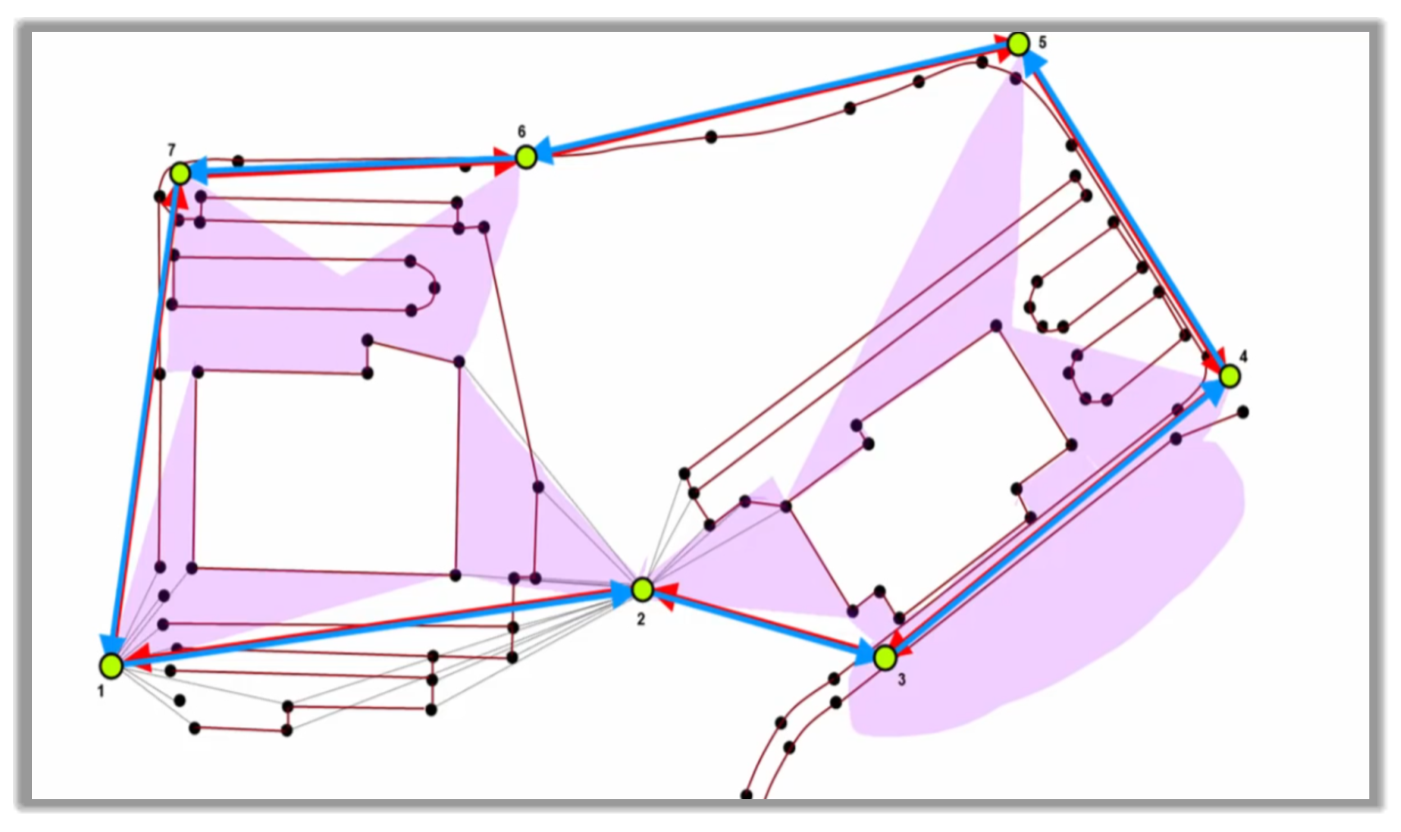
- During this process, we will see all the functionalities related to linework creation.
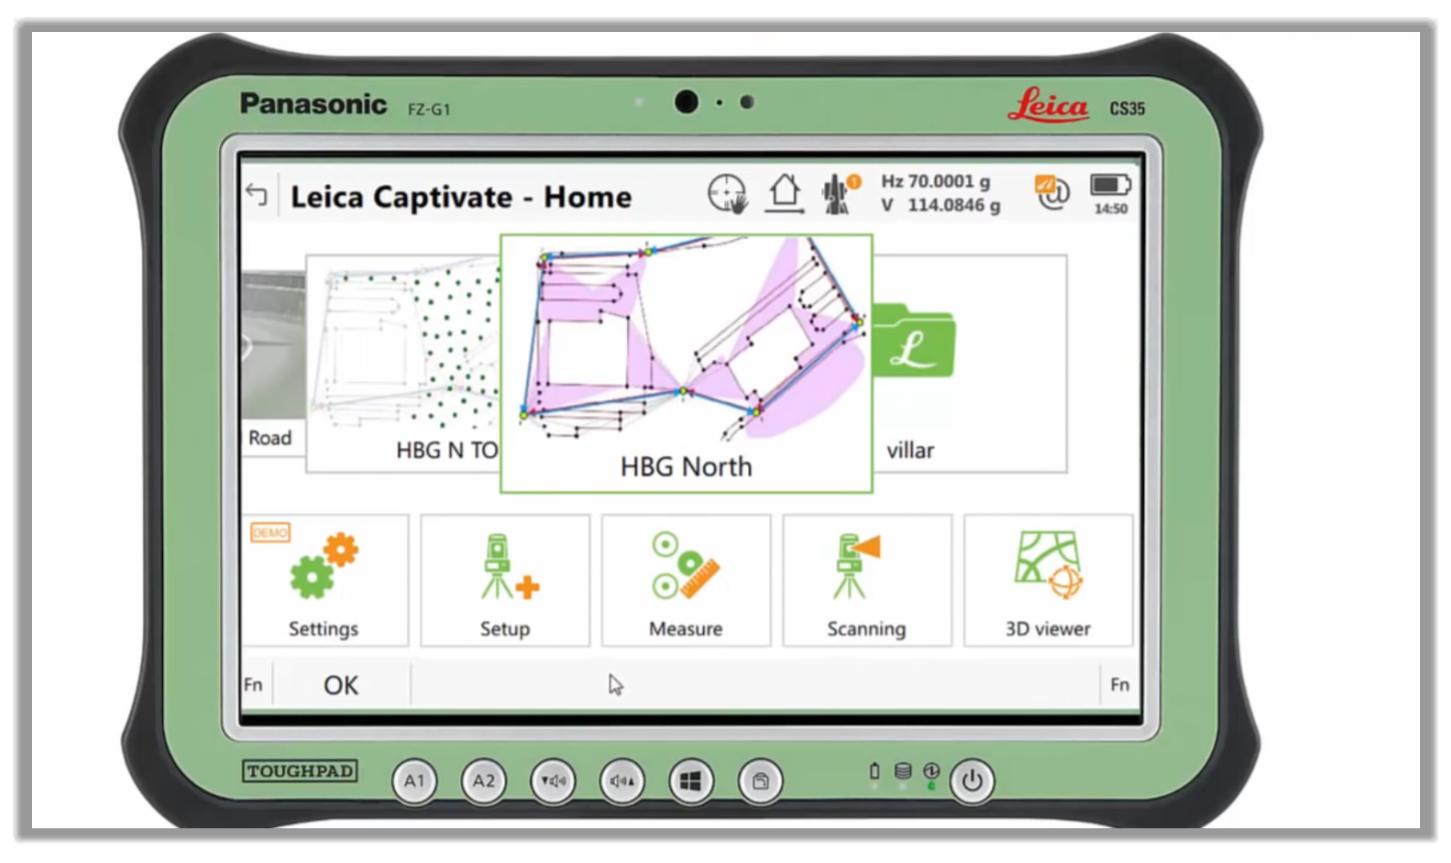
- In addition to the traditional point and linework surveying, we can also use a scanning app to measure point codes if we are equipped with such a feature on our controller.

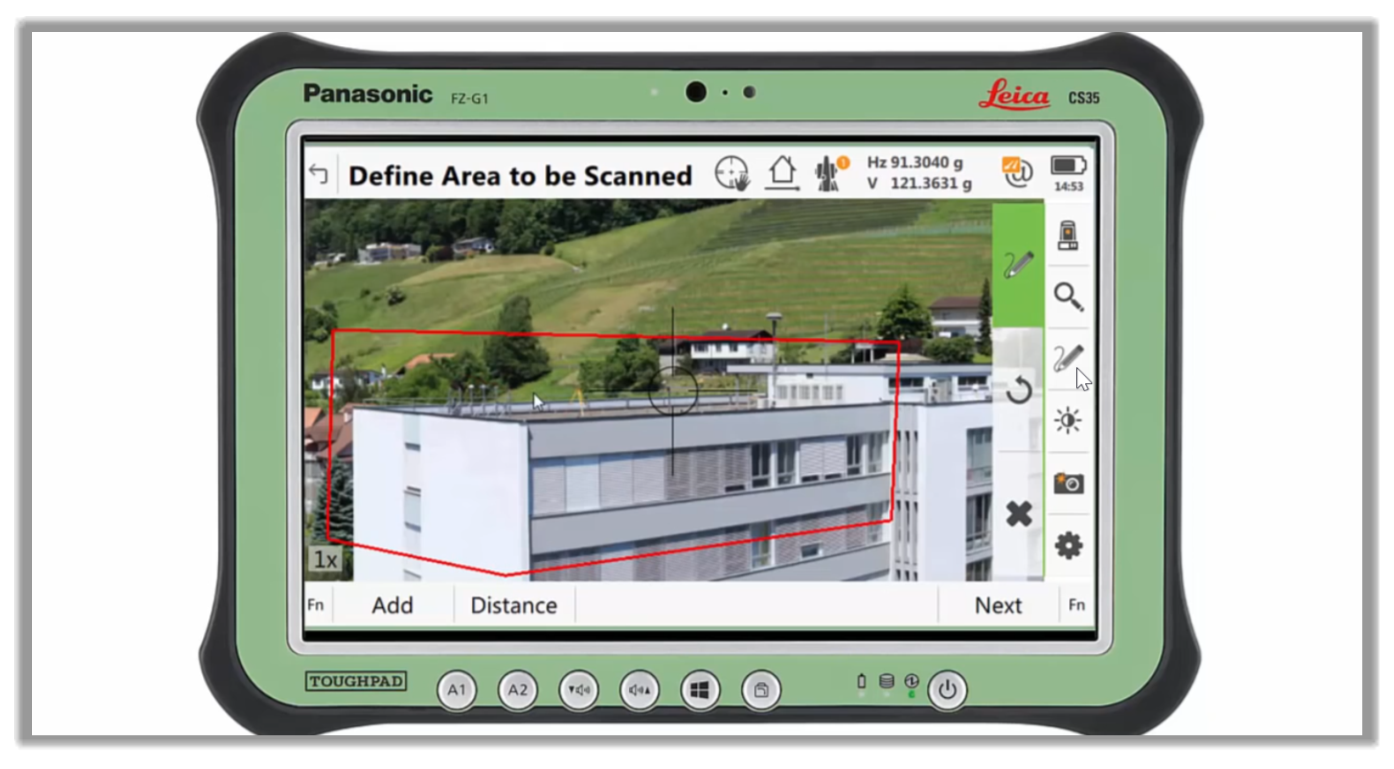
- After that, we need to define the scanned area and take the panoramic images.
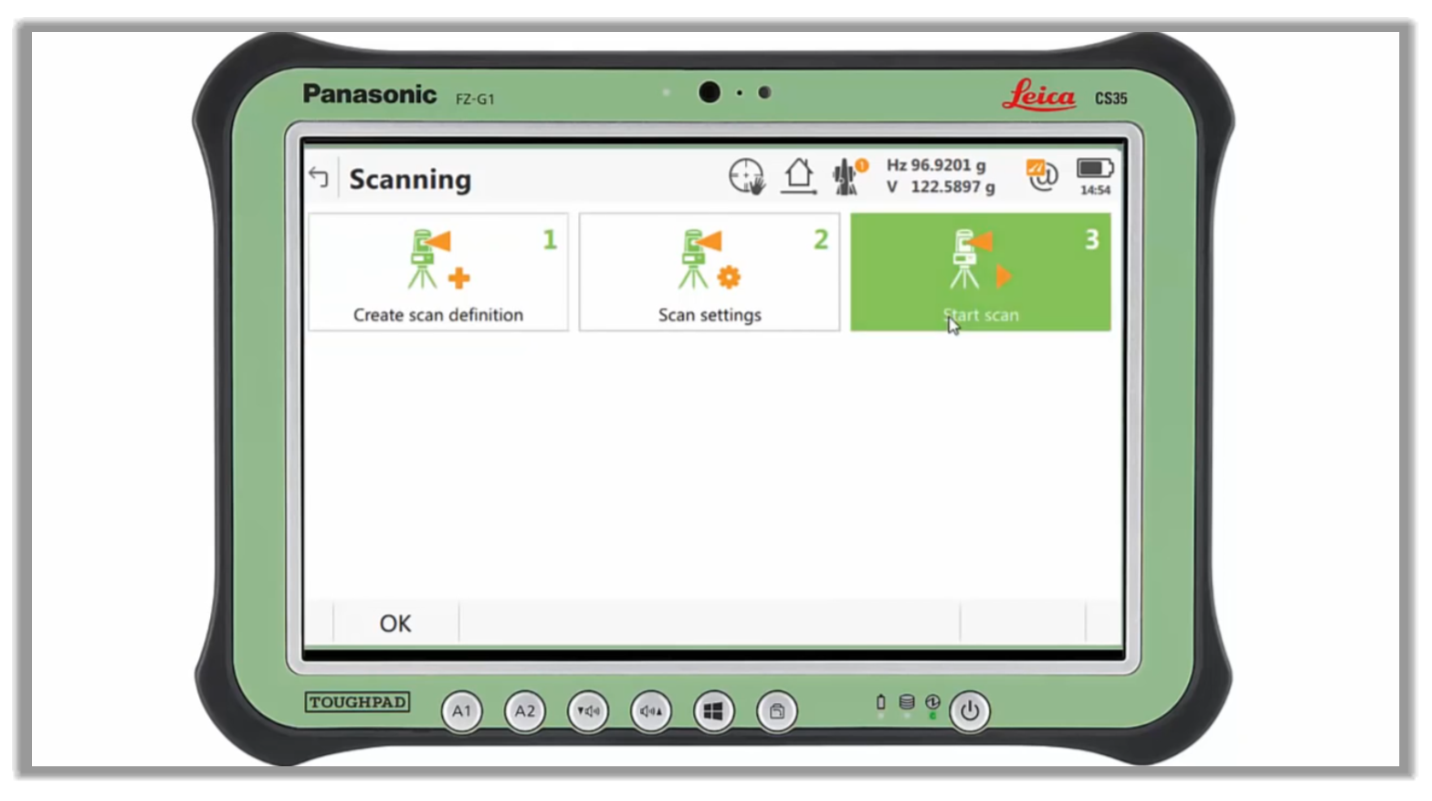
- The rest is simply a matter of going through the scanning routine for your controller. This course is not about survey scanning, so we will not go into additional details. We will have a separate could/photogrammetry course that will be dedicated to that.
Full Course and Free Book
-

Civil 3D Essentials Book and Practice Files
Course4.9 average rating (69 reviews)This mini-course offers a downloadable manual of Civil 3D. The eBook covers the features needed to successfully design most civil engineering projects, from field data collection to final design and layout.
Purchase$19.99
-

Advanced Civil 3D: Surveying and Construction
Course5.0 average rating (4 reviews)In this Online Survey and Construction Civil 3D training course, participants will learn and apply the tools offered by Civil 3D, to perform advanced survey and construction tasks.
$99 / year