Civil 3D Survey: Point Stakeout
Field to Finish Surveying Point Staking
Product: Autodesk Civil 3D | Subject: Surveying with Civil 3D
In this exercise, we will learn how to stakeout a Civil 3D Survey point.
The most common method of staking out a construction job is by using points. In addition to exporting a Custom File Format like txt or csv, we also saw how to Export a point group using a conversion tool like the Leica Infrastructure Link for Autodesk Civil 3D.
Staking points is so common on most survey equipment, like total stations or a GPS receiver.
Let's see how it works on the controller.
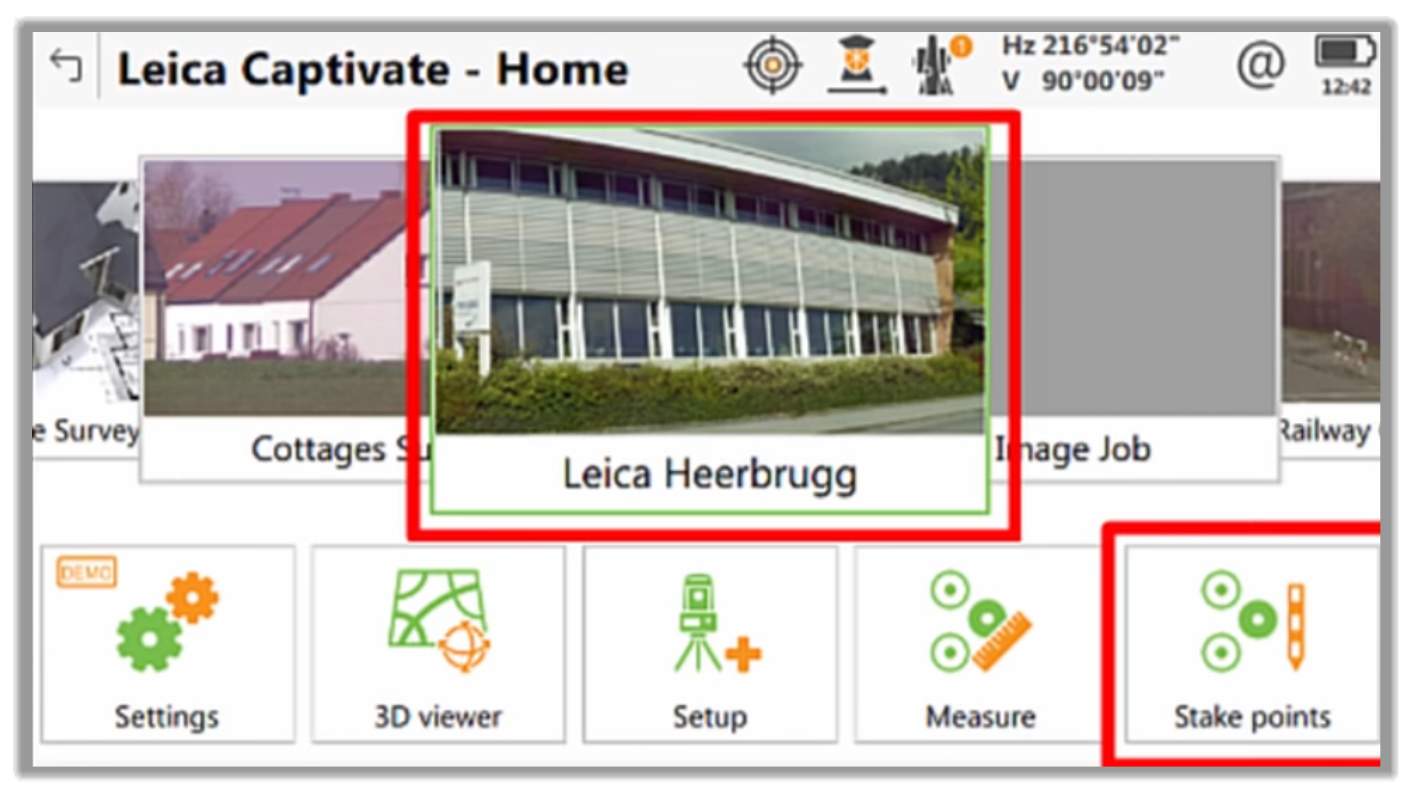
- Once inside the app, we can choose our current job and launch the Stake Points module of our receiver.
- With the point file loaded, we can select the points to stake directly on the screen or from a table.
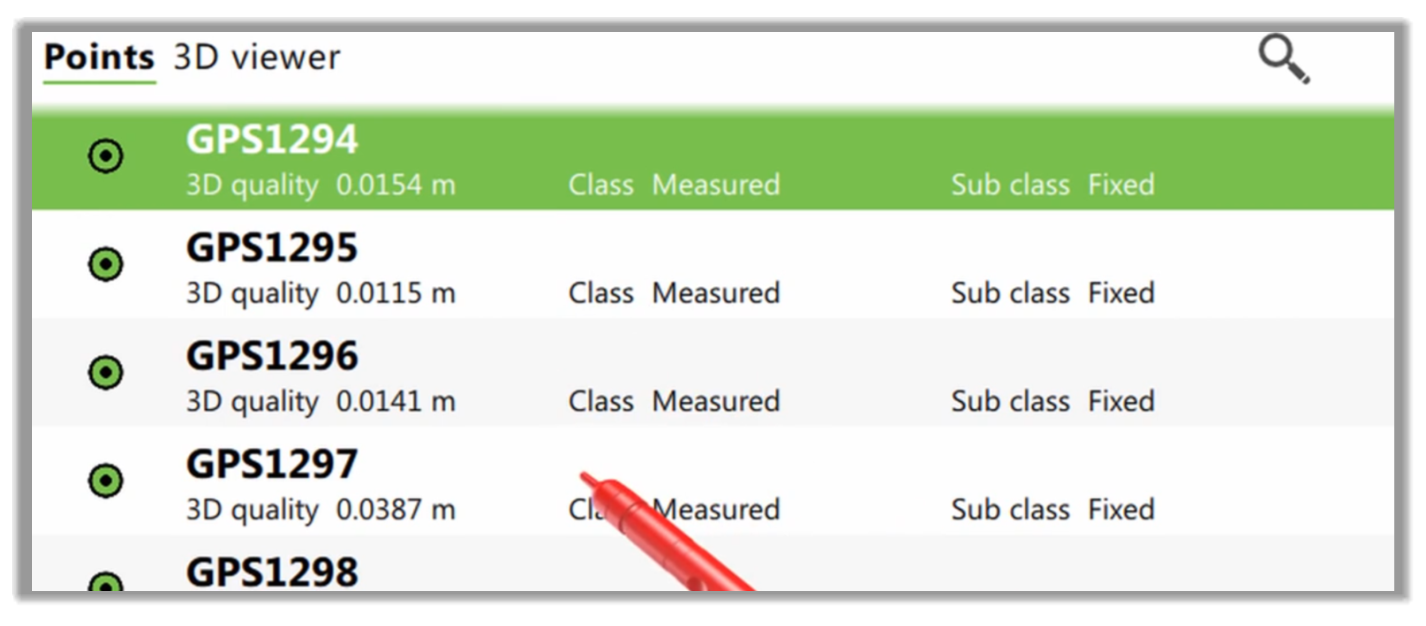
- Most controllers have their options, but almost universally, we can select a point from a window in the app and click to choose a point.
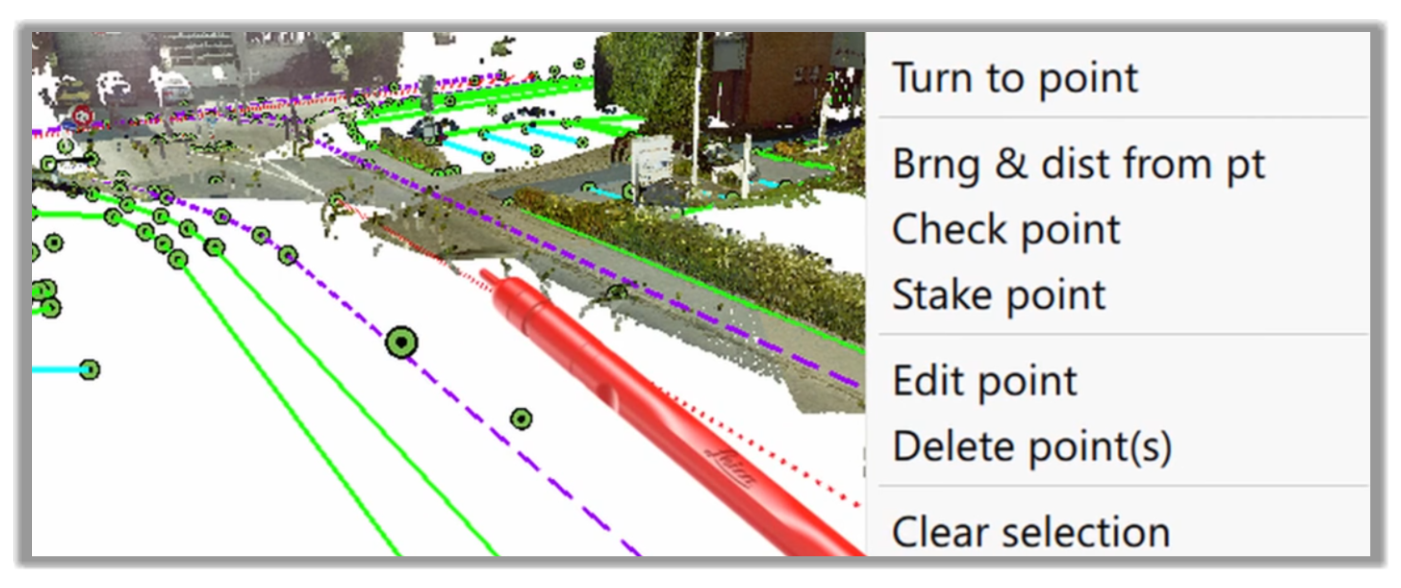
- Once the point is selected, we would have a context-sensitive menu to choose to stake the point or perform other operations.
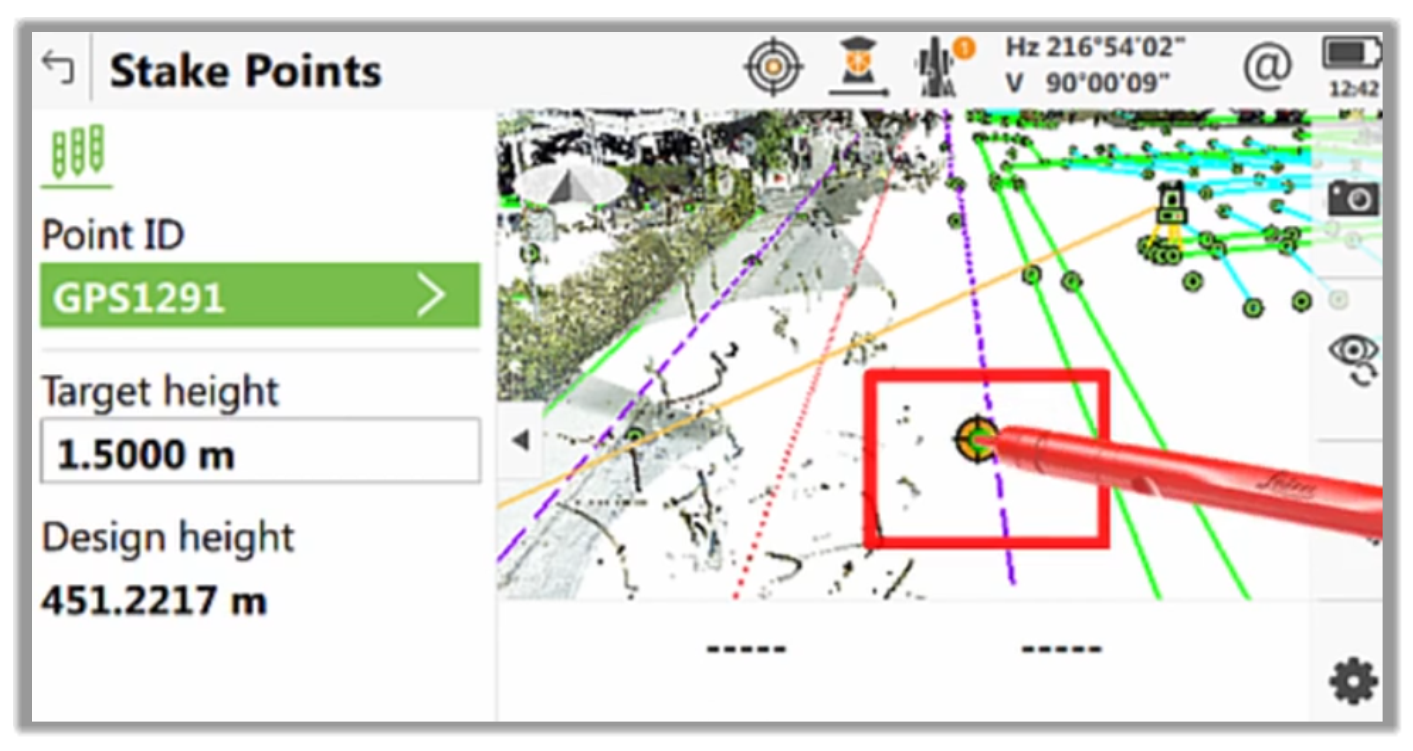
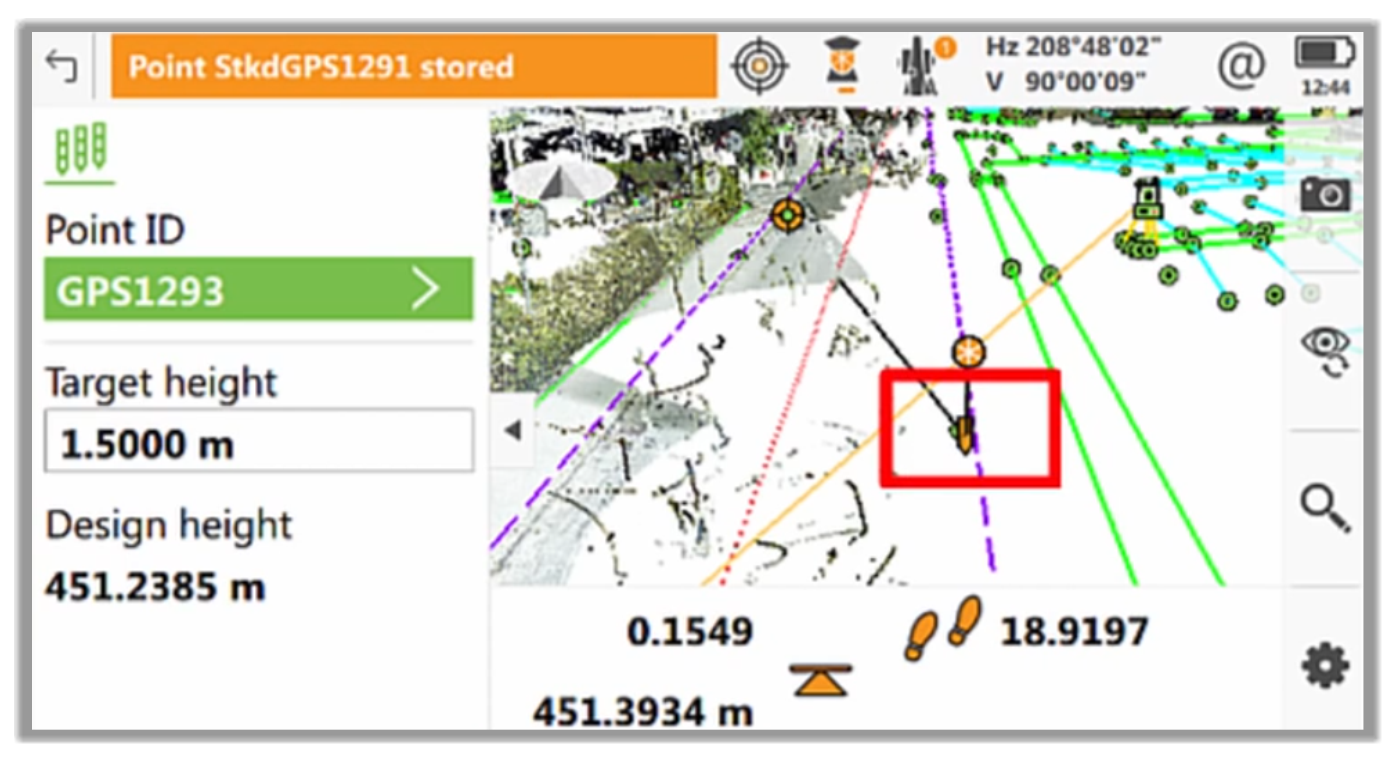
- The screen will then show us the distance, height, and elevation difference from our current location on site. We simply need to follow the screen to get to the point.
- More additional options are available, depending on the controller. So, you should study your equipment to check the methods that work better for you.
- Next, when we are happy with our results, we simply press Store to lock the point and mark that location with a stake.
Full Course and Free Book
-

Civil 3D Essentials Book and Practice Files
Course4.9 average rating (69 reviews)This mini-course offers a downloadable manual of Civil 3D. The eBook covers the features needed to successfully design most civil engineering projects, from field data collection to final design and layout.
Purchase$19.99
-

Advanced Civil 3D: Surveying and Construction
Course5.0 average rating (4 reviews)In this Online Survey and Construction Civil 3D training course, participants will learn and apply the tools offered by Civil 3D, to perform advanced survey and construction tasks.
$99 / year